Understanding The Different Types Of Alterations Offered By Dry Cleaners
Have you ever found yourself holding onto clothes that don’t fit just right anymore, but you’re not ready to let them go? You’re not alone. Many people have garments lingering in their closets due to minor fit issues they believe are too complex or expensive to fix. This article guides you through the different types of alterations offered by dry cleaners, from hemming pants to adjusting waistlines. Ready to transform your closet?
Key Takeaways
- Dry cleaners offer many types of alterations like hemming, taking in or letting out garments, patching holes, and replacing buttons or zippers. These services help make your clothes fit better and look new again.
- The cost of alterations at dry cleaners can change based on the type of clothing, how complex the alteration is, and where you live. Simple fixes like hemming might start at $10, while more detailed jobs can go up to $50.
- Professional dry cleaners save you time by handling various alterations under one roof with skilled tailors. This means your clothes get adjusted quickly without you needing to do it yourself.
- Keeping open communication with your tailor about what you want ensures your clothes turn out just right. Always try on altered items before leaving the shop to make sure they fit well.
- Using a trusted dry cleaner for clothing alterations not only makes your outfits look better but also helps them last longer. Taking care of repairs and adjustments properly can save money over time by keeping you from having to replace items as often.
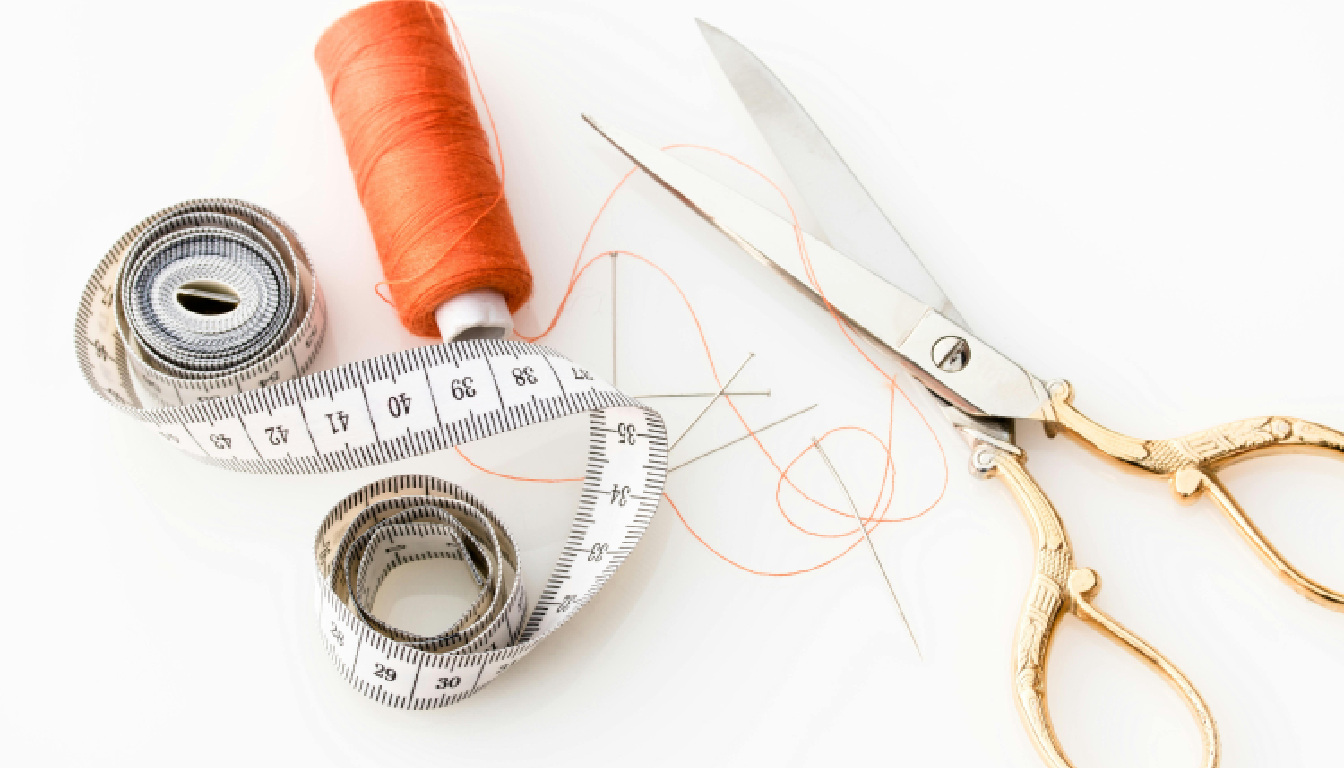
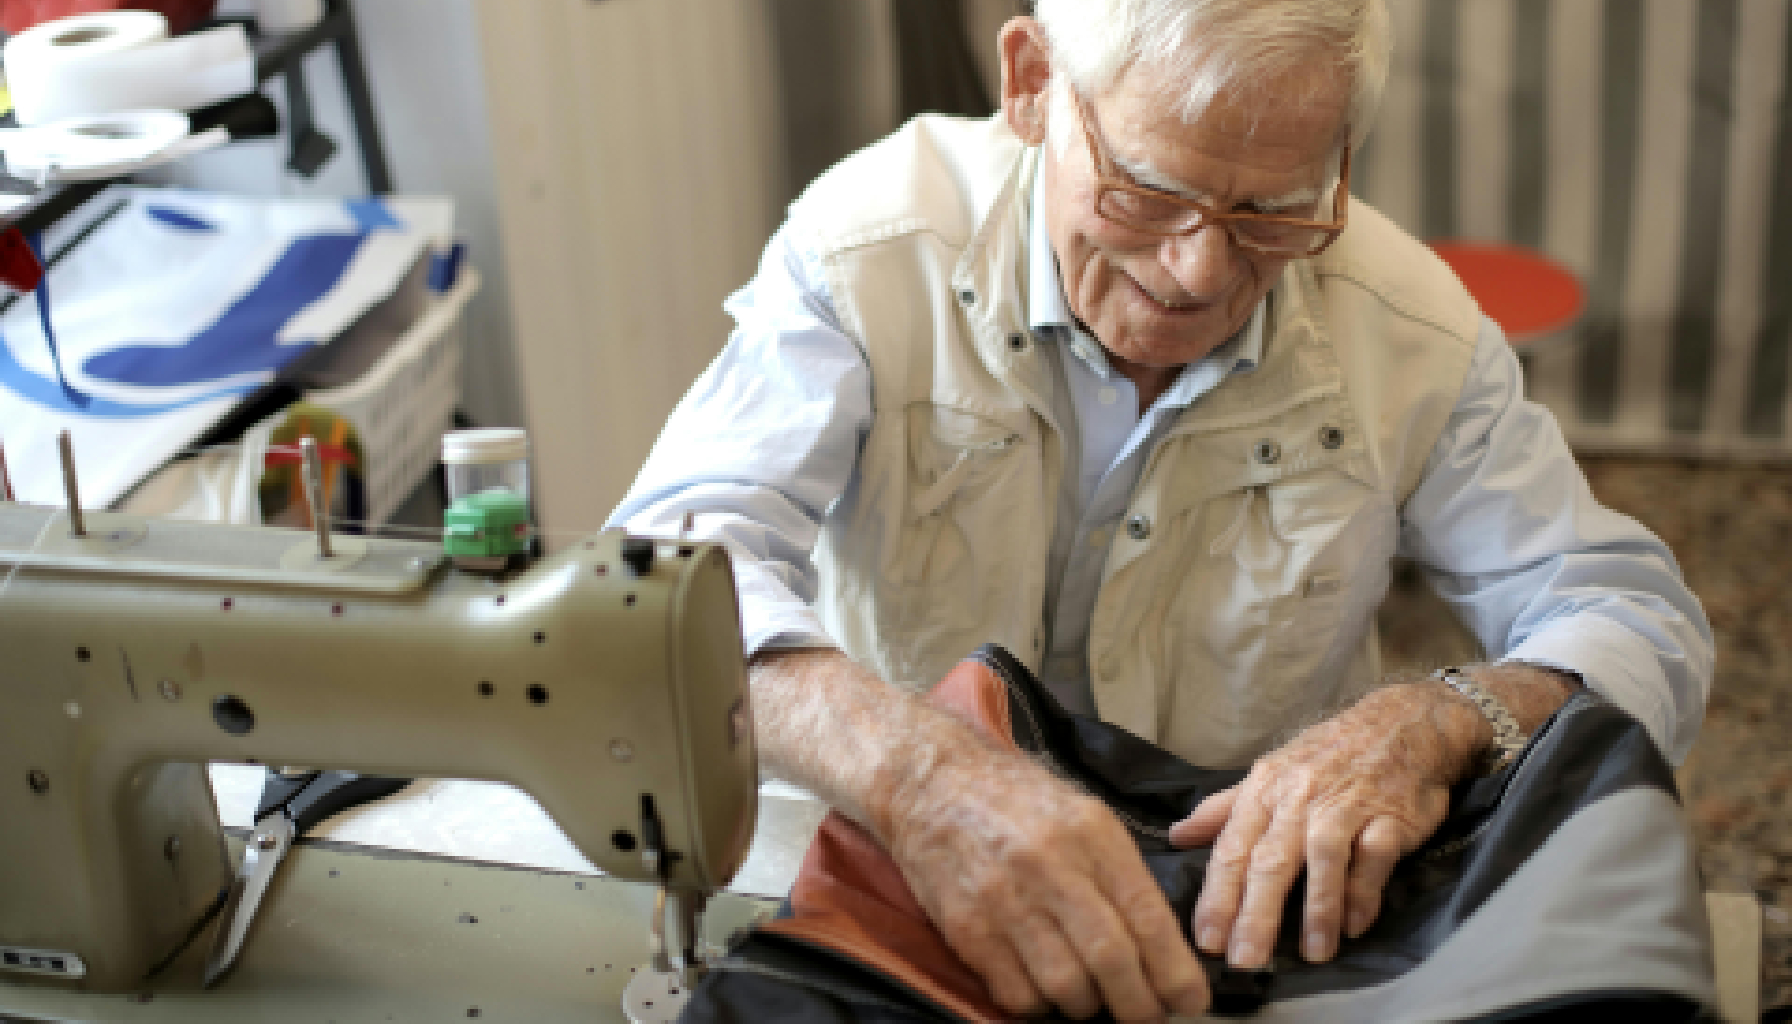
Types of Alterations Offered by Dry Cleaners
Dry cleaners offer various alterations to fit your needs. They adjust clothes to improve their look and feel on you.
Hemming
Hemming adjusts the length of pants, skirts, and sleeves to fit better. Dry cleaners often do this alteration to ensure your clothes have the perfect length. It’s a popular service in Charlotte, where many people bring their trousers for hemming.
This process can transform how your clothing looks and feels, making it seem custom-made.
Next up is taking in or letting out garments—a solution for when your favorite pieces don’t fit just right anymore.
Taking In or Letting Out
After adjusting the length of clothes through hemming, dry cleaners often modify how loose or tight a garment fits by taking it in or letting it out. This process adjusts the size to better fit the wearer’s body shape.
Tailors resize clothing by either removing excess fabric to make it smaller or adding material to create more room. This type of alteration ensures clothes sit comfortably and look flattering on the individual.
Seamstress services excel in these adjustments, providing custom fitting that transforms off-the-rack items into personalized pieces. Customers seeking a perfect fit find this service invaluable for both new purchases and beloved wardrobe staples needing updates due to body changes.
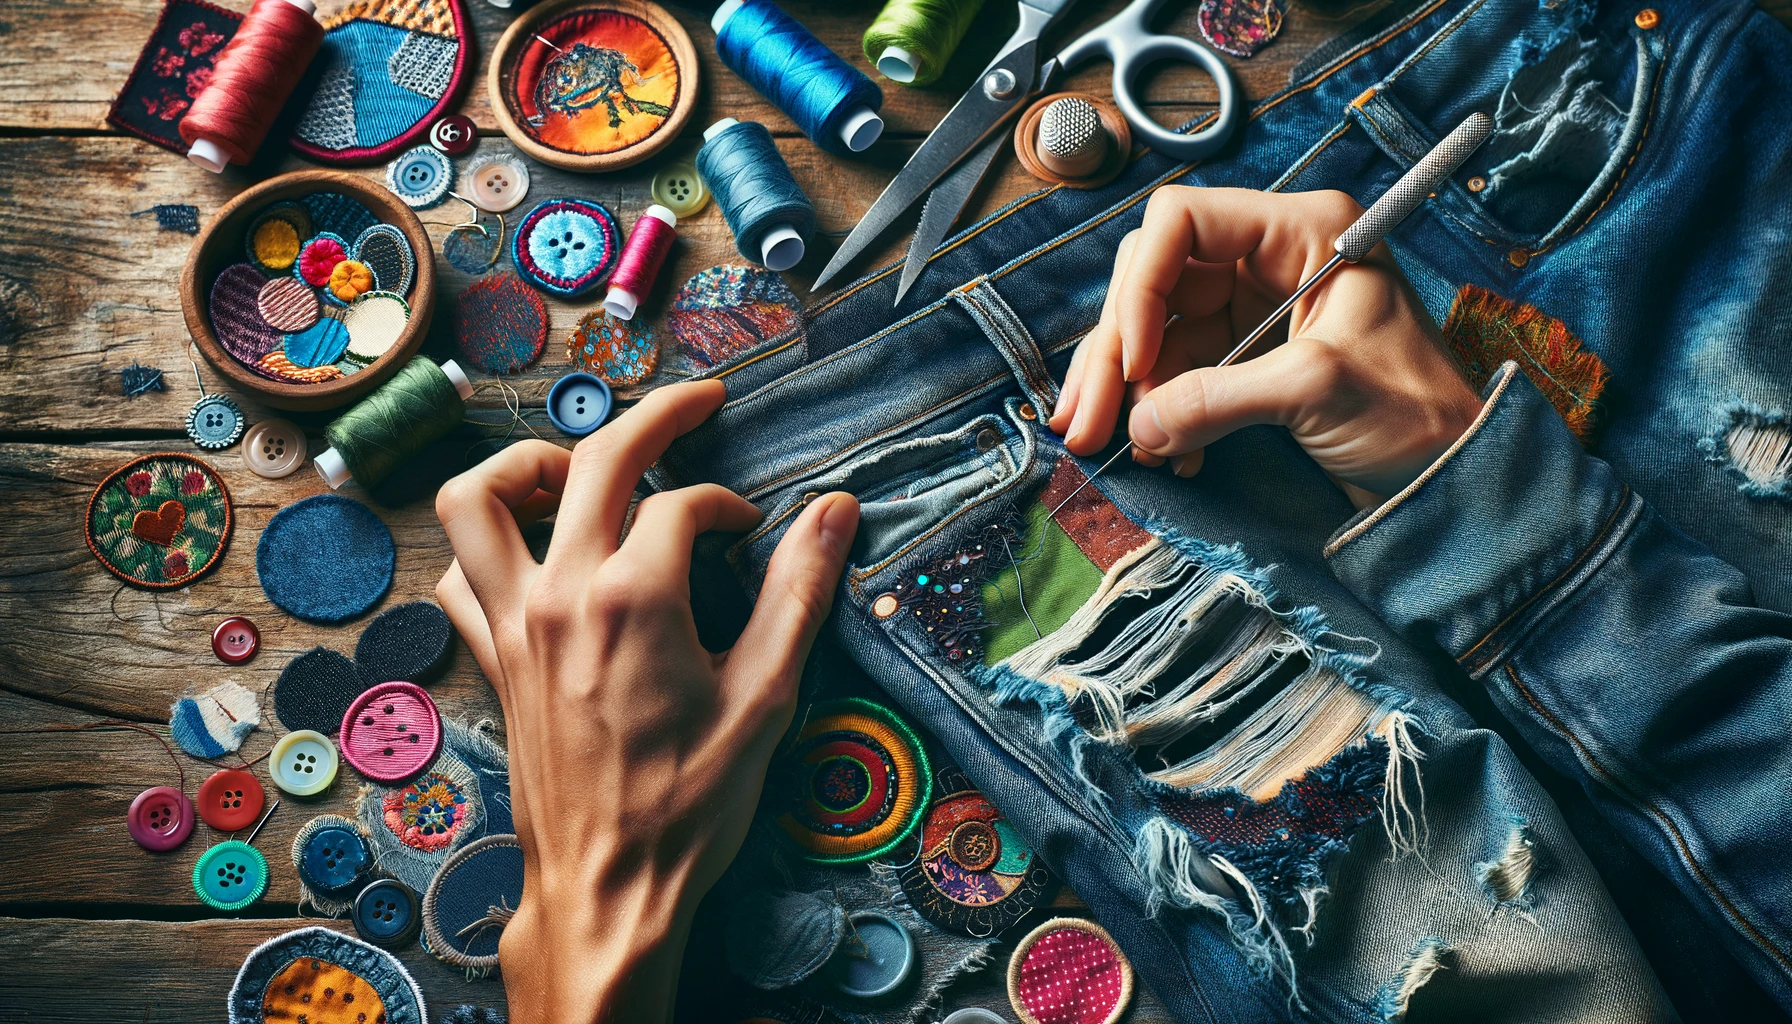
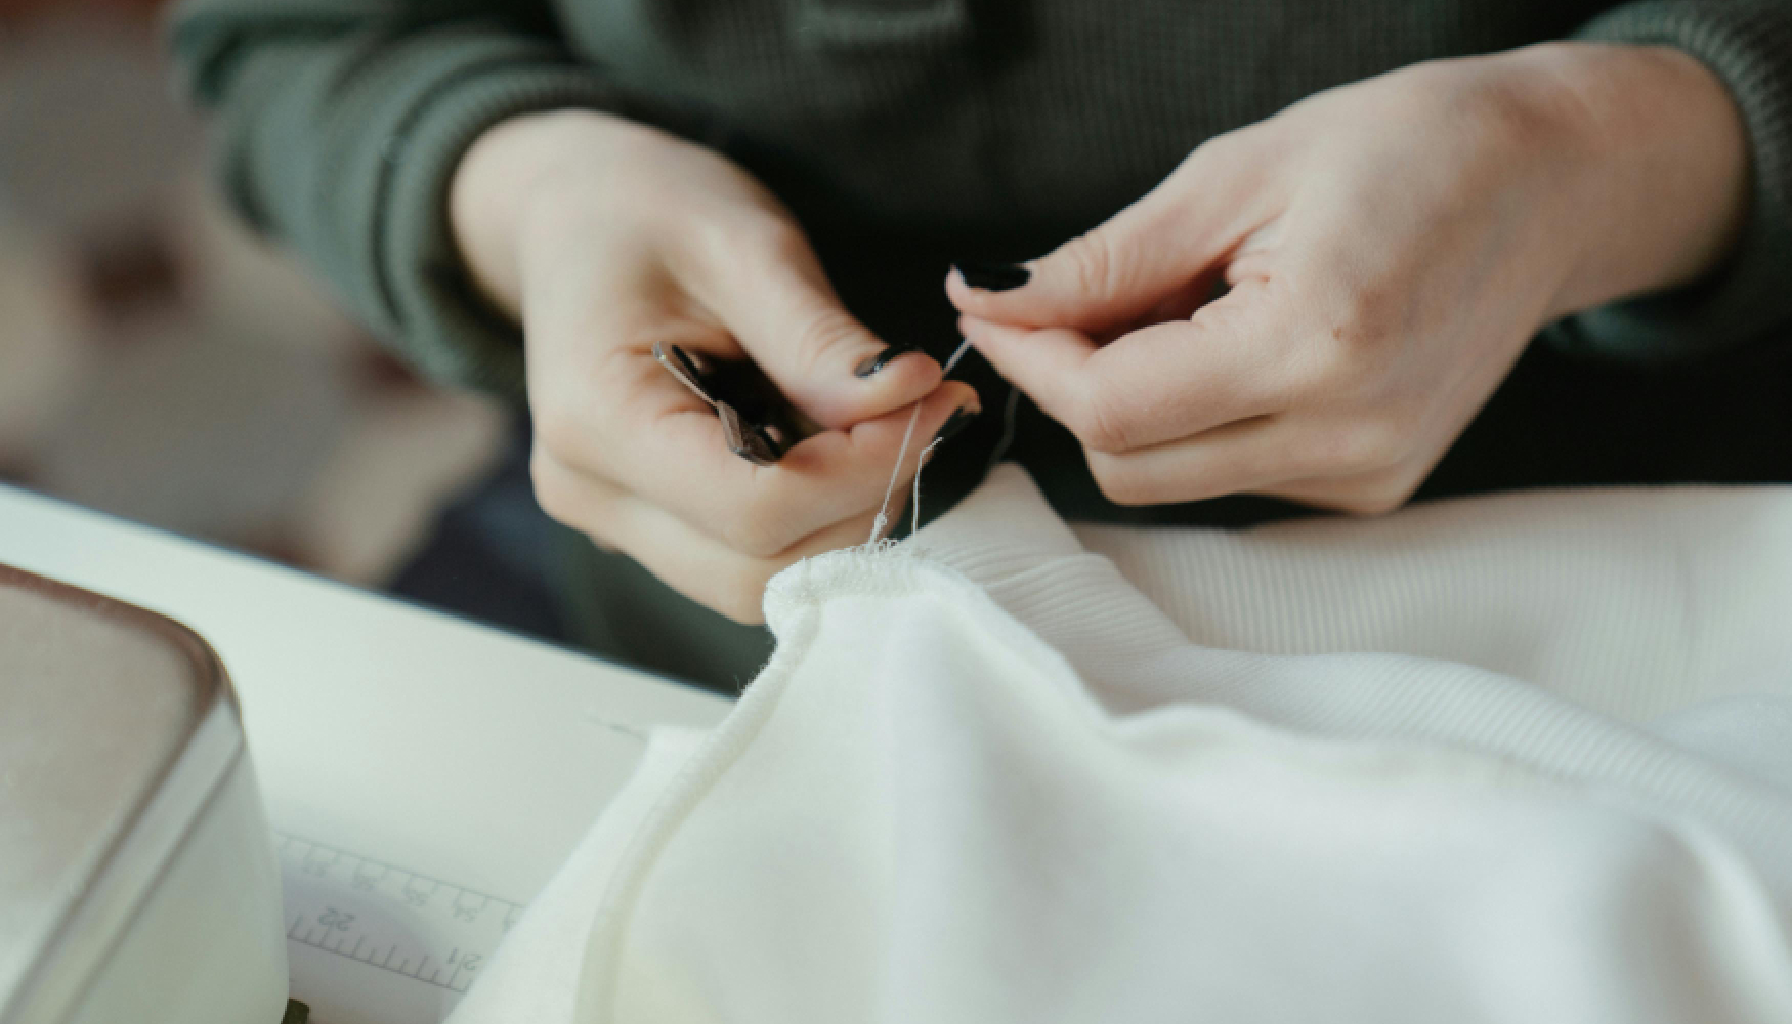
Patching
Patching repairs holes and tears in your clothes. Dry cleaners offer this service for different types of fabric, like pants, skirts, and jackets. This process is great for clothing preservation and can save a favorite piece from being thrown out.
Some dry cleaners specialize in patchwork alterations, providing high-quality fabric mending. Asking about their specific tailoring services ensures you find the right help for your wardrobe maintenance needs.
Patching is an affordable way to keep your clothes looking good longer.
Replacing Findings (Buttons, Zippers, etc.)
After patching up tears and holes, another common alteration is replacing findings like buttons and zippers. Dry cleaners often take on the task of fixing garment fastenings that are broken or worn out.
They can replace missing buttons or repair a faulty zipper, ensuring your clothes function well again. This service extends to providing replacement buttons for garments that have chipped or cracked ones, keeping your attire looking neat.
Most dry cleaners handle these replacements with professional care, which saves you time from doing it yourself. Whether it’s a jacket zipper that no longer zips or a shirt missing its top button, they offer clothing maintenance solutions for these issues.
Seamstress services at dry cleaners make sure every replaced button matches and every new zipper works smoothly, giving your clothing a fresh lease on life without the hassle of DIY repairs.
Cost of Alterations
The price of alterations can vary, depending on the type of change your clothes need. Keep reading to learn more about how this affects you.
Factors that Affect Cost
Dry cleaning costs can vary widely. Many factors play a role in how much you’ll pay.
- Type of Clothing Item: Different garments require different care. A silk blouse will cost more to clean than a cotton shirt because of the delicate fabric.
- Complexity of Stain Removal: Tough stains take more time and special treatments to remove, increasing the cost.
- Garment Size and Complexity: Larger items like coats or complex dresses with many details are pricier to alter or clean.
- Labor Costs: Skilled labor for intricate repairs or alterations adds to the price. In areas where labor costs are higher, expect to pay more.
- Overhead Expenses: Rent, utilities, equipment maintenance, and supplies all impact what dry cleaners charge.
- Market and Competition: Prices can also reflect the local market and how many other cleaners are offering similar services. More competition can lead to lower prices.
Average Cost Range by Alteration Type
Understanding that several factors influence the cost of alterations, it’s crucial to explore the average cost range by alteration type to set expectations. Here’s a concise overview presented in a table format:
| Type of Alteration | Average Cost Range |
| Hemming | $10 – $30 |
| Taking In or Letting Out | $15 – $50 |
| Patching | $10 – $40 |
| Replacing Findings (Buttons, Zippers, etc.) | $8 – $20 |
Prices vary by complexity and garment type. Hemming, a simple alteration, starts at $10. More intricate alterations, such as taking in or letting out, can reach up to $50. Patching falls within a similar range as hemming, reflecting the labor involved. Replacing findings, considered a basic task, costs less on average.
Benefits of Using a Dry Cleaner for Alterations
Choosing a dry cleaner for alterations ensures your clothes fit perfectly while saving you time and effort.
Professional and Efficient Service
Dry cleaners offer professional and efficient services, helping you look your best. Their team of skilled tailors and seamstresses handle your clothing with care, ensuring each alteration meets high standards.
These experts use the latest technology to provide precise alterations, from hemming to replacing zippers.
Using a dry cleaner for clothing alterations saves you time and effort. They offer a full range of services under one roof, making it easy to care for your garments in one stop. With their expertise, they quickly make the needed adjustments so you can have your clothes back as soon as possible.
This convenience means less worry about finding different specialists for each type of alteration.
Saving Time and Effort
Using dry cleaner services for alterations like hemming, taking in or letting out garments saves customers from the hassle of doing it themselves. It’s a time-efficient way to ensure clothes fit perfectly without spending hours attempting DIY fixes.
Professionals handle delicate items with care, offering garment modifications and clothing repairs swiftly. This means less time worrying about damaging special fabrics or dealing with complicated adjustments at home.
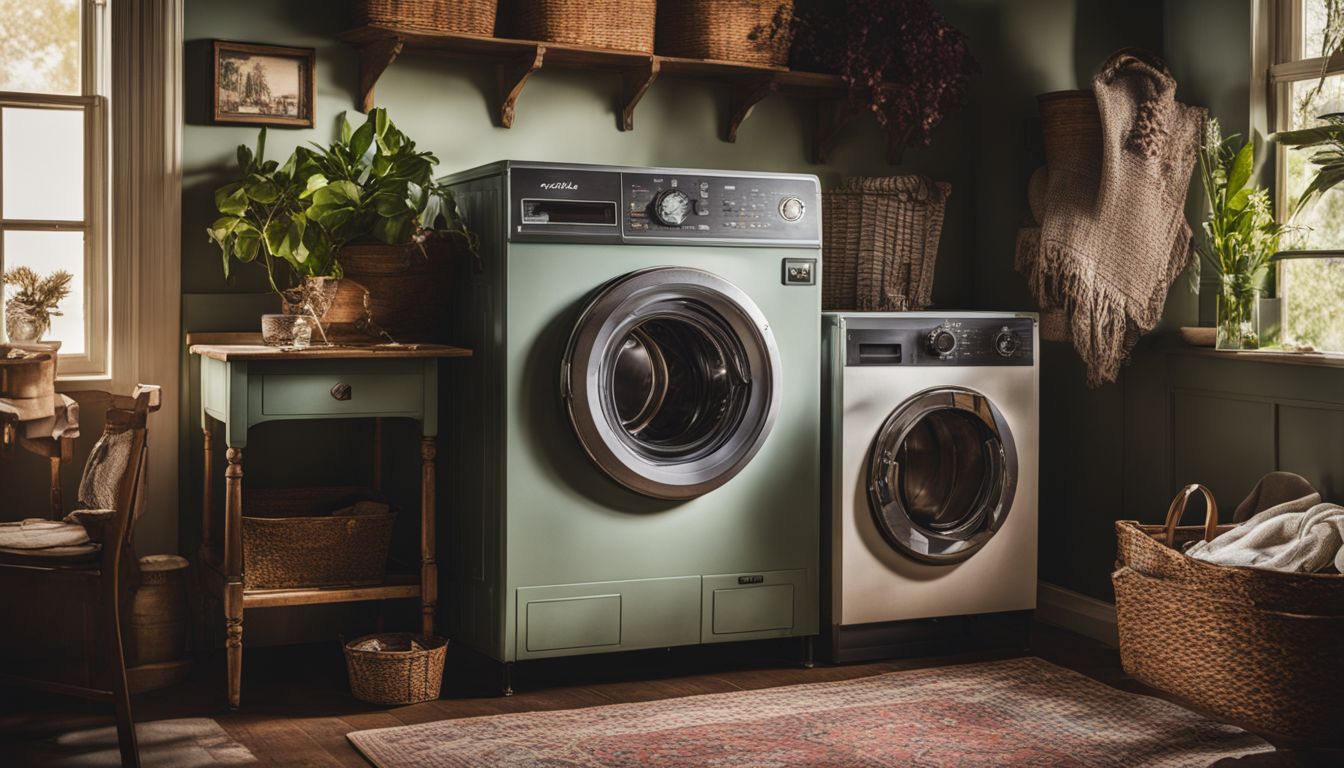
Extending the Lifespan of Your Clothing
Dry cleaning is a crucial step in extending the lifespan of your clothing, maintaining its original quality and appearance. The gentle cleaning process protects delicate materials like silk, satin, and wool from damage, ensuring they keep their color and texture for longer.
It effectively removes dirt and stains that might otherwise deteriorate the fabric. By preserving the overall quality of garments, professional dry cleaning saves you money in the long run by reducing the need to frequently replace worn-out clothes.
Tips for Using Dry Cleaner Alterations Services
For a smooth dry cleaner alteration experience, clear communication with your tailor is key. Always try on your clothing after alterations to ensure the perfect fit.
Communicate Clearly and Specifically
Clear and specific communication with your dry cleaner ensures they understand exactly what you need. Discuss the type of alteration, whether it’s a hemming, taking in, or patching.
Use straightforward language to describe your desired outcome. This clarity prevents misunderstandings and guarantees that your clothing alterations meet your expectations.
Before leaving any garment for adjustments, always express clearly what customized tailoring you expect. Ask questions if unsure about any sewing and stitching services offered. Moving on, it’s crucial to try on the altered garment before leaving the dry cleaner to ensure satisfaction with the work done.
Try on the Garment Before Leaving the Dry Cleaner
Always make sure to try on your garment after alterations at the dry cleaner. This step confirms that the changes meet your expectations and fit correctly. Dry cleaners thoroughly examine each clothing piece before making any adjustments, ensuring proper care and precision in every stitch.
By trying on the tailored pieces, you can immediately point out if further modifications are necessary or if everything looks great.
Ask for Recommendations or Advice
Talk to friends and family or look at online reviews to find a good dry cleaner for alterations. This will help you find someone trustworthy and skilled. Ask the alterations specialist at the dry cleaner for their expert advice on what is best for your clothes.
They have lots of experience and know how to make your garments fit perfectly.
Conclusion
Alterations offered by many local dry cleaners provide a range of services to make your clothes fit perfectly. They handle everything from hemming to fixing zippers, saving you time and effort. With their professional help, you can extend the life of your garments and enjoy a tailored fit without the hassle.
Remember, clear communication with your seamstress ensures the best results for your wardrobe needs. Opting for dry cleaner alterations is a smart choice for maintaining and customizing your clothing efficiently.
FAQs
1. What types of alterations can dry cleaners do?
Dry cleaners can alter clothes by adjusting their size, repairing seams, and replacing zippers.
2. Can dry cleaners shorten pants or dresses?
Yes, dry cleaners can shorten the length of pants or dresses to fit you better.
3. Is it possible for dry cleaners to adjust the waist size of my pants?
Yes, they can adjust the waist size to make your pants tighter or looser.
4. Can a dress be taken in at the sides by a dry cleaner?
Yes, a dress can be taken in at the sides for a more fitted look by a dry cleaner.
5. Do dry cleaners fix tears and holes in clothing?
Yes, they repair tears and holes to restore your clothing’s appearance.