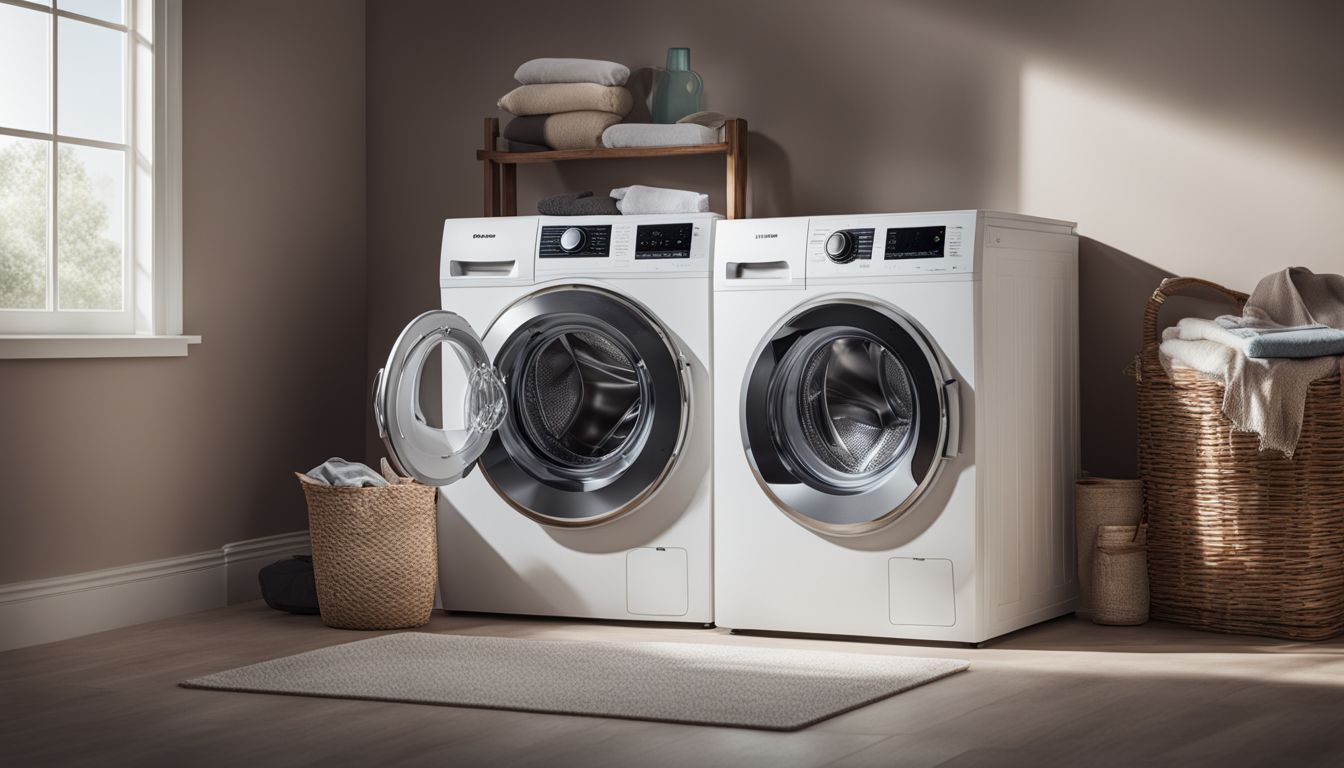
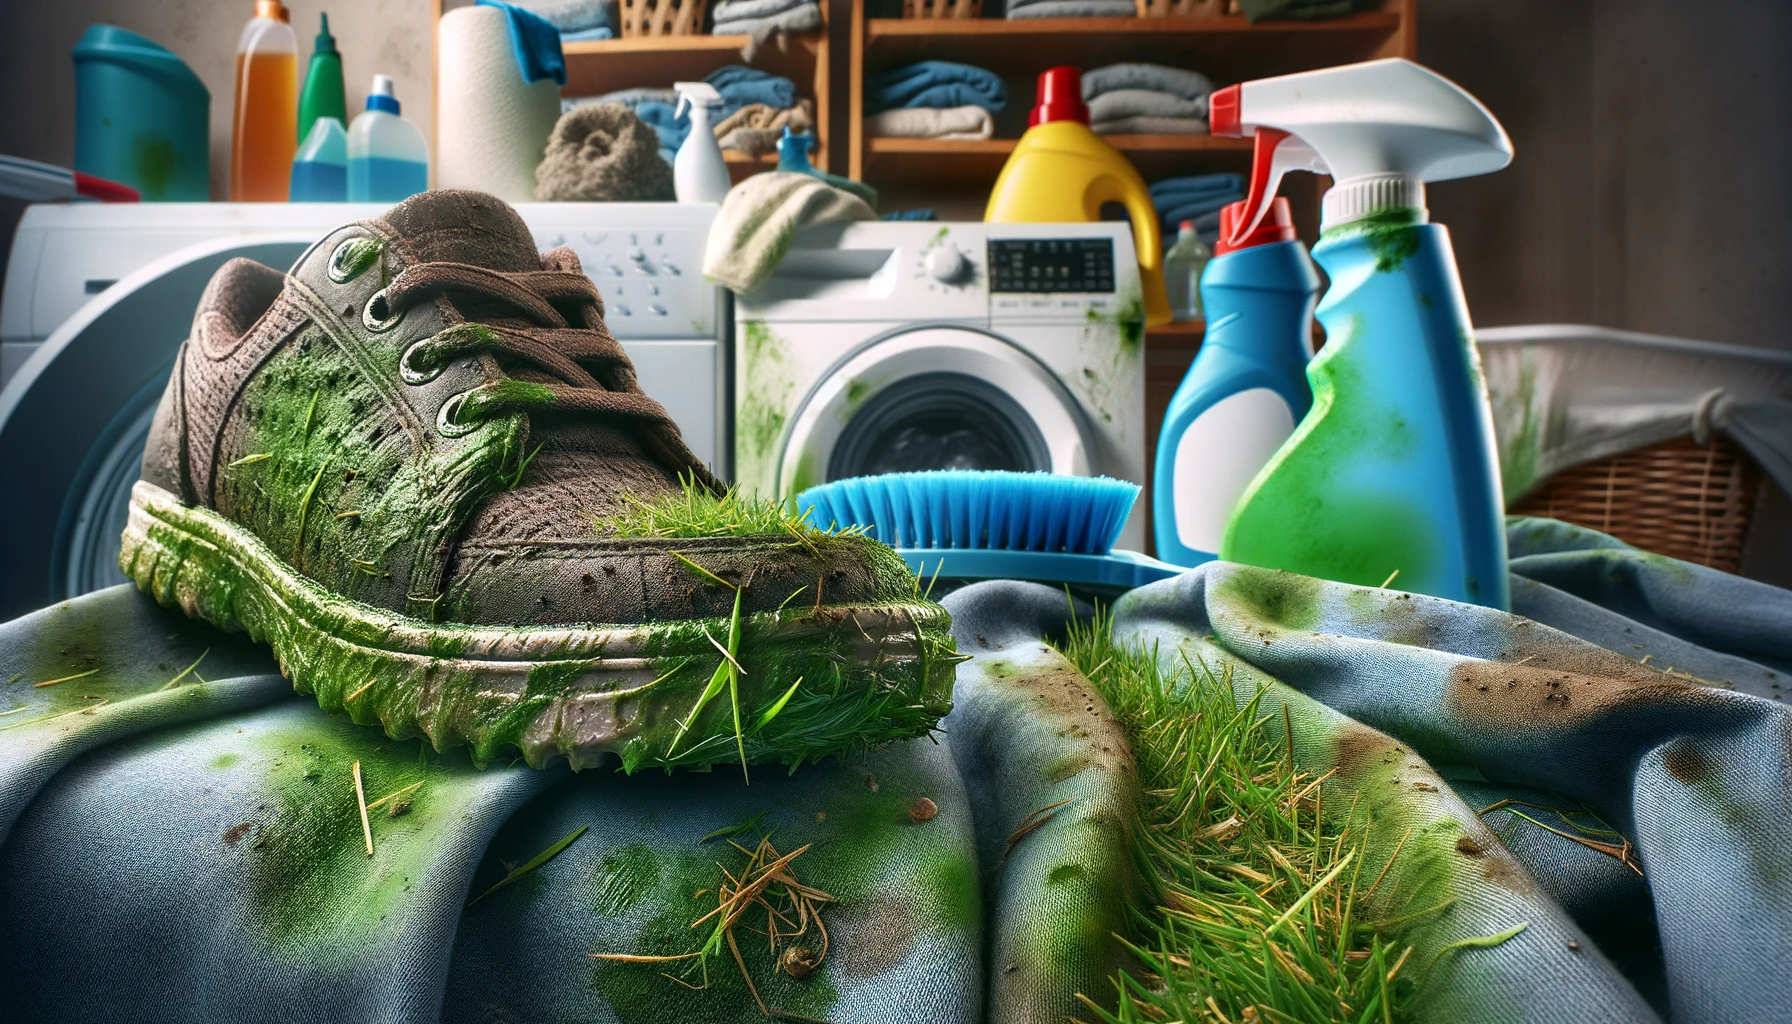
How To Remove Grass Stains From Clothes And Shoes
Picture this: you’re enjoying a sunny day at the park, but oh no, your favorite outfit and shoes are now sporting grass stains. It’s a common predicament that plagues clothing and footwear alike. But how do you remove grass stains from clothes and shoes?
In this post, we’ll guide you step by step to effectively banish those stubborn green marks from your beloved items. Dive into our proven tips and tricks that promise to tackle even the toughest of turf blemishes.
Keep reading; spotless attire awaits!
Key Takeaways
- Fast action is crucial for removing grass stains from clothes and shoes; treat the stain as soon as possible to prevent it from setting.
- Use household items like regular detergent, rubbing alcohol, hydrogen peroxide, baking soda, and dish soap effectively to remove grass stains from various fabrics.
- Different shoe materials such as leather, suede, and canvas require specific cleaning methods to avoid damage while eliminating grass stains.
- Pre-treating clothes with a mixture of water and vinegar or soaking them in water with laundry detergent can help lift set-in grass stains before washing.
- If initial cleaning attempts don’t work on stubborn grass marks, repeat the process using appropriate enzymatic stain removers or homemade solutions.
How to Remove Grass Stains From Clothing

Grass stains on clothing can be stubborn, but with the right techniques and household items, they don’t have to be permanent. Discover effective methods that will help you tackle these green nuisances and restore your clothes to their former glory without harsh chemicals or expensive treatments.
With Regular Detergent
Grass stains don’t stand a chance against the cleaning power of regular detergent. It’s important to act quickly to prevent the stain from setting in. Here’s how you can tackle those stubborn green marks on your clothes using detergent:
- Check the care label on your clothing item to make sure it is machine washable and can be treated with detergent.
- Remove any excess grass from the fabric by gently brushing it off with an old toothbrush or a piece of cloth.
- Run cold water through the back of the stain; this helps push the stain out instead of deeper into the fibers.
- Pour a small amount of liquid laundry detergent onto the stained area, covering it completely. Persil or any other stain-fighting brand works well for this purpose.
- Gently rub the detergent into the stain using your fingers or an old toothbrush. For tougher stains, allow it to sit for at least 15 minutes before washing.
- Wash the garment on a regular cycle with other items, using warm water if allowed by fabric care instructions; otherwise, stick with cold water.
- Before transferring to the dryer, check to see if the stain is gone. If not, repeat steps four through six until you achieve desired results.
Using Rubbing Alcohol
Moving on from tackling grass stains with regular detergent, let’s explore the effectiveness of using rubbing alcohol—a convenient and powerful fabric cleaner. This alcohol-based cleaner can be a game-changer in your laundry routine, especially for those stubborn green marks.
- Start by laying the stained garment on a flat surface and place an absorbent cloth or towel underneath the affected area to prevent the stain from spreading.
- Dampen a white cloth or sponge with rubbing alcohol; this helps ensure no additional colors bleed into the fabric.
- Gently dab the grass stain with the alcohol – soaked cloth or sponge, working from the outside of the stain towards the center to avoid expanding it further.
- Allow the solution to work its magic for around five minutes; patience is key here as the alcohol begins breaking down the chlorophyll pigments.
- After letting it sit, rinse out the treated area thoroughly with cold water to flush away any loosened particles of grass and excess alcohol.
- If some traces of the stain remain, repeat these spot cleaning steps until you see improvement; persistence pays off with tough stains!
- Once you’ve made significant progress on removing the mark, launder your garment as usual using a reliable laundry stain remover—just make sure you choose one suitable for your fabric type.
- Finally, air dry your clothing instead of using a dryer until you’re certain that no ghost of a grass stain lingers. Heat can set stains permanently!
Using Hydrogen Peroxide
Transitioning from the topic of rubbing alcohol, let’s explore another potent fabric cleaner: hydrogen peroxide. This household ingredient not only acts as an alternative to bleach, but it’s also a powerful oxidizing agent that tackles grass stains with ease. Here’s how to use hydrogen peroxide to get your clothing looking spotless again:
- First, make sure you’re using 3% hydrogen peroxide; this is the standard concentration for household use.
- Begin by testing a small, inconspicuous area of the fabric to ensure colorfastness.
- Pour or spray a small amount of hydrogen peroxide directly on the grass stain, covering it entirely.
- Let the solution sit on the stain for about ten minutes; this gives it time to break down the green pigments.
- Gently scrub the stained area with an old toothbrush or soft – bristle brush after letting it sit. This helps work the hydrogen peroxide into the fibers.
- Rinse the treated area with cold water thoroughly to remove any residue from the fabric cleaner.
- If the stain persists, create a cleaning solution by mixing equal parts of dish soap and hydrogen peroxide.
- Apply this home remedy mixture to the stain and allow it to sit for another ten minutes, then scrub and rinse again.
- Launder your clothing item using laundry detergent as you normally would, but avoid hot water that could set any remaining stain.
With Baking Soda
Baking soda stands out as a natural cleaning agent with the power to tackle grass stains on clothing. Its gentle abrasive action and whitening properties can lift stains without damaging fabrics.
- Make a paste by mixing three parts baking soda with one part water. This concoction creates a powerful yet ecofriendly cleaner.
- Apply the paste directly onto the grass stain, ensuring it completely covers the affected area for effective stain removal.
- Scrub gently with a soft brush or toothbrush. The brushing action helps the baking soda penetrate the fibers of the fabric.
- Let it sit for at least 15 minutes. Giving time for baking soda to work its magic is key in DIY stain removal.
- Launder your clothing item as usual with regular detergent, but pay attention to laundry instructions specific to fabric care.
- Check if the stain has been fully removed before drying. Heat from dryers can set stains, making them tougher to remove later.
- Mix baking soda with hydrogen peroxide to form a more potent solution. Together they act as an effective household cleaning team.
- Repeat the application and scrubbing process, allowing this stronger mixture more time on fabric—around 30 minutes should do the trick for tough stains.
- Rinse thoroughly once again and wash using your choice of laundry detergent.
With Dish Soap
Dish soap isn’t just for your dirty dishes; it’s also a powerful ally in fabric cleaning. Its surfactants excel at lifting stubborn grass stains from clothing, making it an essential tool for laundry care.
- Start by wetting the stained area of the fabric with cold water to prevent the stain from setting further.
- Take a small amount of dish soap and apply it directly onto the grass stain, ensuring it covers the entire affected area.
- Gently rub the dish soap into the stain using your fingers or a soft – bristled brush, working it deeply into the fibers.
- Allow the dish soap to sit on the stain for at least five minutes, giving it time to break down the grass pigments.
- Rinse out the treated area thoroughly with cold water, checking if there’s any improvement in stain removal.
- If the stain persists, repeat applying dish soap and scrubbing until you notice progress.
- Once satisfied with the reduction of the grass mark, launder your clothing item according to its fabric care label recommendations.
- Finally, air dry your garment instead of using high heat from a dryer that could set any remaining bits of stain.
How to Remove Grass Stains From Shoes
Tackling grass stains on shoes requires a tailored approach; each material – from the supple surface of leather to the napped texture of suede, down to the striking canvas of white sneakers – demands its unique cleaning strategy.
Discovering these specialized techniques can restore your footwear’s pristine appearance and extend their lifespan.
Leather Shoes
Grass stains on leather shoes can be stubborn, but with the right cleaning solution and techniques, they don’t have to be permanent. Caring for your leather footwear requires some knowledge and the following steps will guide you through the stain removal process.
- Start by preparing a mixture of one part white vinegar to one part water to create an effective leather care solution.
- Gently dab the vinegar solution onto the grass stain using a soft cloth, careful not to saturate the leather as too much moisture can damage it.
- Take a scrubbing brush with soft bristles and lightly work on the stained area in circular motions; this helps lift the grass particles from the surface without scratching the leather.
- For tougher stains, apply a small amount of dish soap to enhance the cleaning power of your homemade remedy.
- After scrubbing, wipe away any residue with a clean, damp cloth to reveal a cleaner surface.
- If traces of grass stain linger, consider applying a specialized leather cleaner as per its instructions for targeted stain treatment.
- Once clean, allow your shoes to air dry naturally away from direct heat or sunlight which can cause cracking or fading.
- Finish this cleaning routine by conditioning your footwear with a suitable leather conditioner to restore moisture and shine.
Suede Shoes
Removing stains from suede shoes requires a gentle touch and the right tools. Here’s a step-by-step guide to keeping your suede looking spotless without causing damage.
- Begin by softly brushing the stained area with a suede brush to remove any loose dirt and surface marks.
- For stubborn dry stains, try using a pencil eraser or a specialized suede eraser to gently rub away the discoloration.
- If you encounter a wet stain, pat it gently with a clean cloth to absorb as much moisture as possible, avoiding rubbing which can deepen the stain.
- To address grass stains on suede shoes, create a solution of white vinegar and water in equal parts. Apply it carefully onto the stain using a soft cloth.
- After applying the vinegar solution, let the shoes air dry completely away from direct heat or sunlight.
- Once the shoes are dry, re – brush them with your suede brush to restore the nap and texture of the material.
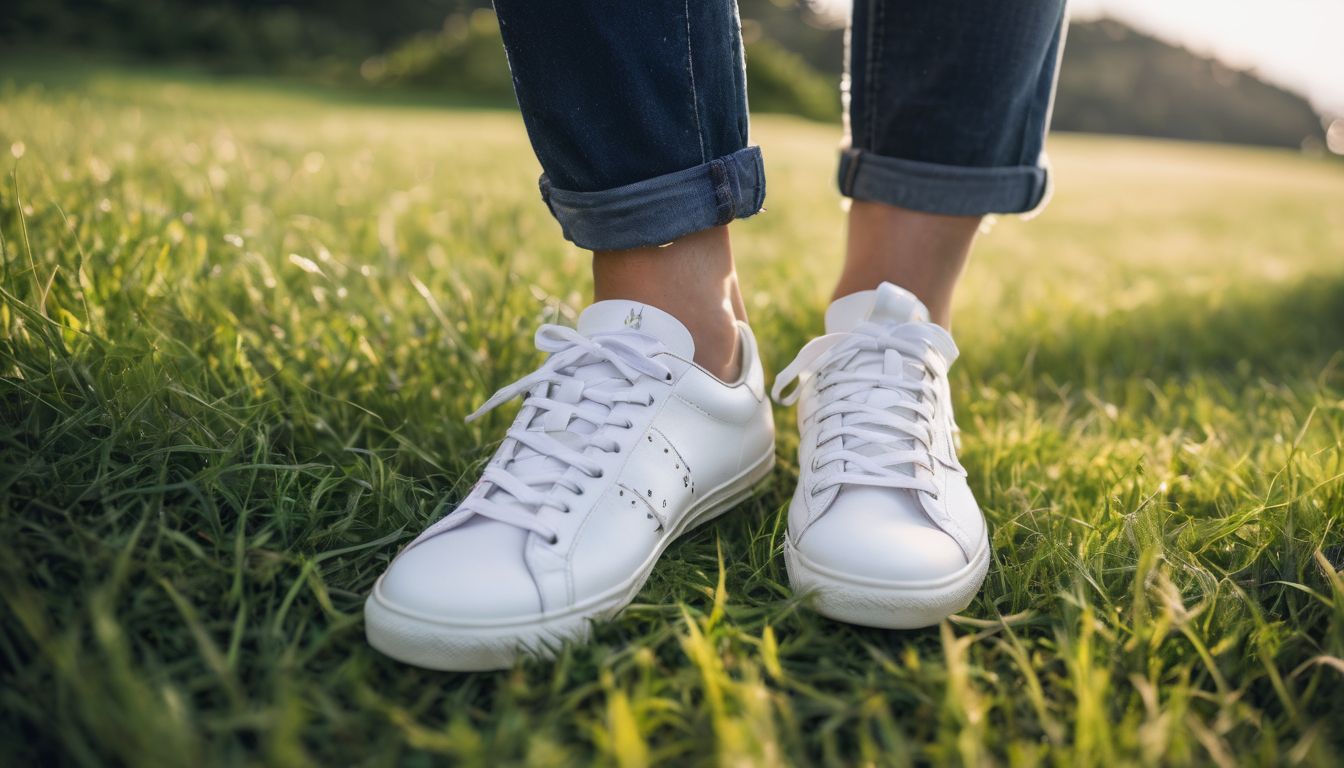
White Shoes
Shifting focus from suede, white shoes require a different approach for tackling grass stains effectively. To keep your white footwear looking pristine, try these simple yet effective cleaning tips.
- Mix one part white vinegar with one part water to create a potent cleaning solution specifically for white shoes. Apply it using a soft cloth or brush, gently scrubbing the stained area to break up and lift the green discoloration.
- Create a solution by pouring one-third of a cup of white vinegar into a bowl and adding two-thirds of a cup of warm water. This blend works particularly well on tough grass stains that haven’t responded to initial cleaning attempts.
- For white leather shoes, treating them with an equal mix of water and white vinegar can make a big difference. After applying the mixture, use a damp cloth to buff away scuffs, restoring the shoe’s bright appearance.
- If you’re dealing with persistent stains on your favorite pair of white kicks, use this vinegar and water concoction as your go-to remedy. Allow the solution to sit on the stain for several minutes before wiping clean for maximum effectiveness.
How to Get Grass Stains Out of Jeans
Grass stains on jeans can be persistent, but they’re not invincible. With the right approach and some common household items, you can tackle those green blotches and restore your denim.
- Start by creating a grass stain removal solution of equal parts white vinegar and warm water.
- Saturate the problem area with this mix to break down the colorants in the grass.
- Allow this solution to penetrate the stain by letting it sit for 5 to 10 minutes.
- Add baking soda directly onto the stained section to enhance cleaning power. This mild abrasive helps lift the stain from the fabric fibers.
- If baking soda alone doesn’t do the trick, try making a paste out of hydrogen peroxide, dish soap, and baking soda. Apply this potent combo directly to stubborn stains.
- For deep – set grass marks, prepare a soaking bath with oxygen bleach according to package instructions, and submerge your jeans entirely.
- Another quick fix involves making a paste of vinegar and baking soda; apply it onto the stain before washing as usual.
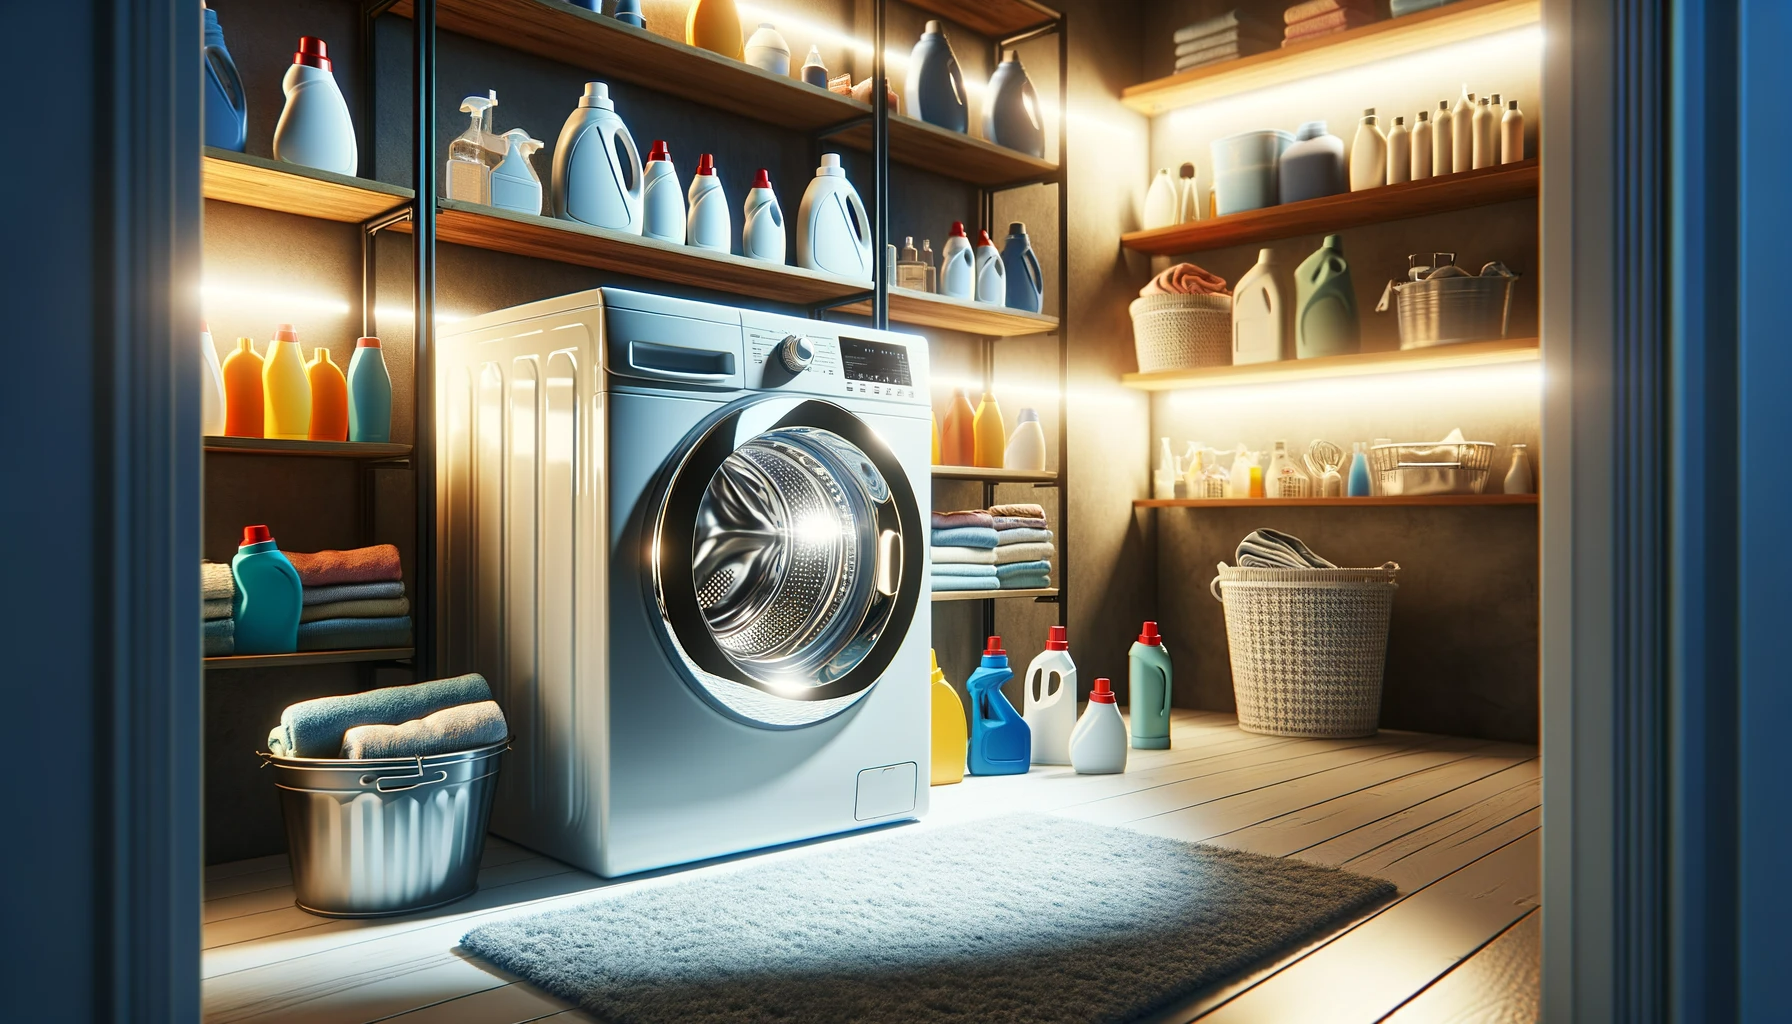
Tips for Removing Set-in Grass Stains on Clothes
For those daunting, stubborn grass stains that refuse to budge, we’ll reveal some effective strategies to restore your clothes to their former glory—stay tuned for insights that could save your favorite outfit.
Pre-treating the Stain
Pre-treating a stain can make all the difference in grass stain removal. Acting fast prevents the dye from setting into the fabric, saving your favorite outfit from ruin. Here’s how you can effectively pre-treat grass stains on clothes:
- First, gently scrape off any excess grass or dirt from the fabric using a soft brush or a blunt knife to avoid pushing the stain deeper into the fibers.
- Blot the stained area with rubbing alcohol using a clean cloth to lift out as much color as possible; it’s crucial to dab rather than rub to keep from spreading the stain.
- Mix one part vinegar with two parts water and apply it directly to the stain; this solution helps break down plant pigments without harming most fabrics.
- Create a paste with baking soda and water, then apply it onto the stained area; let it sit for around 30 minutes for maximum effect before rinsing.
- If there’s stubborn residue left after pre – treatment, soak the garment in a mix of laundry detergent and water; this can help loosen remaining dye particles.
Soaking in a Mixture of Water and Laundry Detergent
Removing stubborn grass stains from your favorite outfit can be a daunting task. However, soaking the affected garment in a mixture of water and laundry detergent offers an effective solution for tackling those pesky green marks. Here’s how to do it:
- First, fill a sink or bucket with warm water; the temperature helps activate the cleaning agents.
- Add enough laundry detergent to create some suds. Opt for a powder detergent containing enzymes, as they break down proteins found in grass.
- Submerge your stained clothing completely in this mixture. Ensure every part of the stain is soaking.
- Allow the garment to soak for at least one hour. For tougher stains, consider letting it sit overnight.
- Check on the progress intermittently. Gently rub the fabric together near the stained area to help lift the mark.
- After soaking, rinse the clothing thoroughly with cool water until all soap residue is gone.
- Inspect the stain. If remnants persist, repeat the process or try applying a targeted stain remover before washing.
Using a Stain Remover
After soaking your clothes in a water and laundry detergent mix, the next step is to tackle those stubborn grass stains with a stain remover. Enzymatic cleaners are especially powerful because they break down the proteins in grass, making it easier to wash away the marks.
- Choose the right stain remover by checking if it contains enzymes, which are great for breaking down grass stains.
- Apply the stain remover directly onto the spot. Gently rub it in to ensure it penetrates into the fabric fibers.
- Allow the treated clothing to sit for at least 15 minutes. This gives the enzymes time to work their magic on the grass stains.
- Check garment care labels for washing instructions and follow them closely when laundering your stained item.
- Launder using warm water if possible; this helps activate the enzymatic cleaner further.
- Inspect the clothing after washing. If traces of the stain remain, repeat treatment before drying, as heat can set stains permanently.
Wash and Repeat if Necessary
Having explored various stain remover options, it’s often necessary to perform a second wash to fully eliminate tough grass stains. Persistence is key, especially for set-in stains that don’t come out the first time. Here are steps to effectively wash and repeat if needed:
- Check the stained area after the first wash to see if any hint of green remains.
- If the stain persists, apply more of your chosen stain remover onto the affected area.
- Gently rub the fabric together or use an old toothbrush to work the remover in without damaging the cloth.
- Allow the stain remover to sit on the fabric for another 10 – 15 minutes to penetrate deeper.
- Fill a basin with warm water and add a scoop of enzyme – based detergent proven effective against grass stains.
- Soak the clothing in this mixture for at least one hour, ensuring that all parts of the stain are submerged.
- Wash the garment again using warm water, as heat can help activate enzymes in your detergent.
- Once washed, inspect the area before drying; heat from a dryer can set stains permanently into fabric.
- Repeat these steps until you no longer see any signs of grass stains on your clothing items.
Conclusion
Tackling stubborn grass stains doesn’t have to be a chore. With these tips and tricks, you’re equipped to handle those pesky green streaks on your favorite clothes and shoes. Remember that quick action can make all the difference.
Now, go ahead and save your wardrobe from those green invaders with confidence! Just grab your chosen cleaner, show those stains some elbow grease, and watch them fade away.
FAQs
1. What is the first step to remove a grass stain from clothing?
Start by pre-treating the stained area with a liquid detergent or stain remover before washing.
2. Can I use bleach on grass stains?
Only use bleach if it’s safe for the fabric; otherwise, try using white vinegar or baking soda solutions that are gentle on clothes.
3. Will hot water help get grass stains out of my clothes?
No, avoid using hot water as it can set the stain further; instead, use cold water when treating and rinsing.
4. Is it possible to get grass stains out of shoes?
Yes, you can often remove grass stains from shoes by scrubbing them with a mixture of laundry detergent and water.
5. How long should I let a stain remover sit on a grass stain?
Letting a stain remover sit for 15 minutes usually helps break down the grass pigments before washing.