Fabricare Center Blog ,
Laundry
Are you tired of clothes that stick together like glue straight out of the dryer? You’re not alone—static cling in clothes is a pesky problem many people face, especially during dry seasons.
This article offers expert tips and solutions to help free your wardrobe from the grip of static electricity. Keep reading to turn clingy outfits into comfortable wear!
Key Takeaways
- Static cling is caused by the buildup of static electricity, often due to friction between clothes and dry skin or different fabric types in the dryer.
- Fabric softeners and dryer sheets can help minimize static cling by coating clothing fibers, reducing electrical charges, and balancing ions.
- To prevent static cling naturally, increase home humidity with a humidifier or houseplants, separate natural from synthetic fabrics when washing and drying, use vinegar as a natural fabric softener, and keep your skin moisturized.
- For quick fixes on-the-go against static cling: use antistatic sprays, gently rub clothes with metal objects to distribute charges or lightly apply hairspray on affected areas.
- Long-term strategies for eliminating static include reducing dryer time possibly using dryer balls for agitation; air-drying clothes outside; using fabric conditioner; wearing moisturizer and choosing clothing made from natural fibers.
Understanding Static Cling
Understanding Static Cling: Diving deep into the mysteries of static cling reveals that it’s not just about clothes sticking together; it’s a phenomenon rooted in scientific principles.
While various myths suggest otherwise, we’ll dismantle misconceptions and offer clarity on what really causes your garments to become a magnet for unwanted attraction.
What Causes Static Cling
Static cling sneaks up when dry skin and clothing create a show of sparks. As you pull on that favorite sweater or slip into those cozy pajamas, friction happens. This rubbing generates static electricity, culminating in your garments sticking together as if magnetized by an invisible force.
Many are surprised to learn about the triboelectric effect, where varying materials interact to produce electrical charges. Imagine synthetic fabrics dancing in the dryer’s warmth; they’re unknowingly building up an electrostatic charge with every tumble and turn.
It is this buildup that transforms your laundry into a stage for clinging clothes drama.
Common Myths About Static Cling
Many people believe that static cling comes from certain fabrics being more prone to it, but this is not true. It’s the electrostatic charge, not the fabric properties, that leads to those annoying zaps and clinging clothes.
Another widespread myth suggests that dryer sheets add moisture to clothes to combat static electricity buildup. In reality, they work by coating fibers with substances that reduce electrical charges.
Some also think repeated rubbing of materials in a tumble dry creates static; however, friction isn’t the direct culprit. Humidity levels play a much bigger role than most realize – higher humidity can prevent static cling because water conducts electricity and helps dissipate electric discharge before it builds up in your clothing.
Additionally, moisturizing your skin might seem like an effective way to tackle static on clothes you’re wearing but it doesn’t address the actual issue at hand within the garments themselves.
Tips to Eliminate Static Cling
Banish the annoyance of clothes that stick and crackle with unexpected zaps; here’s a trove of expert-backed strategies to eliminate static cling from your wardrobe. Dive into these savvy solutions to keep your garments flowing freely and comfortably without the unwanted electric embrace.
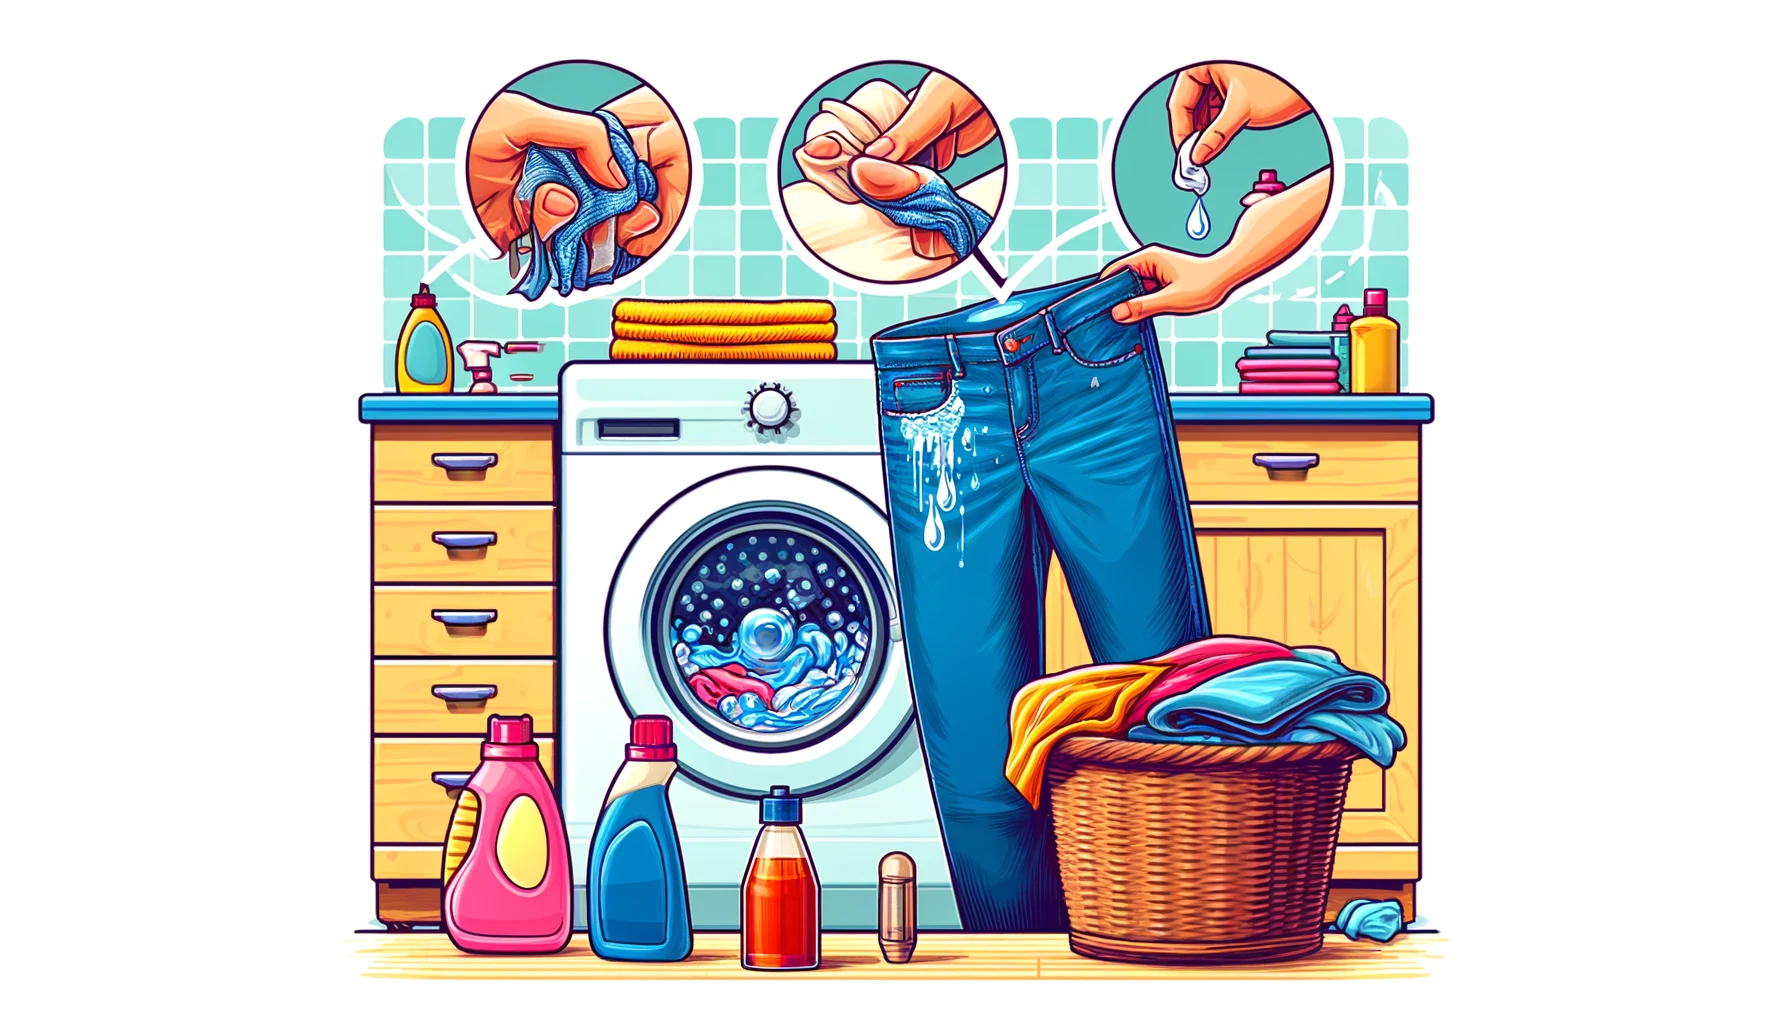
Use Fabric Softeners When Washing Clothes
Fabric softeners are your go-to ally in the battle against static cling. Tossing some into your wash can work wonders, coating your clothes fibers with a slick layer that not only amps up the softness but also takes charge of static control, making each piece more comfortable to wear and easier to handle post-laundry.
This antistatic solution acts like a protective shield during washing cycles, preventing friction and reducing the electric charge that builds up.
Improve fabric care by adding this softness enhancer during the rinse cycle; it’s one simple step for smoother fibers and far fewer wrinkles. Clothes treatment with fabric conditioner means you step out both looking sharp and free from the pesky grip of static cling – it’s an easy fix for a daily annoyance yet makes all the difference in how you experience your wardrobe day after day.
Utilize Dryer Sheets
Dryer sheets are like a magic wand for your laundry, effortlessly banishing static cling. Toss one into the dryer with your clothes, and it works by evening out the ion balance in fabrics.
This clever trick helps to keep shirts from sticking to your skirt and socks from staying stubbornly attached to pants. The positively-charged ions in dryer sheets neutralize loose electrons, stopping that annoying zapping sound or sensation you get when pulling clothes apart.
But they’re not just for throwing in with the wash; take a dryer sheet and rub it along the inside of an outfit to tame any unexpected static. It’s like an antistatic shield, giving you smooth sailing throughout your day – no more clothing clinging where it shouldn’t! Regular use ensures every piece of attire comes out feeling soft and clingfree, showing static electricity who’s boss without complicating your laundry routine.
Keep Your Clothes Moist
Ensuring your clothes remain slightly moist can be a game-changer in battling static cling. Just like using dryer sheets, this technique helps to minimize the electrical charge that builds up.
A simple way to do this is by tossing a small, damp washcloth into the dryer with your laundry. The little bit of moisture from the washcloth will work wonders and keep everything soft without any stiffness or stickiness.
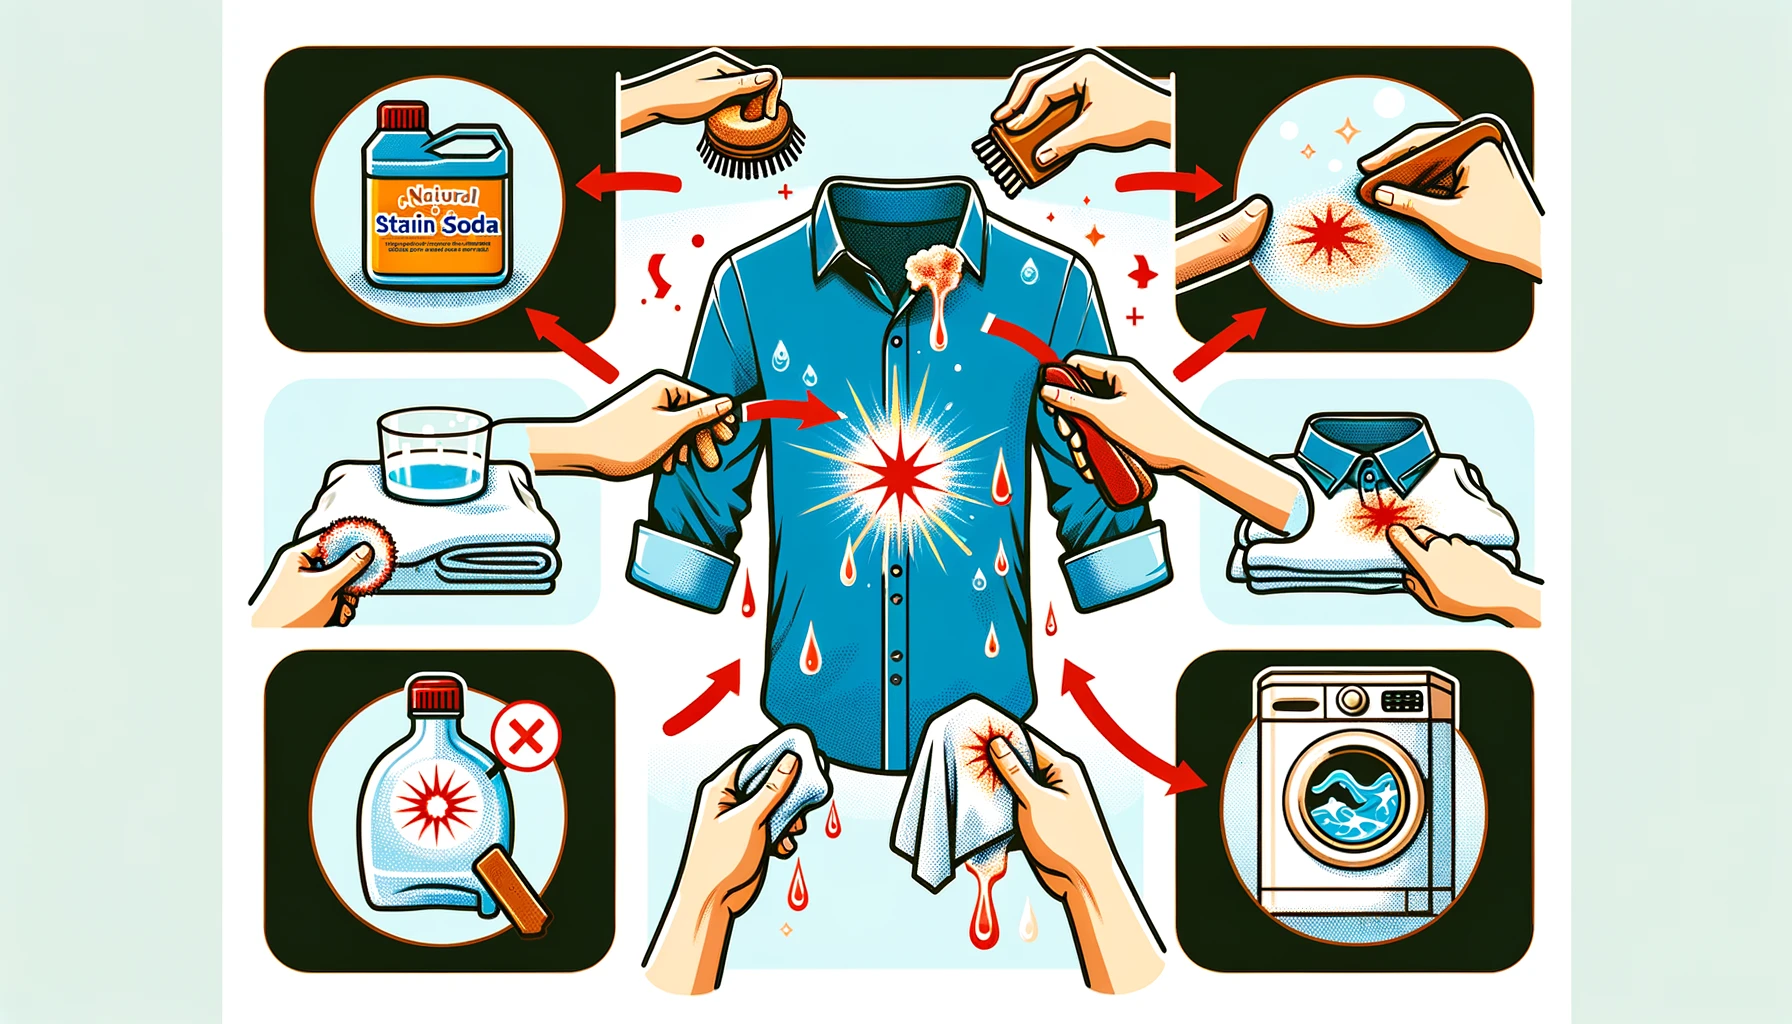
Another home remedy involves vinegar, which acts as a natural fabric softener while also combatting static electricity. Place a cloth dampened with vinegar into the dryer for an eco-friendly and effective approach to maintaining moisture in your clothes.
This method prevents static buildup, keeps your garments feeling fresh, and avoids harsh chemicals found in some conventional products. Keep these strategies in mind during your next laundry day for less stress over clinging clothes!
Increase Home Humidity
Boosting the humidity in your home is key to combating static cling. Dry air is a magnet for static electricity, which makes clothes stick together and zap you with tiny shocks. Install a humidifier to steadily infuse moisture into your indoor air; this simple step can make a world of difference by minimizing electrostatic charges that build up on fabrics.
Don’t overlook the power of house plants either—they’re not just for decoration. As natural humidifiers, plants release water vapor during transpiration, subtly increasing room humidity levels.
By maintaining balanced moisture through plant care or using a mechanical humidifier, you’ll improve indoor air quality while keeping your wardrobe free from the grips of static cling.
Separate Natural and Synthetic Fabrics
While maintaining a balanced home humidity plays a crucial role in reducing static, another effective strategy is to sort your laundry by fabric types before washing and drying. Mixing natural fibers like cotton, wool, and linen with synthetic ones such as polyester and rayon can create a perfect storm for static electricity to build up.
The different properties of these materials cause them to rub against each other, generating an electrical charge that results in clothes clinging together or sticking to your skin.
To prevent this annoying phenomenon, separate your garments into two piles—naturals and synthetics—prior to starting the wash cycle. This will minimize the friction between varying fabric types when they tumble around in both washer and dryer.
If you don’t have enough for full loads, consider using mesh laundry bags to keep them segregated inside the machine. Also remember hang drying clothes on a clothesline lets fabrics avoid all that tumbling action altogether which not only saves energy but also wards off potential cling issues due to static buildup.
Quick Fixes for Static Cling
Caught in a clingy situation with no time for laundry hacks? Fear not — we’ve got some rapid rescue techniques to combat static on the spot, ensuring your clothes behave before you head out the door.
Use a Static Reducing Spray
Having trouble with clothes sticking together or to your body can be a real hassle. Grab a bottle of static reducing spray, such as Sprayway Anti-Static Spray, and watch that annoyance vanish in seconds.
These sprays are specially designed to tackle the pesky problem of electrostatic discharge by neutralizing the charges that cause fabrics to cling.
For an instant fix, simply spray a light mist over your garment before putting it on or even after you’re already dressed. You’ll find this handy solution at many pharmacies; it’s a fast and effective method for calming down static electricity.
Spraying your clothing can turn any outfit from frustratingly clingy to comfortable and smooth in no time—giving you one less thing to worry about during your day. Keep a travel-sized static guard in your bag or car for those unexpected moments when static decides to strike!
Rub Clothing with Metal
Grab a metal hanger or any metal object you have handy; it’s time to get rid of that annoying static cling. Simply glide the metal slowly over your garment where it’s clinging, and watch how this simple trick dispels the electric charge that’s causing the problem.
Metals have conductive properties which neutralize static electricity, offering you an on-the-spot solution without needing special tools.
Feel free to use everyday items like a spoon or even aluminum foil in a pinch. The key is to create contact between the fabric and the metal, allowing electrons to transfer and balance out.
This method can be especially convenient when you’re away from home or need an immediate fix before stepping out. Keep in mind, rubbing gently is essential – being too vigorous could damage delicate fabrics!
Run a Hanger or Aluminum Foil Along Clothes
Moving from the metallic touch, another simple trick to combat static cling involves everyday items you may have at home. Glide a metal hanger across your garments to neutralize the electric charge causing those pesky clings.
The metal helps to distribute and remove the static electricity that’s built up.
Alternatively, aluminum foil is not just for wrapping leftovers! Crumple a piece of foil into a ball and toss it in with your laundry during the dryer cycle. This surprisingly effective method allows the foil to absorb electrical charges as clothes tumble together, keeping your outfits free from clinging without any extra hassle.
Using aluminum foil in this way ensures you’re less likely to experience jolts of static when folding and handling clean clothes.
Moisturize Your Skin
Moisturize your skin to tackle static cling head-on. Rubbing lotion into your skin increases the humidity on its surface, creating an invisible barrier that keeps clothes from sticking.
It’s a quick fix you can use anytime and anywhere. Plus, it helps keep your skin soft and hydrated during those dry months when static is at its worst.
Choose a moisturizer that works well for your skin type, preferably one without strong perfumes or additives that could stain clothes. After applying the lotion, glide your hands over any problematic clothing to transfer some of that moisture and eliminate static electricity almost instantly.
This natural remedy not only serves as a preventive measure but also acts as an immediate solution to reduce fabric cling and ensure you have static-free clothing throughout the day.
Spritz Hairspray on Clothes
Spritzing a bit of hairspray on your clothes can be a lifesaver when static cling strikes. It’s especially handy if you’re out and about, with nary a dryer sheet in sight. Just grab an aerosol hairspray, give it a quick shake, and lightly spritz the areas where the fabric is sticking.
Make sure to spray from a distance to avoid any wet spots or stains.
For those garments that seem to charge up with static electricity like they’re storing lightning—a dress or skirt often made of polyester—hairspray becomes your go-to solution.
A brief mist between layers will do wonders in calming down those unruly fabrics that love to cling at every step you take. Keep this trick in mind for moments when you need an instantaneous antistatic fix without having access to specialty products designed for this very issue.
Preventing Static Cling
Preventing static cling goes beyond just quick fixes; it involves adopting habits and methods that ensure your clothing remains free from the annoying grip of static electricity. Explore strategies tailored to maintaining the natural equilibrium in your fabrics, making each laundry day a step towards lasting, static-free bliss.
Decrease Dryer Time
Cutting down on dryer time is a smart move for several reasons. It helps prevent static cling by reducing the over-drying of clothes, which can cause those pesky electric charges to build up.
Plus, less time in the tumble dryer saves energy and spares your garments from excessive wear. To make this happen, toss anti-static dryer balls into the dryer with your laundry; they work wonders by separating fabric and allowing hot air to circulate more efficiently.
Another method to slash drying time involves removing clothes while they’re still slightly damp—not soaking wet but just short of completely dry. This trick also minimizes wrinkles and saves you ironing time! After pulling them out of the dryer, give shirts and pants a quick snap before hanging them up or laying them flat to finish air-drying naturally, effectively sidestepping additional static buildup that could occur if left longer inside the machine.
Using Dryer Balls
Reducing dryer time is a good start, but adding dryer balls into the mix takes static elimination to another level. These nifty gadgets work through agitation, bouncing around and separating clothes in the dryer for more even airflow and less chance of clothes sticking together.
They’re like little laundry masseuses, kneading your fabrics to prevent them from locking up with static electricity.
Choose wool dryer balls as a natural alternative that not only minimizes static cling but also softens your clothes without synthetic chemicals found in commercial fabric softeners.
Their reusability makes them an eco-friendly choice for regular laundry care. Even everyday tennis balls can serve as an inexpensive fix against pesky static build-up, ensuring that each piece of clothing comes out of the dryer feeling fresh and free of clinginess.
Air Dry Clothes
Air drying clothes offers a straightforward solution to prevent static cling. By skipping the dryer and hanging your garments on a clothesline or laundry drying rack, you’re avoiding the tumbling action and heat that often lead to an electric charge building up in your fabrics.
This is especially true for synthetic fibers, which are more prone to generating electricity. Opting for air drying means these materials can lose their charge naturally as they dry in the open air.
Choosing to hang dry not only reduces static but also extends the life of your clothing by reducing wear from the dryer’s rigorous cycle. To amplify this effect, use fabric conditioner when you wash; it will add another layer of defense against static electricity before you even reach for those clothespins.
Ensure garments have ample space on an air drying rack so moisture can evaporate efficiently, making way for softer and less charged fabrics ready for wear. With all pieces now clinging-free, let’s consider how washing with fabric softener contributes further to stopping static in its tracks.
Use Fabric Softener
Slipping fabric softener into your wash cycle is like giving your clothes a ticket to the no-static zone. As it swirls through the water, this laundry hero coats each fiber of your garments, ensuring they come out not just with reduced static but also extra cuddly and smooth.
Think of it as a soothing balm that calms all those pesky electric charges that build up as fabrics rub together. Your sweaters and shirts emerge from the wash ready to wear without clinging awkwardly or sparking little jolts.
For an earth-friendly twist, white vinegar can stand in for traditional fabric conditioners, bringing down the static without chemicals. Just pour it into the rinse compartment and let it work its natural magic—your clothes will thank you by staying shock-free and comfy against your skin.
This simple switch helps keep static at bay while also pampering your wardrobe with gentleness only nature can provide.
Line-Dry Clothing
Line-drying your clothes is a superb strategy to prevent static cling. This natural drying process allows air to circulate between fibers, minimizing the friction that can lead to static electricity.
Synthetic materials especially benefit from being hung on a clothesline, as they are more prone to developing static. By choosing to line-dry fabrics instead of tossing them into an electric dryer, you’re not only cutting down on energy usage but also reducing the likelihood of clothes sticking together after they dry.
Hanging laundry outside gives another advantage; the sun’s ultraviolet rays have a natural bleaching effect on whites and help eliminate bacteria. Ensure garments made from natural fibers get ample time on the line since these materials hold moisture that helps dissipate any charge buildup.
Laundry care doesn’t have to be about high-tech solutions – sometimes, age-old methods like using a fabric softener coupled with air-drying can provide excellent antistatic treatment while keeping your clothing in top shape.
Wear Moisturizer and Natural Fabrics
Rubbing lotion on your skin before getting dressed can work wonders in keeping clothes from sticking. The moisture from the lotion adds a protective layer that helps prevent static electricity buildup.
This simple step increases your skin’s surface humidity, creating an invisible barrier between you and your garments.
Choose clothing made of natural fibers like cotton or wool to minimize static cling further. These materials inherently reduce fabric friction, ensuring that each piece drapes comfortably without adhering to your body.
By wearing moisturizer and opting for clothes crafted with natural fabrics, you ensure all-day comfort free from the annoyance of clinging clothing.
Conclusion
Wave goodbye to the nuisance of static cling with confidence and ease. Embrace these expert strategies in your laundry routine and experience the comfort of static-free clothing. Every tip offered promises simplicity and effectiveness, ensuring you can tackle this common annoyance without a hitch.
Step out the door with clothes that drape gracefully, free from the grip of static electricity. Let’s make sticking socks and shocking handshakes history!
FAQs
1. What’s a quick way to get rid of static cling in clothes?
To quickly remove static cling, run a metal hanger or dryer sheet over your clothes.
2. Can humidity levels affect static cling in clothing?
Yes, higher humidity can help reduce static cling in clothing.
3. Is there a specific fabric that’s less likely to develop static?
Natural fibers like cotton tend to have less static than synthetic materials.
4. Do certain laundry products help prevent static cling?
Using fabric softener or dryer sheets when washing and drying clothes can help prevent static cling.
5. Could wearing different layers reduce the chances of getting static cling?
Layering clothing made of different types of fabrics can sometimes minimize the risk of developing static cling.