How To Remove Hair Dye Stains From Clothes: Effective Techniques And Tips
Fabricare Center Blog , Household
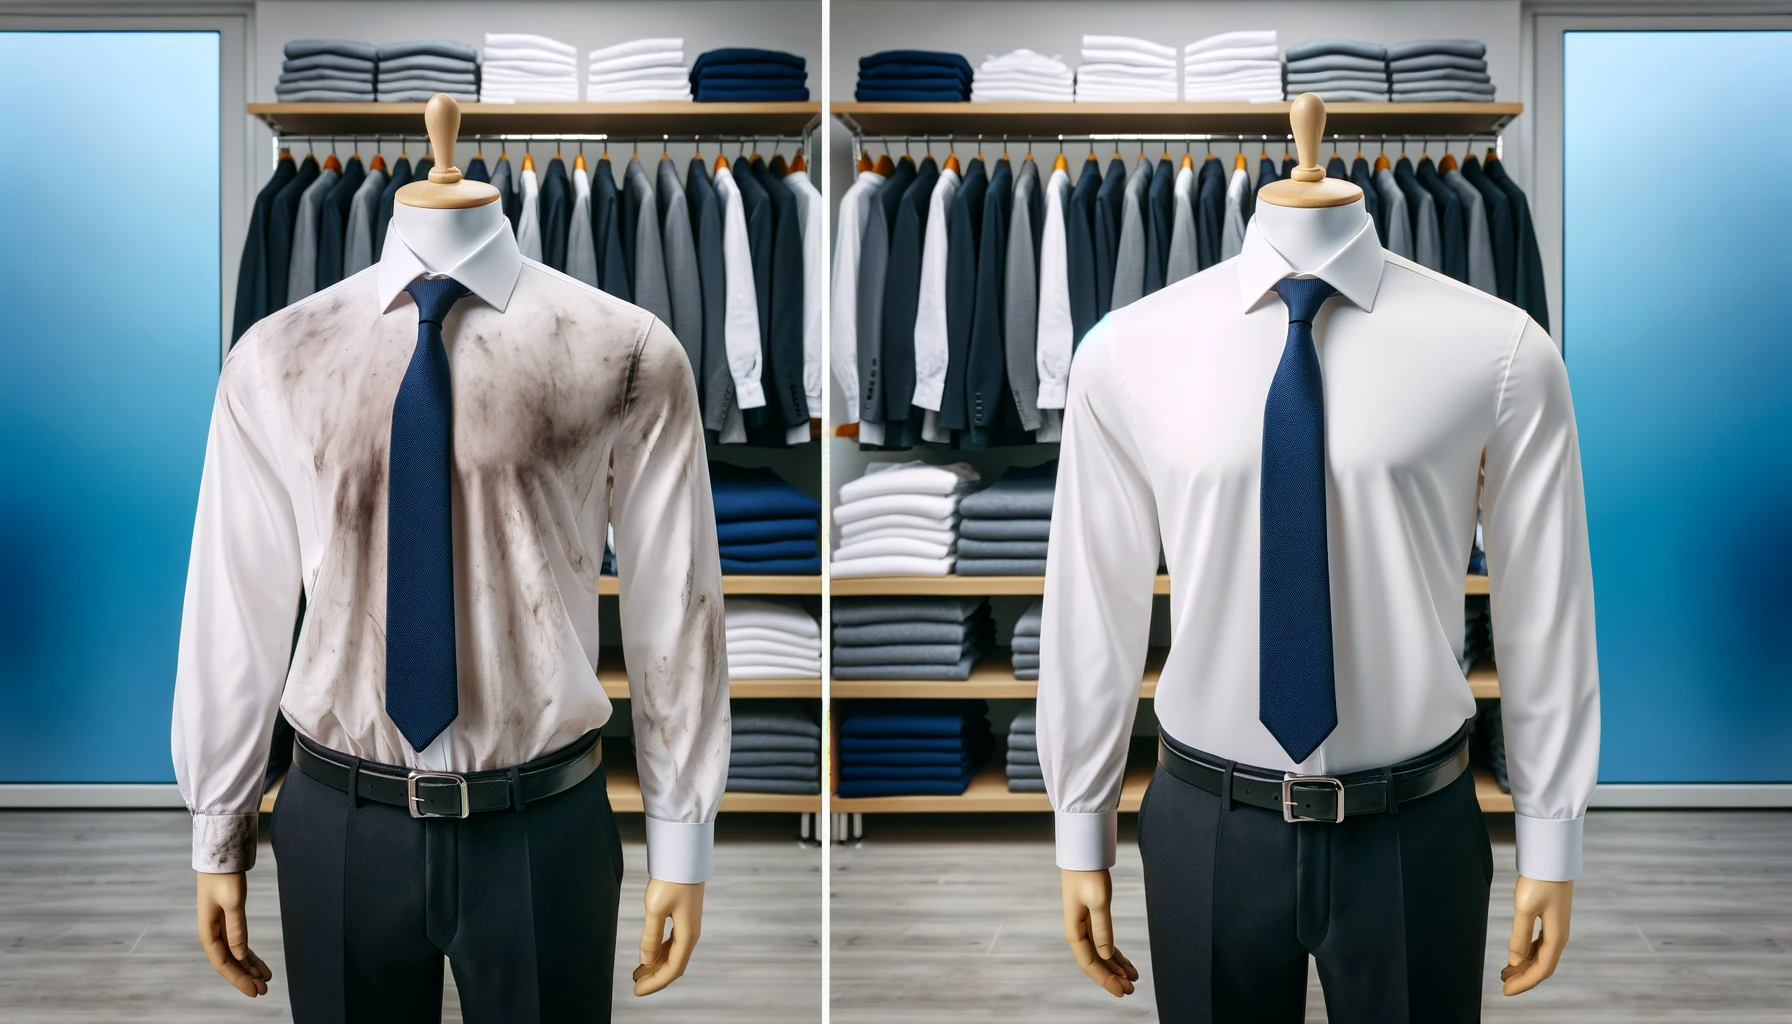
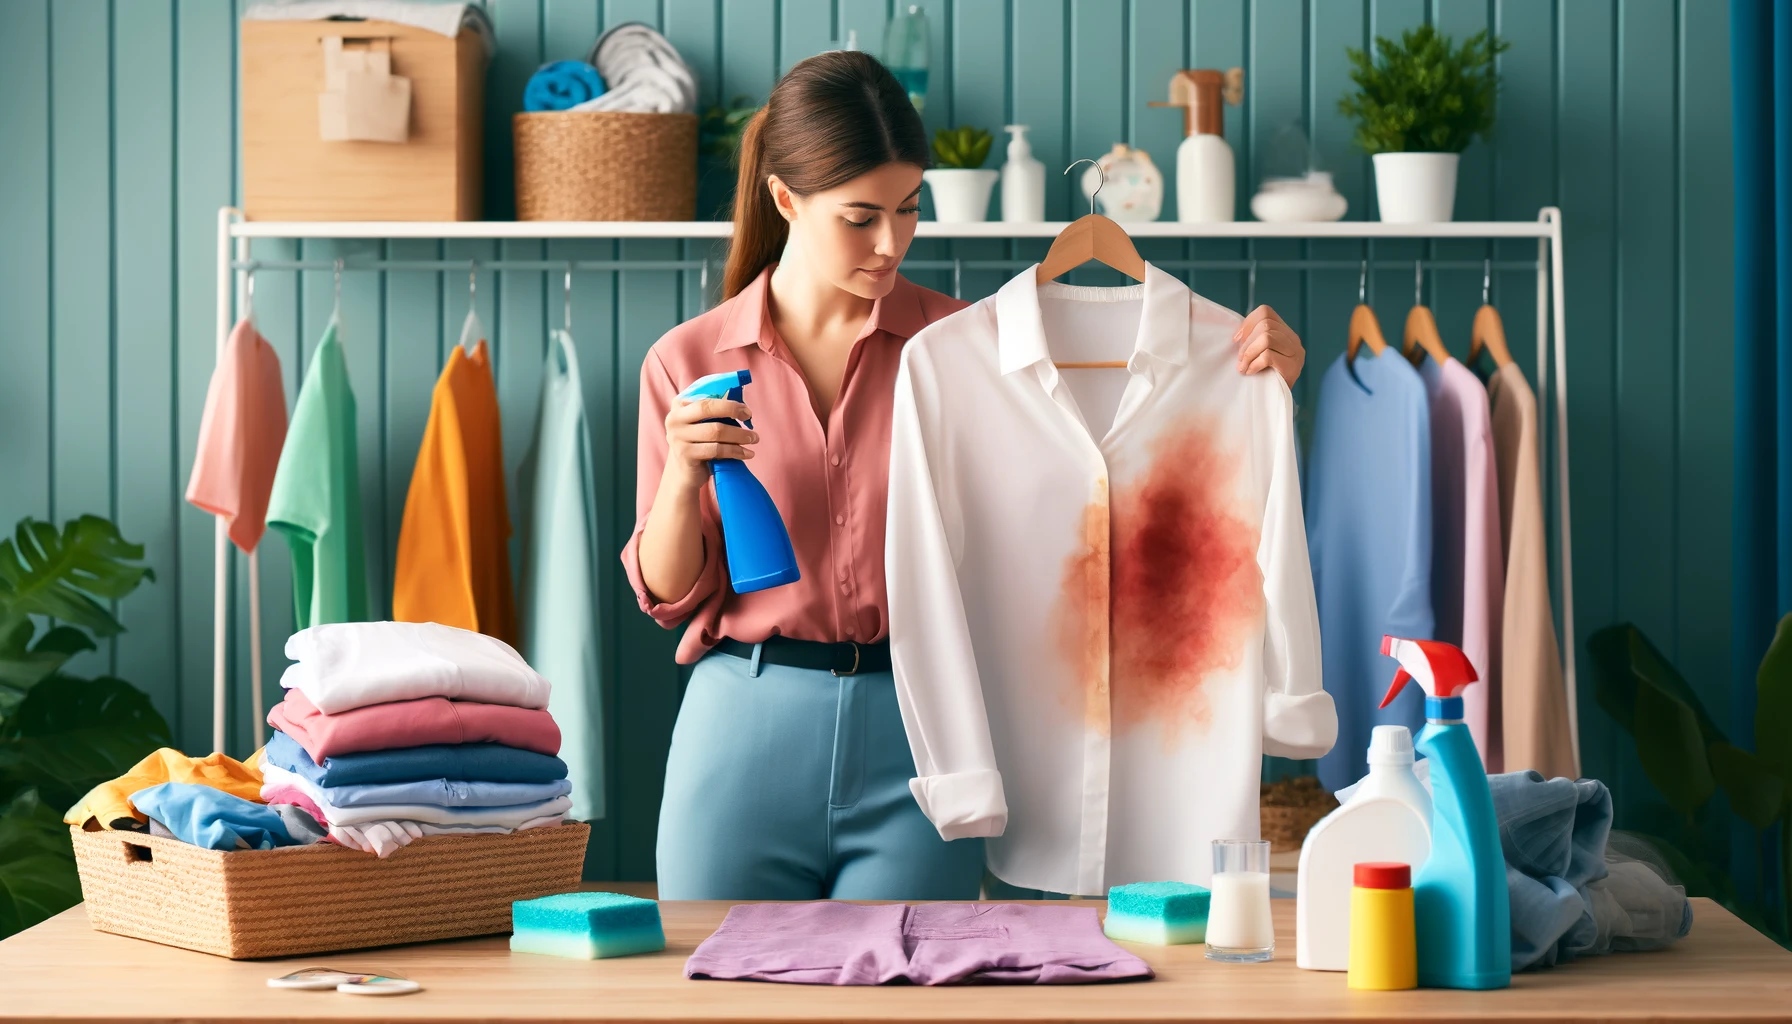
Discovering hair dye stains on your favorite clothes can be frustrating. Often, it seems like nothing will get those stubborn spots out. Our guide offers step-by-step instructions and useful tips on how to remove hair dye stains on a variety of clothes and fabrics. From pre-treatment tricks to specific techniques for different dye colors, we cover all the bases to help you restore your stained clothing back to its former glory.
Key Takeaways
- Act fast to remove hair dye stains from clothes using cold water, laundry detergent, and stain remover spray.
- Use different methods for various dye colors like white vinegar for red dye, dish soap for black or dark brown dye, and lemon juice plus sunlight for pink dye.
- Pre – treat stains with household items like baking soda or hairspray before washing.
- For delicate fabrics or old stains, consider getting help from professionals.
- Keep your laundry care eco-friendly with products like Kind Laundry’s Eco-Friendly Stain Remover Bar.
Step by Step Guide on Removing Hair Dye Stains

Removing hair dye stains from clothes requires quick action and the right approach. Follow our guide to effectively tackle these stubborn marks without harming your fabric.
What You’ll Need
To tackle hair dye stains on clothes effectively, a few essential items are needed. Gather these materials to start the stain removal process.
- Cold water: Helps in flushing out the dye before it sets into the fabric.
- Blunt knife or spoon: Used to scrape off any excess hair dye from the clothing.
- Body wash or bar soap: Acts as a mild cleansing agent to remove the dye’s surface residue.
- Liquid laundry detergent: Works deeply into the fabric to break down and lift away the stain.
- Stain remover spray: Targets and removes tough stains from clothes, making them easier to wash out.
- Soft bristle toothbrush: Gently scrubs away the dye particles without damaging the fabric.
- Dish soap: Cuts through the grease component of some dyes, helping to release them from your clothing.
- Cool water bath: Soaks stained clothing, loosening up the hair dye for easier removal during washing.
Use these items following a specific technique for effective hair dye spill cleanup and maintaining your clothing’s look and feel.
Pre-Treatment Techniques
After gathering your cleaning supplies, it’s time to focus on the pre-treatment techniques for removing hair dye stains from clothes. These steps help break down the dye, making it easier to wash away.
- Scrape off any excess dye from the fabric using a tissue or a blunt knife. This prevents the stain from spreading.
- Flush the stained area with cold water. Hold the fabric under running water to rinse out as much dye as possible.
- Apply liquid laundry detergent directly onto the stain. Rub it gently into the fabric with your fingers or a soft-bristled brush.
- Let the detergent sit on the stain for at least 5 minutes before rinsing thoroughly. This allows it to penetrate and lift the dye from the fabric fibers.
- For tough stains, use a specialized stain removal pre – treatment product. Follow the instructions on the label for application and rinse thoroughly after use.
These pre-treatment methods prepare stained clothing for washing and increase chances of completely removing hair dye spills from fabric care processes.
Specific Techniques for Different Hair Dye Colors
Hair dye stains on clothes can be stubborn, but matching the right removal technique with the specific dye color can make a big difference. From my own mishaps and successes, I’ve learned that each dye color behaves differently and thus requires its own approach for effective removal.
- Red Hair Dye: Use white vinegar and cold water. Red dye has a strong pigment that clings to fabric fibers. Soak the stained area in a mixture of equal parts white vinegar and cold water for 30 minutes before rinsing. This method lifts the red pigment without harming the fabric.
- Black or Dark Brown Hair Dye: Apply dish soap directly to the stain. Black and dark brown dyes contain deep pigments that need a degreasing agent to break them down. Rub dish soap into the stain, let it sit for an hour, then wash as usual.
- Blue or Purple Hair Dye: Mix baking soda and detergent. These colors often have a base that sticks to clothes easily. Create a paste with baking soda and laundry detergent, apply it to the stain, scrub gently with an old toothbrush, then launder.
- Green Hair Dye: Use rubbing alcohol. Green dyes can leave behind marks that seem impossible to remove. Place a cloth under the stained part of the garment, dab rubbing alcohol onto another cloth, then press onto the stain repeatedly until it fades away.
- Pink Hair Dye: Opt for lemon juice and sunlight. Pink stains are usually lighter but can still be noticeable. Squeeze lemon juice over the stain and leave the garment in direct sunlight for several hours; this will help bleach the stain naturally without damaging fabrics.
- Bright Colors (Neon): Cold saltwater soak works best here due to their fluorescent qualities which bind differently than traditional dyes do on fabric fibers; dissolve table salt in cold water, soak your stained clothing overnight, followed by regular laundering.
- Pastel Shades: A mix of hydrogen peroxide and water is gentle yet effective for softer colors like pastels which aren’t as deeply saturated; combine equal parts hydrogen peroxide and water in a spray bottle, spritz on afflicted area liberally; allow sitting for an hour before washing as normal.
When to Seek Professional Help
Sometimes, no matter how hard you try, a hair dye stain refuses to leave your favorite shirt. In my experience, when the fabric is delicate or the stain has been sitting for too long, home remedies just don’t cut it.
That’s when seeking professional assistance for tough hair dye stains becomes essential. Experts have the right tools and solutions that can safely remove stubborn stains without damaging your clothes.
Professionals understand how different fabrics react to chemicals and can tailor their approach accordingly. If scrubbing and DIY methods push the stain deeper into the material, getting professional help with hair dye stains is a wise move.
Additional Tips for Removing Hair Dye Stains
For extra help with hair dye stains, consider using hairspray, baking soda, or Kind Laundry’s Eco-Friendly Stain Remover Bar for effective results.
Using Hairspray or Baking Soda
Baking soda proves to be a powerful ally in the fight against hair dye stains on clothes. I once tackled a stubborn stain by mixing baking soda with a bit of water to form a paste.
After applying it directly to the stained area and letting it sit for several hours, I was amazed at how effortlessly the stain lifted after a gentle scrub and rinse. This method not only saved my favorite shirt but also confirmed baking soda’s reputation as an effective, natural stain remover.
Hairspray, surprisingly, works wonders too. A quick spray on the stained portion of fabric before washing can help break down the dye’s hold on the fibers, making it easier to wash out.
I’ve found this technique particularly useful for fresh stains that haven’t set in yet. It’s always impressive to see how something as common as hairspray can turn into an emergency hair dye stain removal solution right when you need it most.
Kind Laundry’s Eco-Friendly Stain Remover Bar
After exploring the use of everyday items like hairspray and baking soda for stain removal, let’s focus on a more specialized solution. The Kind Laundry Eco-Friendly Stain Remover Bar is a powerful ally against tough stains.
It stands out because it’s made from vegan ingredients and contains no harmful chemicals, making it safe for your skin and clothes as well as the environment. This bar is biodegradable, demonstrating commitment to earth-friendly cleaning solutions.
This nontoxic stain remover works effectively on various types of stains, ensuring that your laundry care routine remains both sustainable and efficient. Its gentle formula means it’s also suitable for sensitive skin, while its plant-based composition tackles stains without compromising fabric integrity or color.
Switch to Kind Laundry’s Eco-Friendly Stain Remover Bar for an environmentally responsible way to keep your clothes spotless.
Related Stain Removal Techniques
Explore how to tackle tough stains from tomato, coffee, grease, and even pen marks with effective strategies.
Removing Tomato, Coffee, and Grease Stains
For coffee stain removal, mix distilled white vinegar, liquid detergent, and water. Apply this solution directly to the stain and gently rub. Rinse with warm water and repeat if necessary until the stain fades away.
To tackle tomato sauce stains on clothes, start by rinsing the area with cold water. Then apply dish soap and liquid laundry detergent directly onto the stain. Rub the fabric together or use a soft brush to work in the detergents before washing as usual.
For grease stains, pre-treat with a liquid detergent for a few minutes then launder in warmest water safe for the fabric. Check if the stain is gone before drying; repeat treatment if needed.
Tips for Pen Stain Removal
To remove pen stains from fabric, start by washing the item in hot water with Persil® liquid detergent. This method helps lift the ink from the material. For tougher stains, apply rubbing alcohol to a clean cloth and blot the ink stain gently.
Avoid pressing too hard to prevent damage to the fabric.
For corduroy clothing stained with ink, soak it in a solution of clear dish soap, white vinegar, and warm water. This mixture breaks down the ink for easier removal. A homemade remover made from vinegar and cornstarch works well on clothes too.
If dealing with gel ink stains, mix rubbing alcohol and vinegar together; then use a clean cloth to dampen the stained area for effective cleaning.
Using Turmeric or Salsa for Stain Removal
Moving from pen stains, we tackle the challenge of using turmeric or salsa for stain removal. Salsa spills demand prompt pre-treating to avoid permanent marks. Gently dab turmeric stains rather than rubbing them, to prevent the color from setting deeper into fabrics.
For lifting these stubborn colors, hand sanitizer with alcohol can break down turmeric pigments on various surfaces effectively.
Apply baking soda on oil-based turmeric stains and let it sit for 20 minutes before scraping away the residue. Wash clothes with liquid laundry detergent after pre-treating salsa spills ensures a thorough clean.
These methods use common household items to fight tough stains, keeping your garments looking fresh and vibrant without resorting to harsh chemicals.
Conclusion
Removing hair dye stains from clothes is easy with these tips. Household cleaners, cold water, and special detergents can save your favorite outfits. White vinegar and eco-friendly bars offer safe alternatives.
For stubborn stains on various fabrics, professional help might be needed. Tackle those dye stains confidently and keep your clothes looking their best!
FAQs
1. What’s the first thing I should do when I get hair dye on my clothes?
Rinse the stain with cold water as soon as you can.
2. Can regular laundry detergent remove hair dye stains from clothes?
Yes, applying laundry detergent directly on the stain before washing can help remove it.
3. Is there a home remedy for removing hair dye stains from fabric?
Rubbing alcohol or white vinegar applied directly to the stain can be effective in removing it.
4. Should I use hot or cold water to rinse out the hair dye stain?
Always use cold water to prevent the stain from setting into the fabric.
5. What if the hair dye stain doesn’t come out after washing?
If the stain persists, repeat treatment with rubbing alcohol or vinegar before washing again.
")