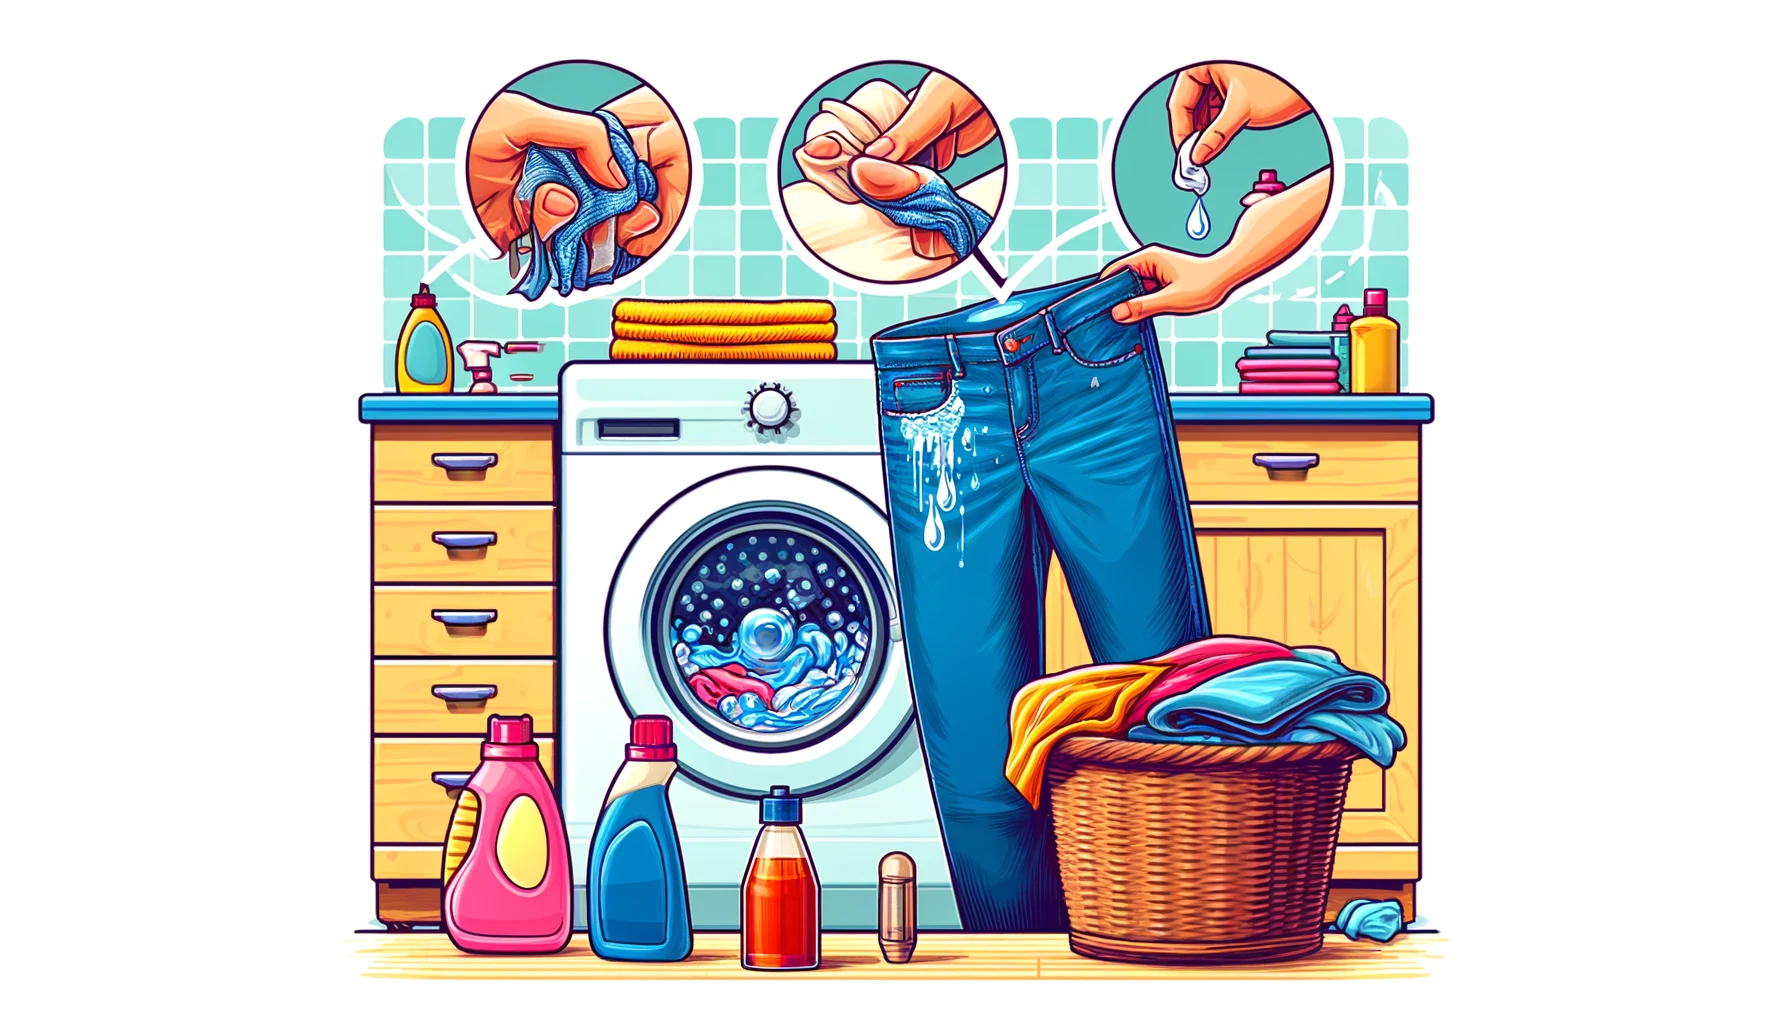
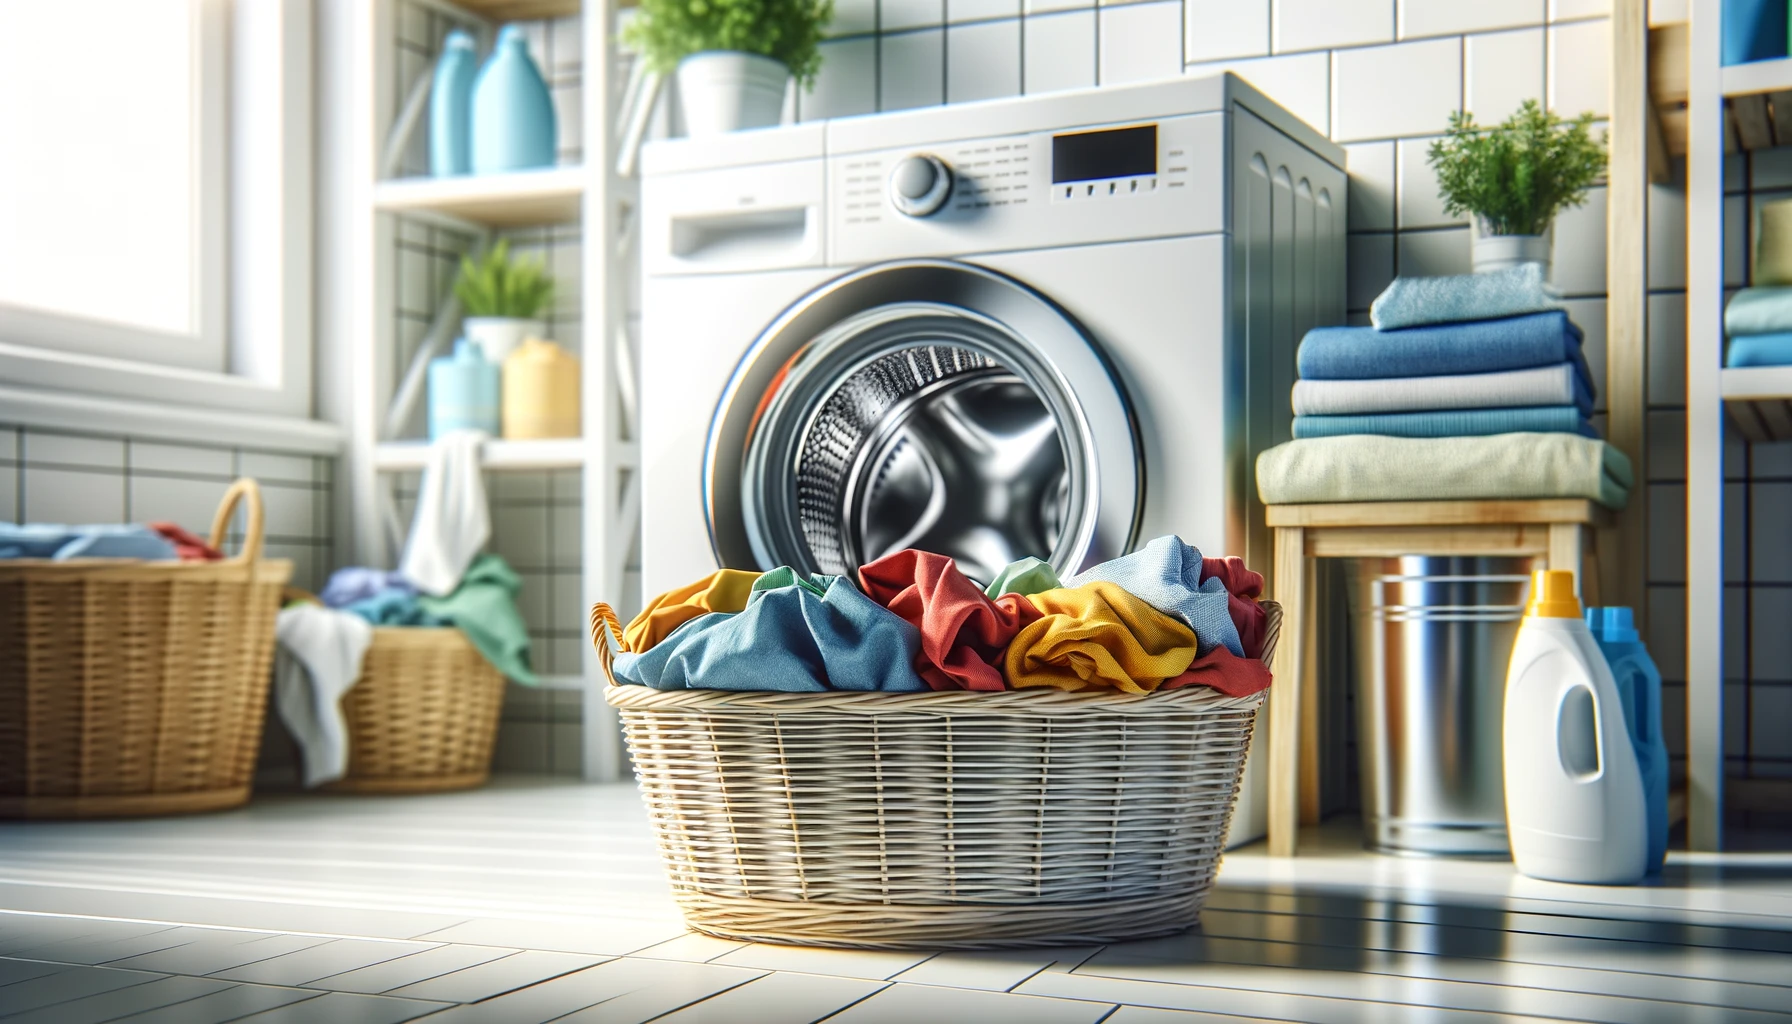
Ultimate Guide: Well Water Laundry Tips For Cleaner Clothes
Dealing with well water can make laundry day a challenge. Your clothes might come out feeling stiff and scratchy instead of clean and comfortable. This is a common problem for many, but there’s good news: it can be fixed. One crucial fact to remember is that hard water affects how effectively detergent cleans your clothes. Our blog post offers practical tips for anyone looking to tackle well water laundry issue head-on. From selecting the right detergent to adjusting your washing method, we’ve got you covered.
Key Takeaways
- Hard water makes laundry tougher by leaving minerals in clothes, causing them to feel stiff and look dull. Washing with more detergent, using quality detergents made for hard water, or installing a water softener can help.
- Natural alternatives like vinegar or borax improve laundry results in hard water conditions. Vinegar removes deposits, and borax boosts detergent power against minerals.
- Warm wash cycles help dissolve detergent better in hard water. This means cleaner clothes with less residue left behind.
- Sorting laundry into whites and colors prevents bleeding and fading. Use specific care tips like washing whites in hot water for brightness and cold water for colored fabrics to keep them vibrant.
- Regularly cleaning your washing machine is key to dealing with well water challenges. Eco – friendly detergents are good for the environment and safe for use at home.
Understanding Hard Water and its Effects on Laundry

Hard water contains minerals that can make it tough to get clothes clean. These minerals also build up in fabrics, making them feel stiff and look dull.
What is hard water?
Hard water is water filled with minerals like calcium and magnesium. These minerals get into the water as it flows through soil and rock. Hard water can leave stains on clothes, making them look dull and feel rough.
Over time, washing in hard water damages fabric fibers, leading to weaker and less vibrant clothes. It also builds up in appliances, causing leaks and other damage.
Hard water contains dissolved minerals that are tough on fabrics and appliances.
How does it affect laundry?
Hard water makes clothes look dingy and feel rough. It causes fabric quality to drop, colors to fade, and stains to appear on your laundry. The minerals in hard water can break down fibers in clothes faster, leading them to wear out 15 percent quicker than those washed in soft water.
Clothes and linens end up dull, discolored, and covered with residue. Wearing these clothes might cause dryness and irritation to your skin.
Common laundry problems caused by hard water
Hard water contains high levels of minerals that can make doing laundry a challenge. These minerals interfere with the cleaning process, leading to several issues.
- Stains on clothes: Minerals in hard water can leave behind stains, making clothes look dirty even after washing.
- Faded colors: The excessive mineral content can cause colors to fade quickly, making bright clothes look dull.
- Rough textures: Clothes washed in hard water often feel rough to the touch due to mineral deposits left on the fabric.
- Increased wear and tear: Clothing washed in hard water wears out 15 percent faster than when washed in soft water.
- Hard water stains: White or light-colored items may develop hard water stains that are tough to remove.
- Reduced detergent effectiveness: Hard water reduces the cleaning power of laundry detergents, requiring you to use more for effective cleaning.
- Fabric irritation: The residue left by hard water on clothes can lead to chafing, dryness, and skin irritation when worn.
- Needs for frequent washing: Clothes may not seem fully clean after a wash cycle, necessitating more frequent laundering which further wears down fabric fibers.
These problems highlight the importance of using proper laundry care techniques and solutions when dealing with hard water.
How to Effectively Do Laundry with Hard Water

Hard water makes laundry challenging, but solutions exist to overcome these issues. Adding extra detergent and using a water softener can lead to cleaner clothes.
Using more detergent
With hard water, your laundry needs up to 30% more detergent. This extra amount helps remove oils and debris from clothes effectively. Choose a quantity that matches the hardness of your water for the best results.
Hard water challenges in laundry can be overcome by adjusting detergent use.
Moving on, picking a high-quality detergent plays a crucial role in washing with hard water.
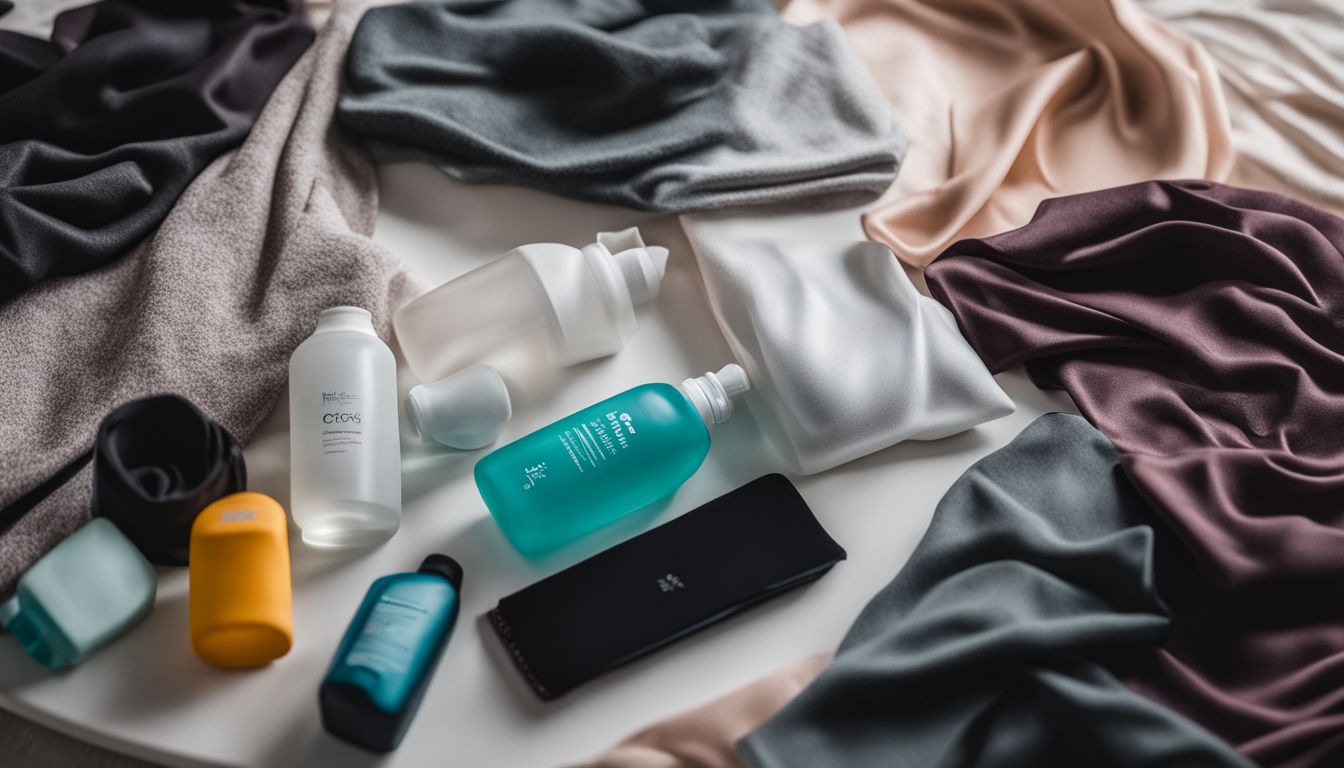
Using high-quality detergent
After using more detergent, consider switching to a high-quality laundry detergent specifically formulated for hard water conditions. Liquid detergents work well in both soft and hard water, making them a versatile choice.
For tougher loads, choose products with enzymes and detergent boosters to tackle the minerals in hard water effectively. These ingredients break down stains and buildup that hard water causes.
High-quality detergents may cost more upfront but reduce the need for re-washing clothes, saving time and energy.
Look for liquid laundry detergents labeled for use in hard water or those that mention they contain enzymes or bleach. This ensures your laundry gets clean without extra rinses or detergent.
Following these tips leads to cleaner clothes and less hassle when doing laundry with well water.
Washing laundry in warmer water
Washing your laundry in warmer water can make a big difference when dealing with hard water. Warm water helps detergents dissolve better, reducing the adverse effects on fabrics. This means cleaner clothes and less residue.
Hard water can be tough on laundry, but raising the water temperature breaks down minerals that cause stiffness and fading.
Installing a water softener
Installing a water softener in your home helps tackle hard water issues directly at the source. This device works by removing heavy minerals like calcium and magnesium, which are responsible for making water hard.
With these minerals gone, your laundry will not only look brighter but will also require less detergent to get clean, enhancing detergent efficiency significantly.
Proper softener settings are crucial for maximum benefits. Ensure your water softener is adjusted correctly to match the hardness level of your water supply. This step guarantees a steady flow of softened water, optimizing mineral removal and promoting better laundry outcomes.
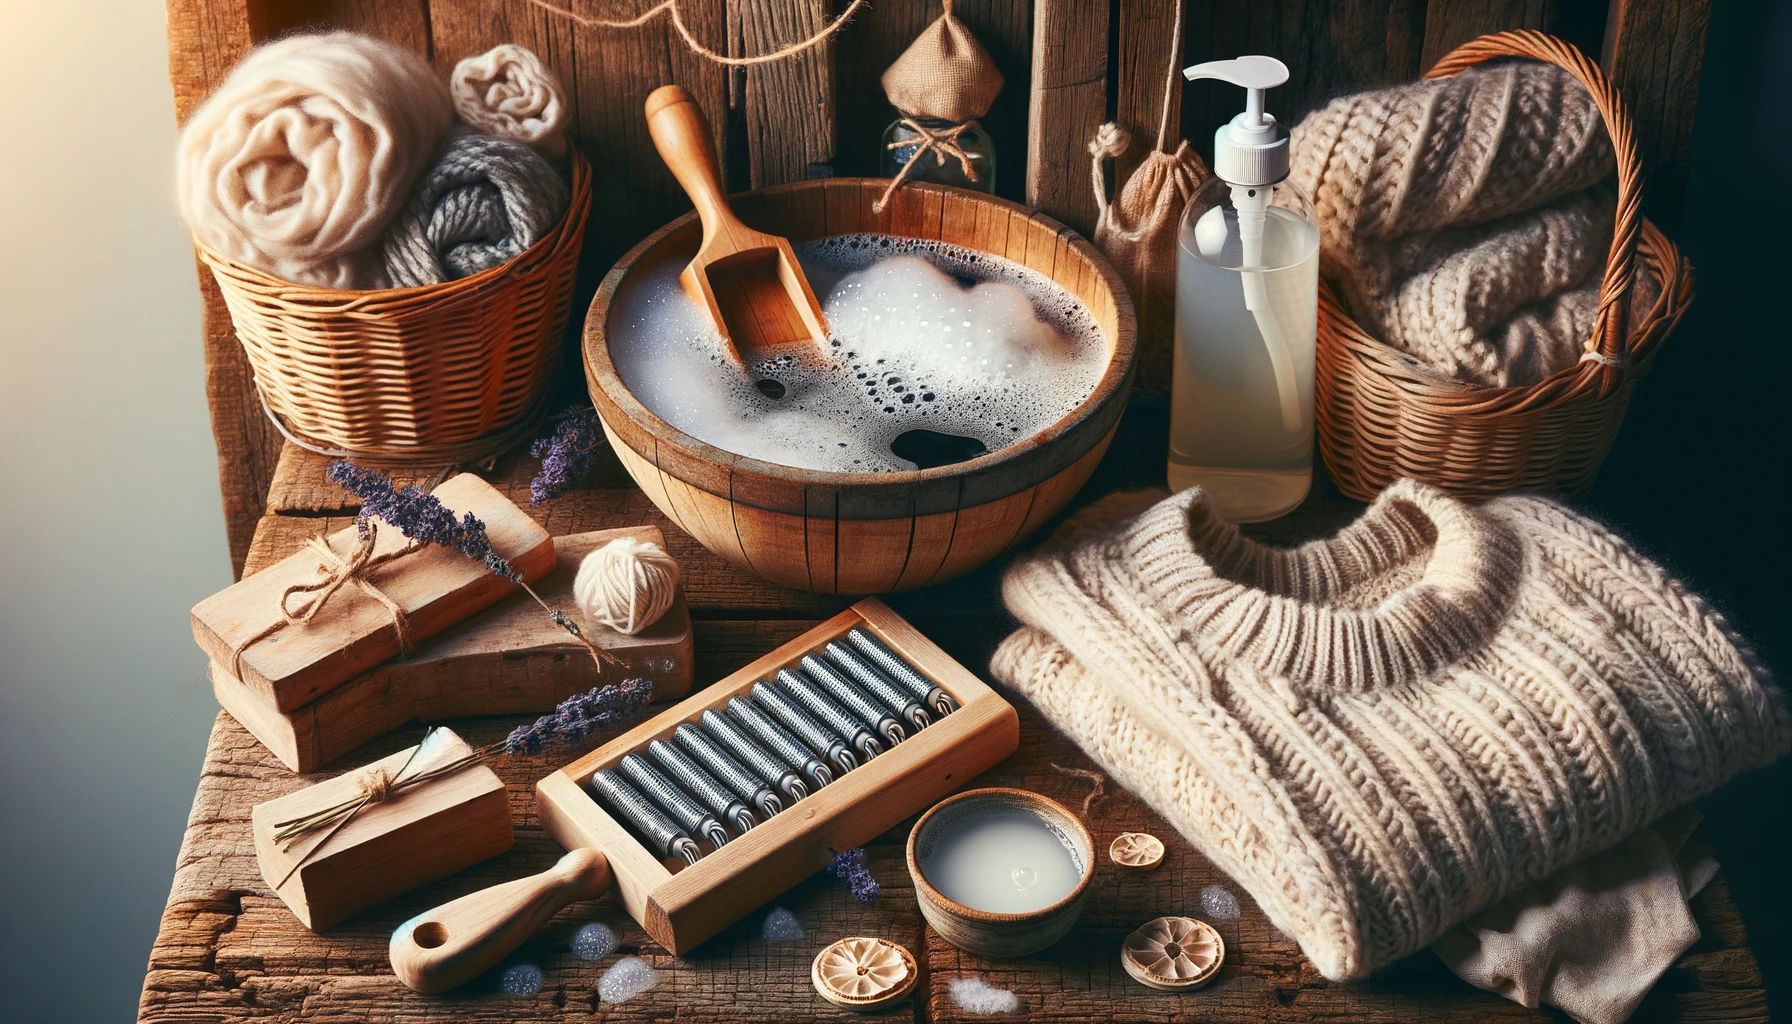
Using alternatives like vinegar or borax
After considering a water softener, look into natural alternatives like vinegar and borax for doing laundry with hard water. Vinegar, especially white vinegar, is effective in removing hard water deposits such as calcium and magnesium.
This makes it a powerful alternative to regular laundry detergent. Sprinkle vinegar directly on your clothes or add it to the wash cycle for softer, cleaner clothes without the harshness of chemicals.
Borax also enhances homemade detergents’ cleaning power in areas with hard water by increasing their ability to combat magnesium and calcium deposits. Add borax along with your chosen detergent to boost the cleanliness of your laundry without resorting to more synthetic cleaners.
Tips for Specific Laundry Items
For laundry items like whites and colors, specific care ensures they stay bright and don’t bleed. Gentle handling of delicates keeps them in good shape for longer.
Whites
To keep white clothes bright, separate them from colored laundry. This prevents color transfer. Wash white towels, sheets, and socks on the hot setting recommended by their care labels.
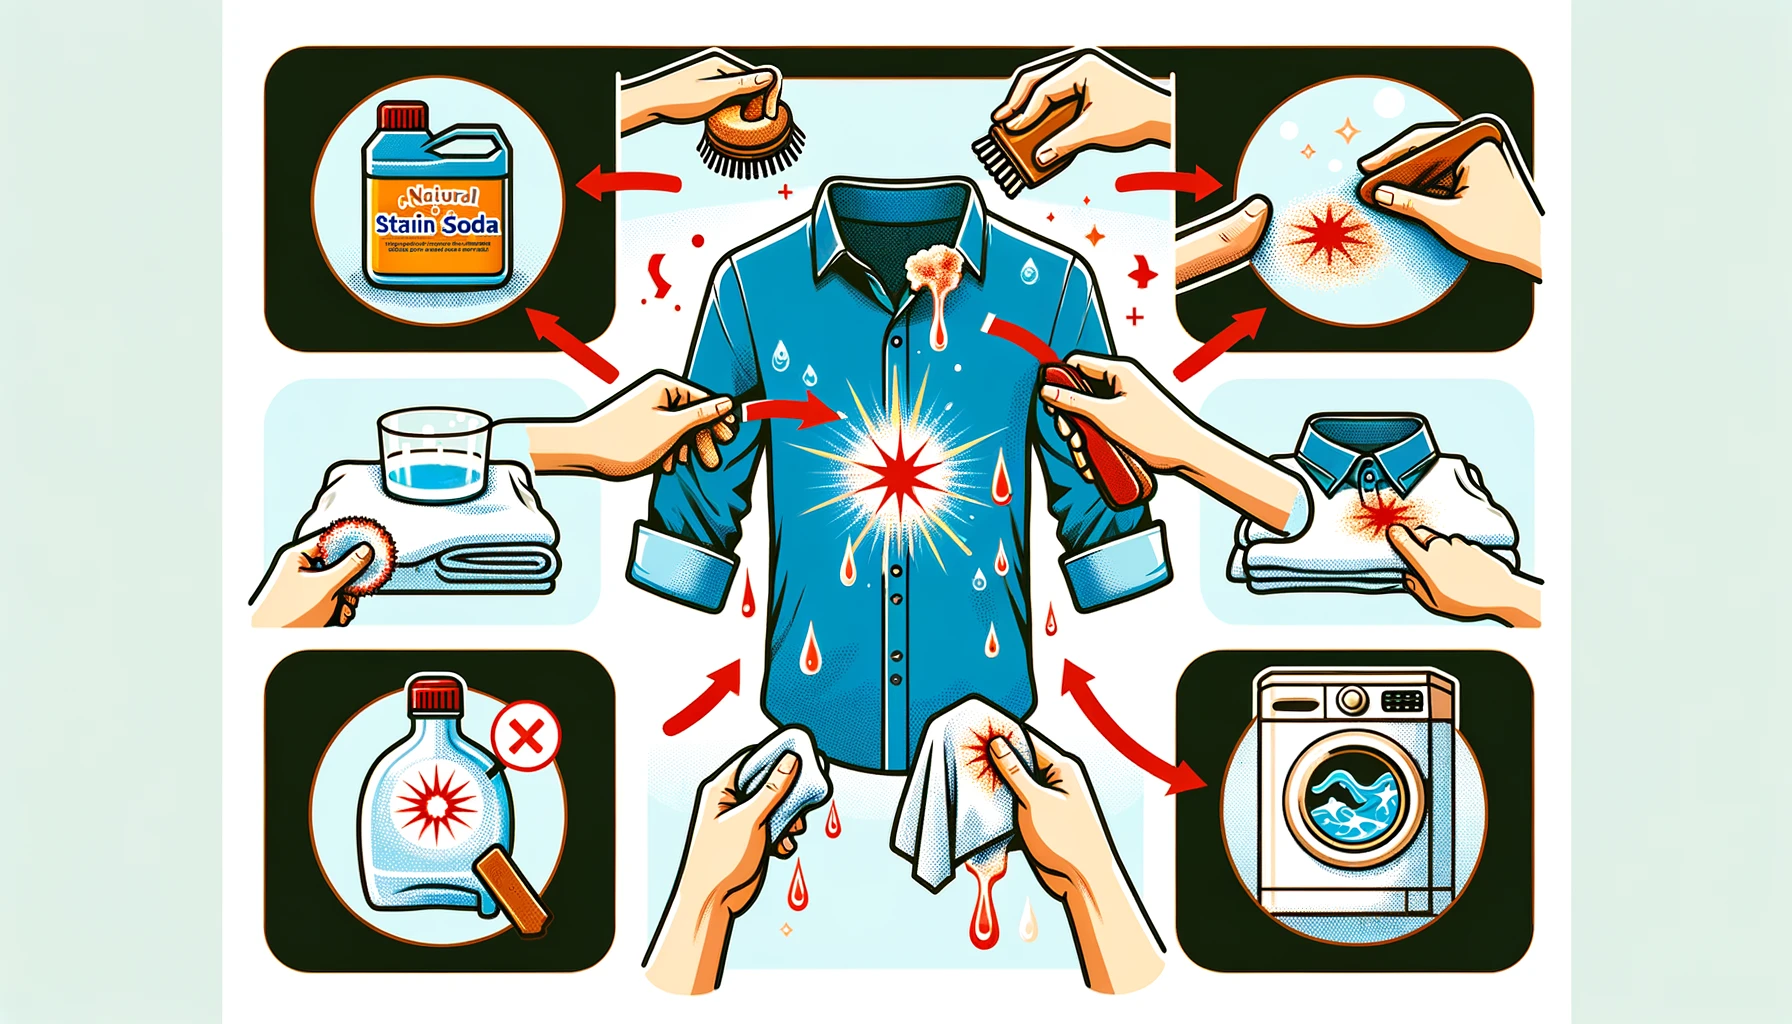
Treat stains quickly to maintain whiteness. For collars, cuffs, and hems, spot treatment works best.
Adding vinegar not only brightens whites but also softens water and cuts through soap residue. Always match detergent amount with load size and soil level; for heavily soiled items or to enhance brightness safely, use bleach suitable for the fabric type.
Colors
Sorting clothes by color before washing is crucial to prevent bleeding and fading. For bright or dark-colored fabrics, always opt for cold water; it helps maintain color integrity and brightness.
Washing whites separately allows you to use bleach without risking damage to colored items.
Always check labels for colorfastness to ensure your brights stay brilliant.
For delicates and linens, gentle cycles in cold water are best. This method preserves fabric colors and prevents them from fading quickly. Avoid hot water for colored fabrics since it can cause colors to fade faster.
Delicates
Moving from caring for colors, delicates require a gentle approach. Wash these items in cold water with a mild detergent to keep them looking their best. Delicates are sensitive and can lose their shape or color if treated harshly.
It’s also wise to dry them on low heat or air-dry whenever possible.
Before washing, soaking delicate clothing can help ease stains out of fragile fabrics without the need for vigorous scrubbing. Some pieces might demand professional dry cleaning rather than home laundering, particularly when dealing with very fine or sheer materials.
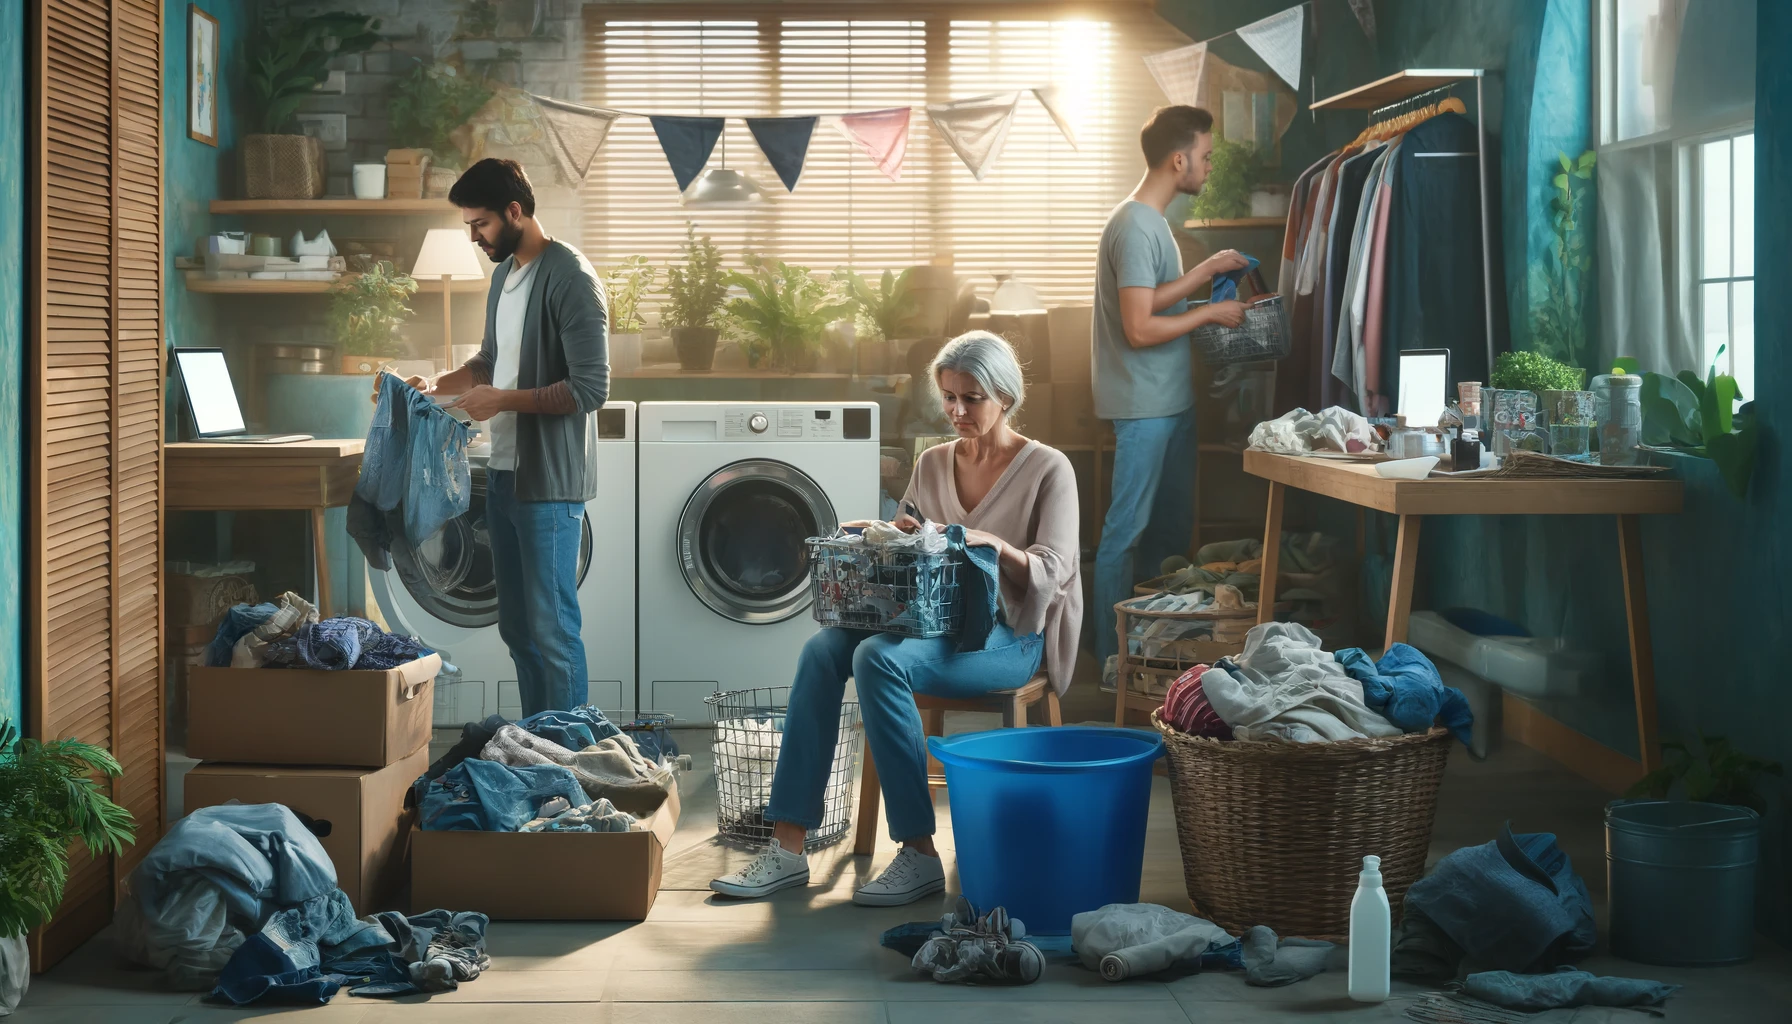
Final Tips and Recommendations
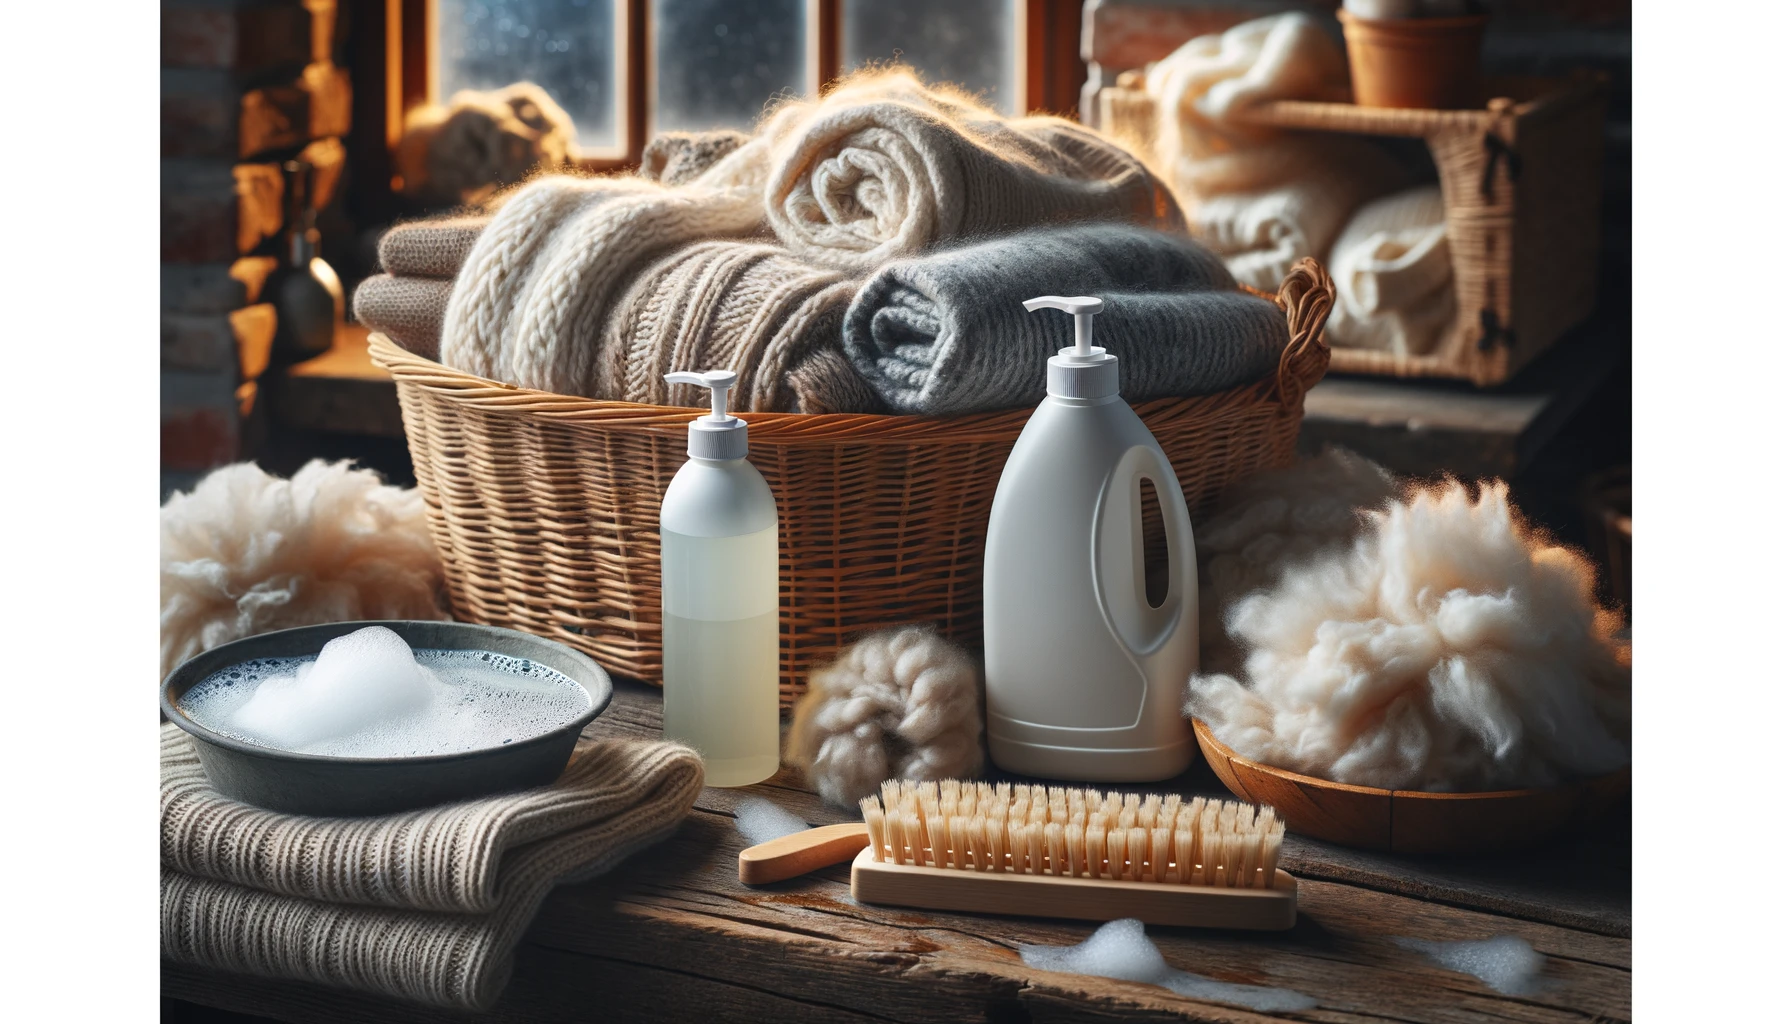
Always choose eco-friendly detergents and care for your washing machine to make well water laundry easier.
Using environmentally safe detergents
Eco-friendly laundry detergents help keep our water clean and reduce energy use. They are often as good at washing clothes as regular soaps. Look for products with EPA ecolabels to find safe options easily.
These green solutions don’t just protect the planet; they also safeguard our health by avoiding harsh chemicals.
Consumer Reports guides us on which natural detergents avoid harmful substances, ensuring safer choices for families. Switching to biodegradable or organic fabric cleaners means cleaner clothes and a healthier environment.
Properly caring for your washing machine
Switching from environmentally safe detergents to the next step, maintaining your washing machine is crucial for its performance. Clean your washing machine every 30 days or after 30 wash cycles to keep it running smoothly.
Check hoses regularly and avoid overloading the washer to prevent damage. Leave the door open post-use to air it out and reduce leaks.
For optimal care, dissolve powdered detergent in warm water before use, especially with cold washes. Mix vinegar and baking soda for a natural cleaning solution that tackles residue buildup.
Troubleshooting common laundry problems
Hard water can make doing laundry a challenge. It can weaken fibers, leave clothes stiff, and cause colors to fade.
- Clothes feel scratchy: Use half a cup of vinegar in the rinse cycle to soften fabrics without harmful chemicals.
- White residue on dark clothing: Cut down on detergent use; hard water makes it harder for soap to rinse out. Try using about half the recommended amount.
- Dull colored fabrics: Install a water softener to combat the minerals in hard water that dull colors. For an immediate fix, rinse clothes in a mix of water and vinegar.
- Fading colors quickly: Wash clothes in colder water with a color-protecting detergent designed for hard water.
- Stubborn stains remain: Pretreat stains with a mixture of water and borax before washing. It helps break down the minerals responsible for making stains stick.
- Blue stains on clothes: This is often due to fabric softener not dissolving correctly in hard water. Instead, add vinegar during the rinse cycle as a natural fabric softener.
Ensure you care properly for your washing machine next, as it plays a critical role in dealing with hard water challenges.
Conclusion
Shifting from tackling common laundry problems, we now embrace our final insights for fabric laundering. The journey through the laundry process enhances not just clothes’ freshness but also their safety by reducing pathogen exposure.
This comprehensive guide aimed to separate myths from facts, ensuring you maintain clean and long-lasting garments while observing best practices in washing machine maintenance and detergent selection.
Keep these tips in mind to improve your home laundry routine, safeguarding against pathogen transmission effectively.
FAQs
1. How can I make my clothes cleaner when using well water?
Use a water softener in your washing machine to combat hard water and improve cleaning.
2. Will vinegar help remove soap residue from clothes washed in well water?
Yes, adding half a cup of vinegar to the rinse cycle can help remove soap residue.
3. Can installing a filtration system improve laundry results with well water?
Installing a whole-house filtration system can significantly reduce minerals and impurities, leading to cleaner clothes.
4. What detergent works best with well water for laundry?
Choose detergents labeled as “made for hard water” for better results with well water.
5. How do I prevent rust stains on clothes from well water?
Add a rust remover product designed for laundry use to each wash load to prevent stains.


")