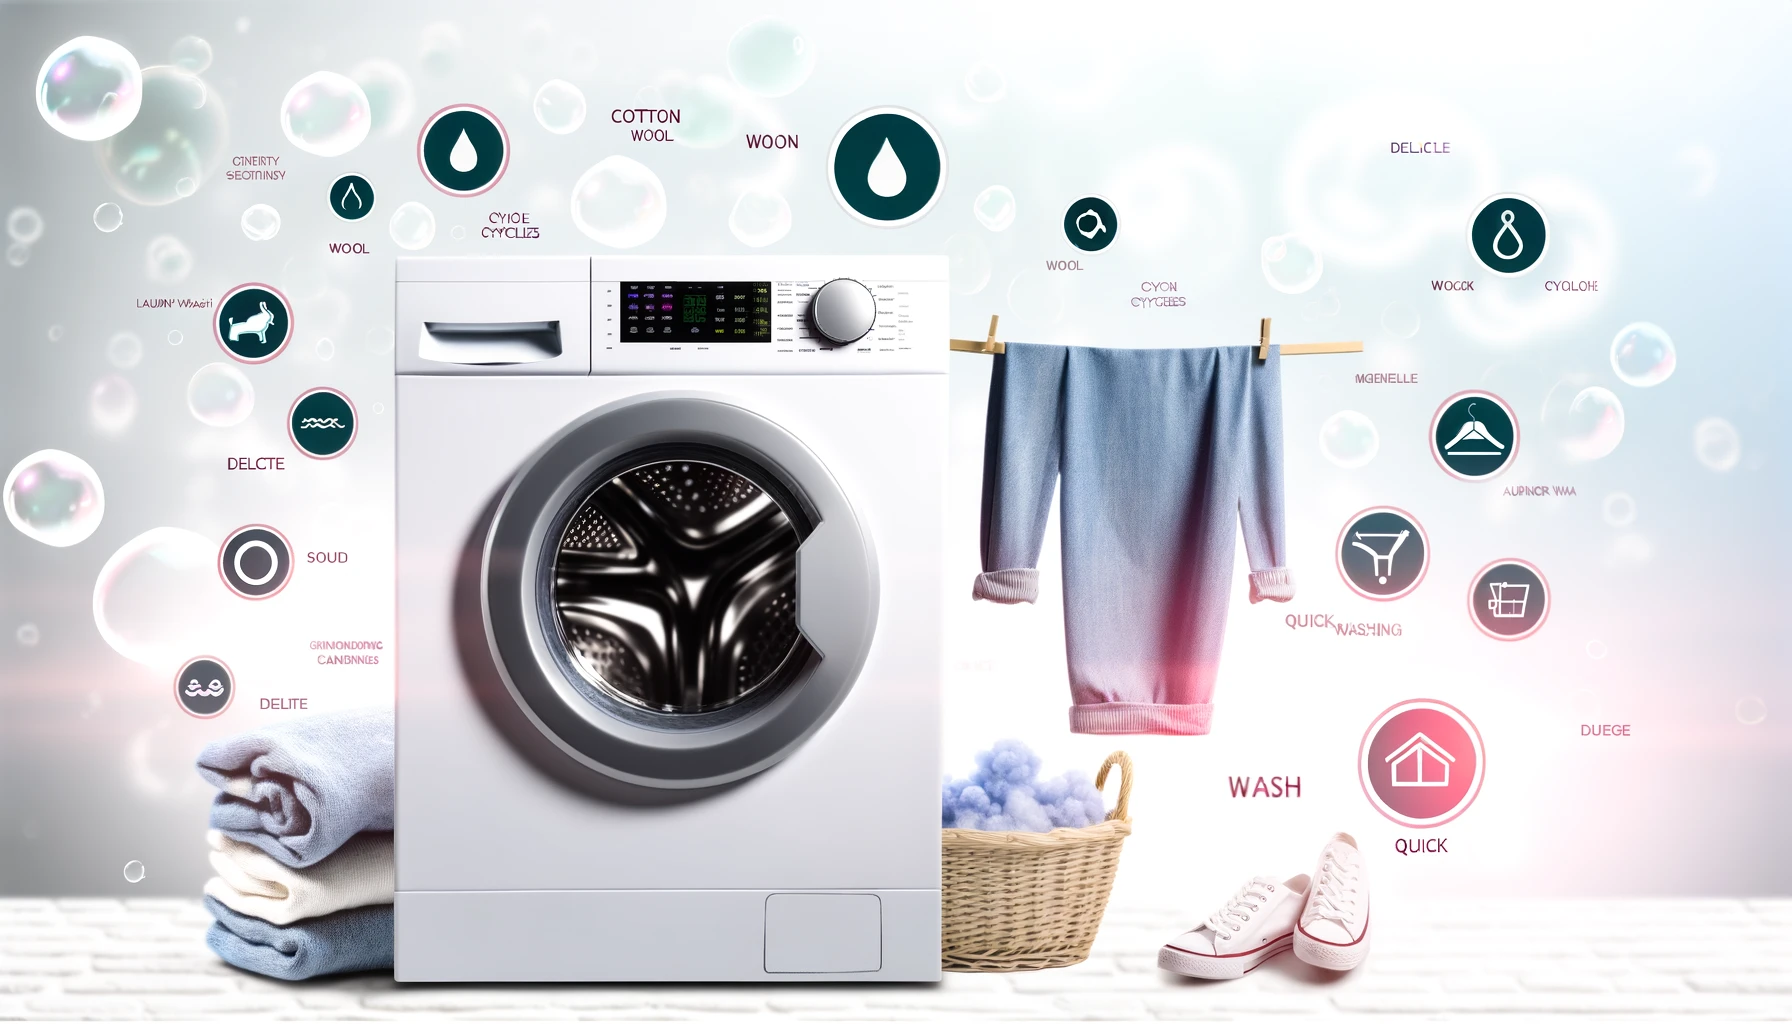
Washing Machine Cycles Explained: A Guide To Understanding Laundry Settings
Fabricare Center Blog , Laundry
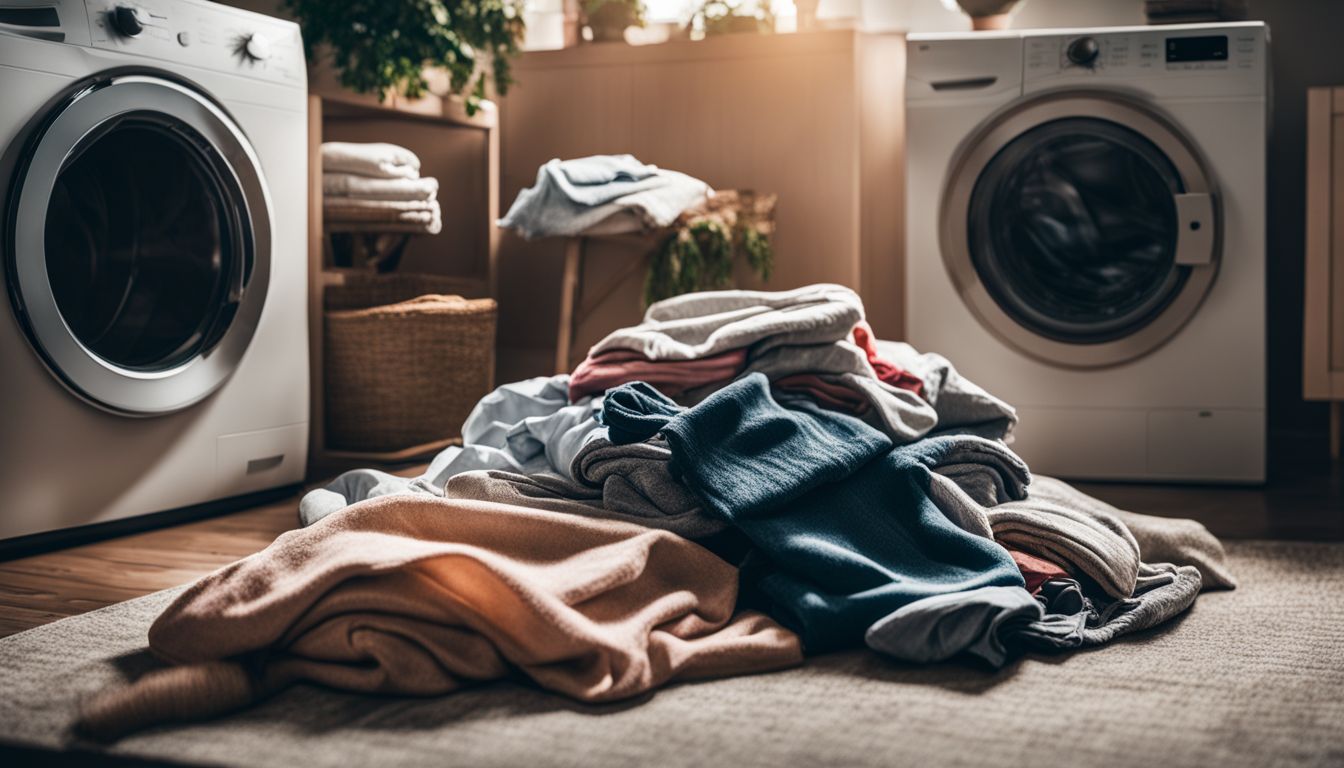
Struggling to understand the many settings and cycles on your washing machine? You’re not alone. Many find it challenging to choose the correct cycle for their laundry, leading to potential damage or wear and tear on fabrics. Washing machines come equipped with various cycles intended for different types of clothing and linens, each designed to optimize cleaning while protecting your garments.
Our guide breaks down these cycles in simple terms, providing advice on selecting the right settings for every load. By understanding these options, you can achieve cleaner clothes with less hassle.
Key Takeaways
- Washing machines have different cycles like normal, quick wash, heavy duty, and delicate for various fabric types and dirt levels.
- Use specific cycles like bulky or bedding for large items to ensure they get clean without damage.
- Adjust water temperature based on the fabric’s care instructions—cold for delicates, warm for general use.
- Soil level settings let you match the washing machine’s intensity to how dirty your clothes are.
- Extra options such as steam clean can help remove tough stains, reduce wrinkles, and eliminate allergens from fabrics.
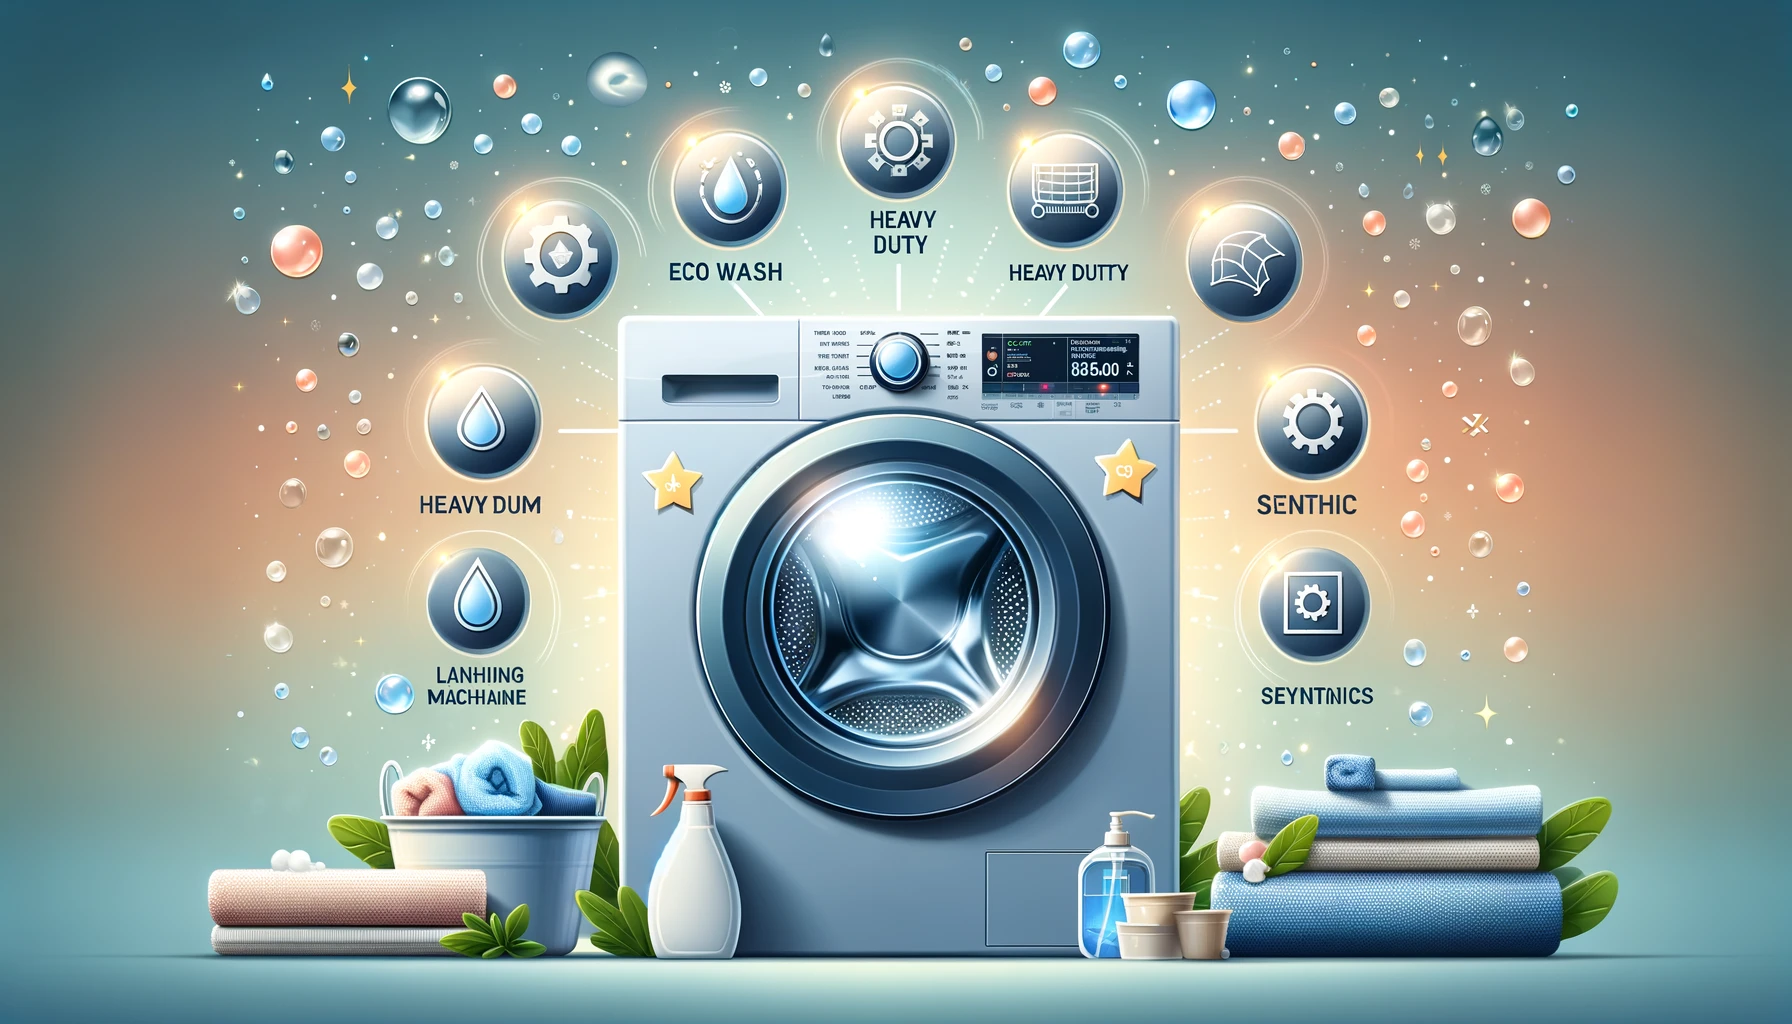
The 7 Main Washing Machine Cycles Explained
Washing machines come with different cycles to handle your laundry needs. Learn about the seven main cycles, from normal to delicate, and how they make cleaning clothes easier.
| Cycle Name | Description | Typical Use Case | Duration |
|---|---|---|---|
| Normal | High-speed wash and spin for everyday laundry. | Standard clothing like shirts, pants, and undergarments. | 8 to 15 minutes |
| Speed or Quick Wash | Shortened wash with high-speed spin for lightly soiled clothes. | Lightly soiled clothes needing a fast clean. | 15 to 40 minutes |
| Heavy Duty | High-speed wash and spin for heavily soiled or odorous items. | Work clothes and other items with heavy stains. | Longer than Normal |
| Bulky | Adjusts water levels and agitation for large items. | Large or delicate items like blankets and pillows. | Variable |
| Bedding and Sheets | Longer washing and rinsing times for large fabric pieces. | Bed linens and sheets. | Longer than Normal |
| Delicate or Hand Wash | Slow agitation and minimal spin to mimic hand washing. | Fragile fabrics like lingerie, silk, and lace. | Variable, slower than Normal |
| Rinse and Spin | Additional rinsing and reduced spin speed to remove detergent residue. | Any garments with leftover soap, especially dark and colored fabrics to prevent detergent residue. | Shorter, varies |
Normal
The normal cycle on a washing machine is your go-to for everyday laundry. It uses a high-speed wash and spin to clean regular clothes thoroughly. This typical cycle is perfect for standard clothing like shirts, pants, and undergarments that don’t require special care.
Lasting anywhere from 8 to 15 minutes, it’s designed for an average laundry load, making it the most commonly used setting.
Using the normal cycle ensures your everyday wash gets efficiently cleaned without special adjustments. It balances water use and spinning speed to handle regular clothes without extra fuss.
For common washing machine cycles involving regular spin speed and standard garments, this setting provides a reliable way to keep your everyday wear fresh and clean.
Speed or Quick Wash
Speed or Quick Wash is perfect for lightly soiled clothes needing a fast clean. This cycle combines a shortened wash with a high-speed spin, cutting down drying time significantly.
It typically lasts between 15 to 40 minutes, making it ideal for busy days or when you’re in a rush. Speed wash uses both rapid wash and express wash techniques to deliver clean clothes faster than standard cycles.
Next comes the Heavy Duty cycle, designed for deeply soiled items and sturdy fabrics.
Heavy Duty
The heavy duty cycle tackles heavily soiled or odorous items with ease. It combines a high-speed wash and spin, making it last longer than the normal cycle. Perfect for work clothes that end up heavily stained, this setting provides an intensive wash cycle.
It relies on hot water and a high spin speed to deeply clean thick, sturdy fabrics that need extra attention.
This intense wash program stands out by using industrial strength cycles to power wash away tough stains. Unlike the bulky wash cycle, heavy duty focuses specifically on items with deep-set dirt needing robust cleaning action.
Moving forward, let’s explore the Bulky washing machine cycle next.
Bulky
Some washing machines offer a bulky cycle specifically for large items. This setting is great for blankets and pillows. It also works well for ultra-delicate pieces that need gentle care during the wash.
The bulky cycle adjusts water levels and agitation to clean big, delicate items without damage.
Choosing the bulky cycle means your large laundry gets the attention it needs. It uses more water and a different spinning motion to make sure everything comes out clean. Use this setting for comforters, heavy winter jackets, or anything else that’s big and hard to handle in a regular wash.
Bedding and Sheets
After discussing the bulky cycle, let’s move to bedding and sheets. This cycle takes care of large fabric pieces like linens without harming them. It cleans thoroughly by having longer washing and rinsing times.
Choosing this specific cycle for your bedding ensures they get cleaned well and last longer.
Understanding how to use the bedding and sheets setting properly can save your linens from damage. It’s specially made to handle these textiles gently while providing a deep clean.
Knowing when to use this option helps in linen maintenance and textile cleaning, keeping your beddings fresh for years to come.
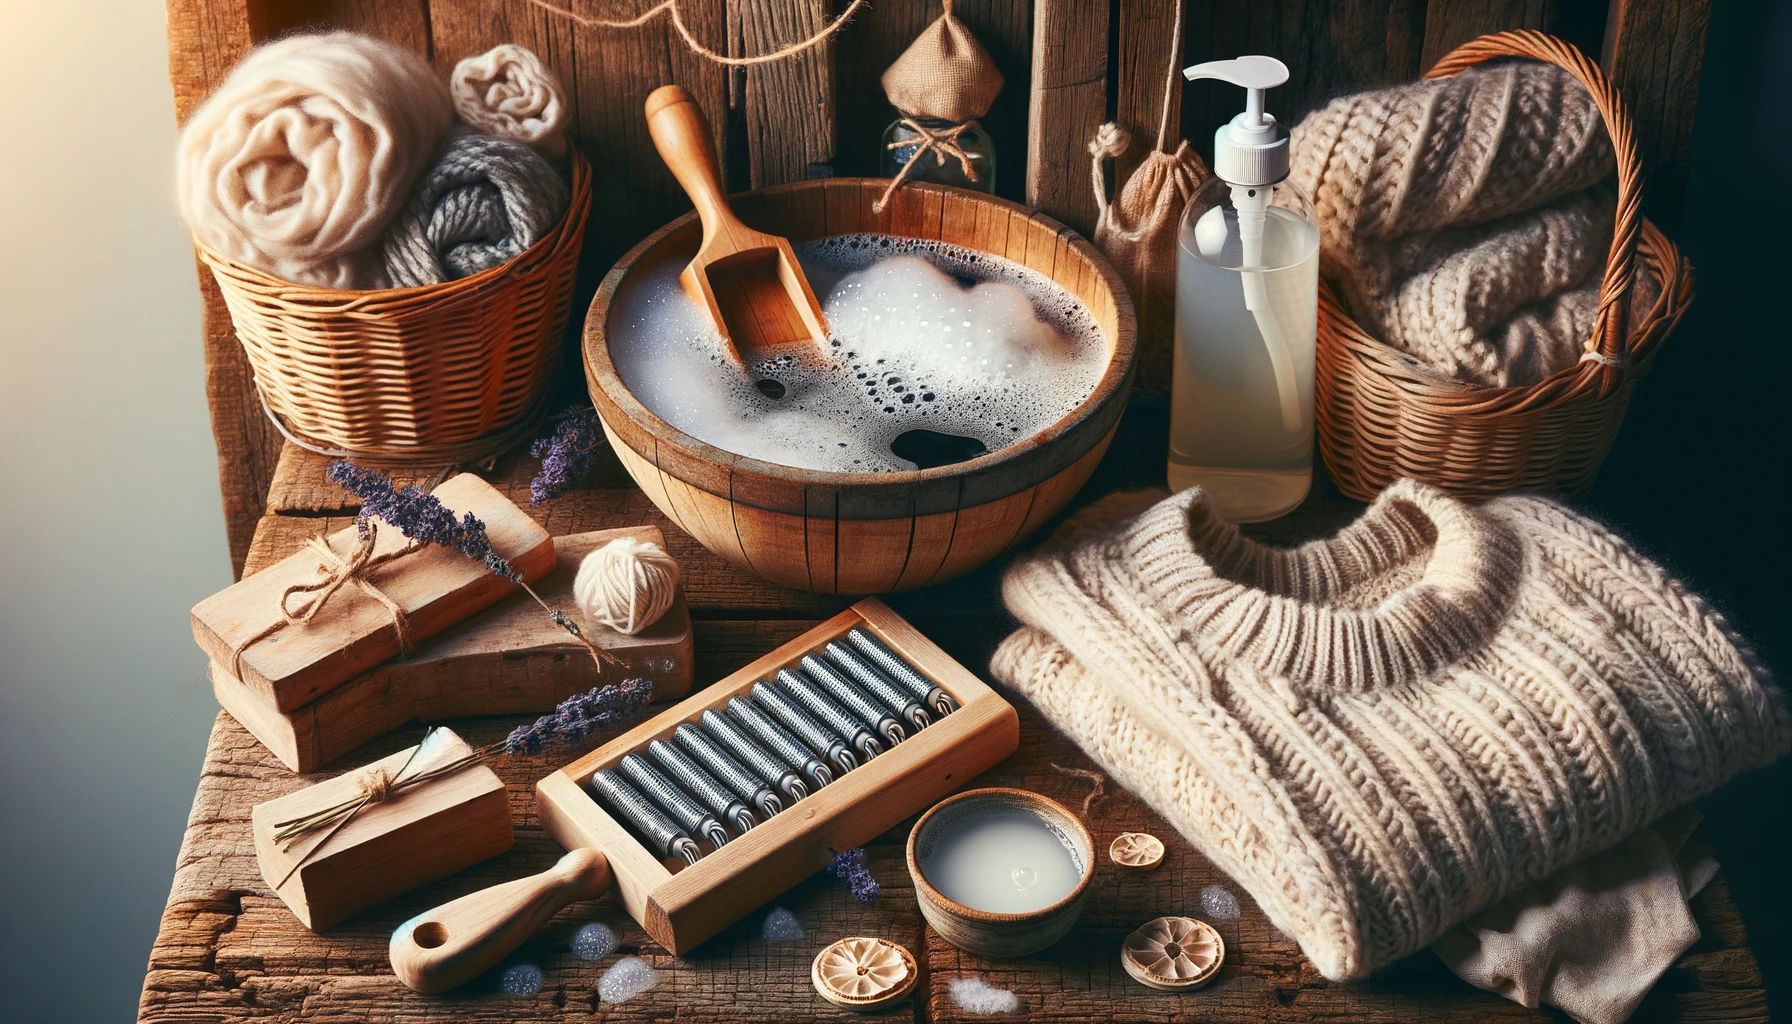
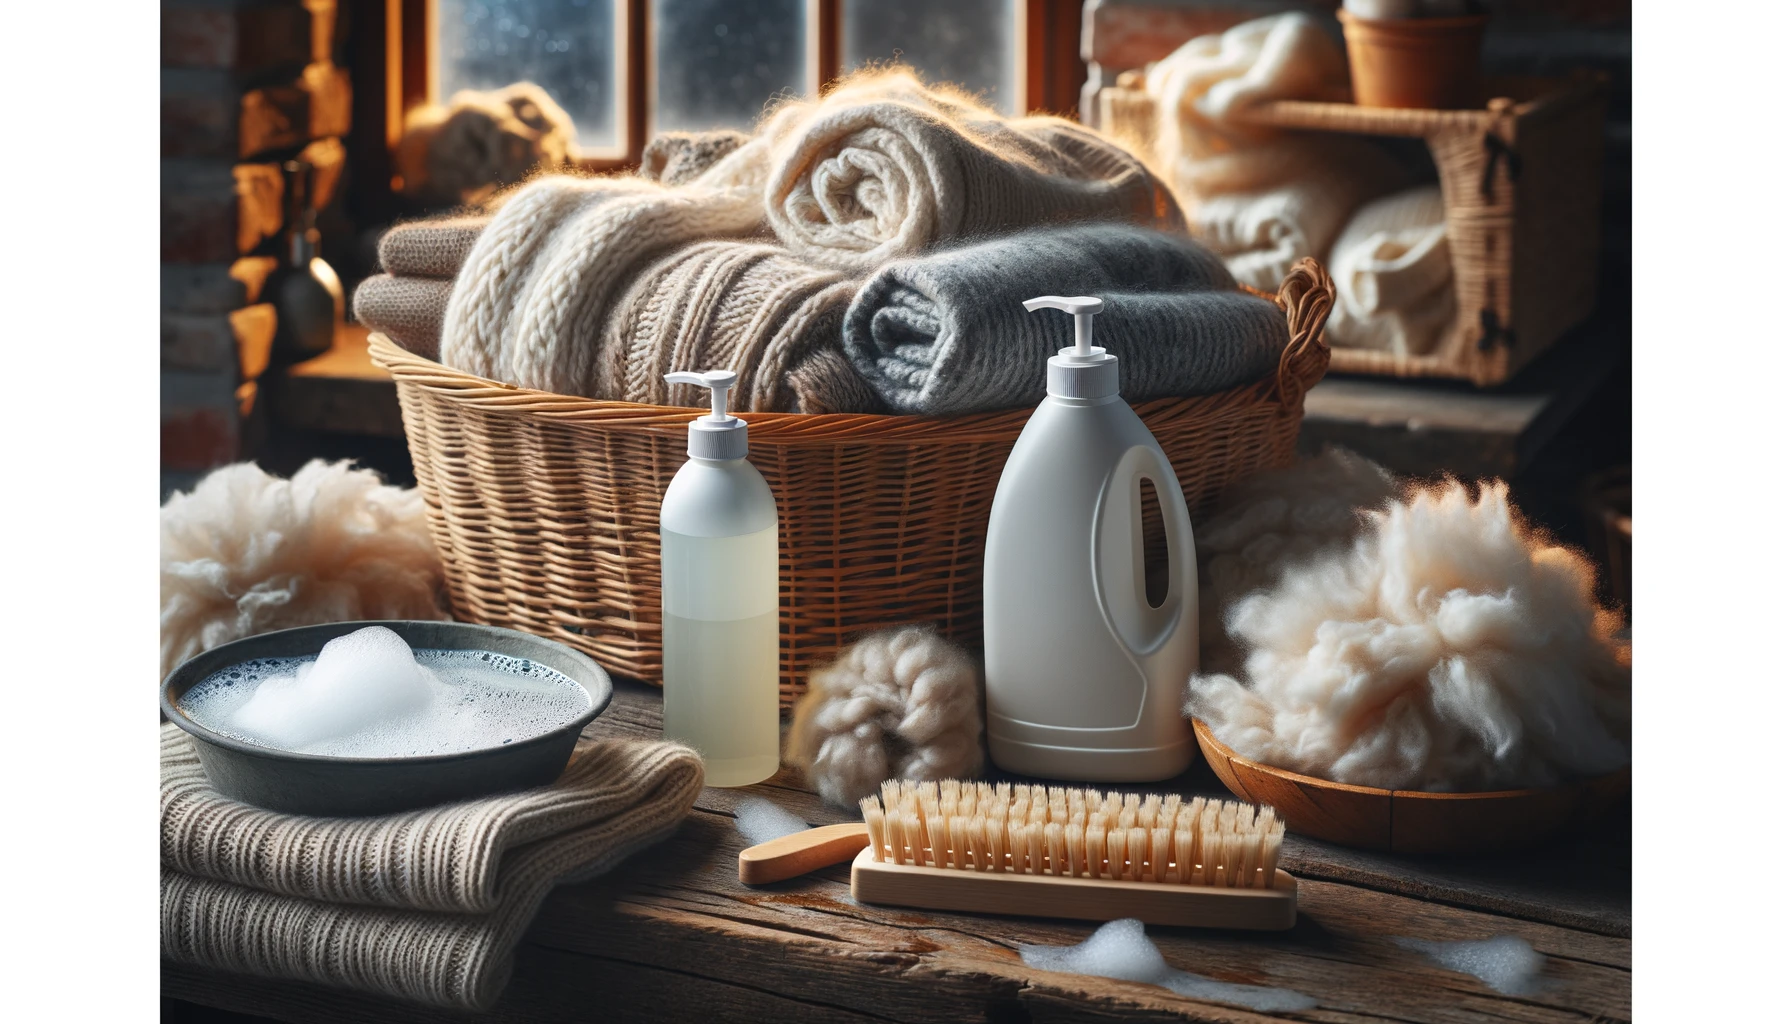
Delicate or Hand Wash
The delicate or hand wash cycle provides a gentle touch for sensitive materials. It mirrors hand washing with its slow agitation and minimal spin, safeguarding fragile fabrics like lingerie, silk, and lace from damage.
This cycle uses a “slow/slow” combination to ensure the protection of delicate garments through lesser agitation speeds during the wash and a slower spin cycle. Ideal for items that need extra care, this setting prevents stretching, snagging, or other harm.
Moving on from the gentle treatment offered by the delicate or hand wash cycle, let’s explore rinse and spin settings next.
Rinse and Spin
The rinse and spin cycle helps clothes get rid of detergent residue not washed away in the initial wash. This cycle uses additional rinsing and a reduced spin speed, making it ideal for caring for dark and colored fabrics.
It’s especially useful when garments still have soap after the main wash, ensuring they come out clean without any leftover detergent.
Choosing rinse and spin can also protect your colors from fading. With gentler washing and spinning actions, this setting keeps clothes looking vibrant longer. Use it to make sure all detergent is removed while preserving the quality of your fabric.
Decoding Washer Settings
Understanding washer settings helps you choose the best options for your laundry.
Water temperature
Water temperature plays a crucial role in laundry. Cold water, usually at 60-85 degrees Fahrenheit, is best for delicate fabrics and saves energy. Warm water cycles are versatile, working well for many fabric types without causing shrinkage or fading.
The Permanent Press cycle uses mild agitation with temperatures around 85-105 degrees to protect colors and prevent wrinkles.
Selecting the right water temperature depends on the fabric care instructions and type of clothing. Cold water washing benefits sensitive materials and helps to reduce energy costs.
On the other hand, warm water is effective for moderately soiled clothes, ensuring cleanliness without harming most fabrics. Always check labels to match the fabric type with the appropriate temperature range for optimal results.
Soil level
After choosing the right water temperature, it’s crucial to select the appropriate soil level for your laundry. The soil level setting adjusts how hard the washing machine works based on how dirty your clothes are.
For lightly soiled garments, a low soil level reduces wash time and agitation, saving energy and protecting fabrics. On the other hand, heavily stained items require a high soil level setting.
This increases agitation and extends wash time to get everything thoroughly clean. By matching the soil level to dirtiness or stain level on your clothes, you ensure efficient cleaning while conserving water and energy.
The washing machine automatically adjusts water usage when you set the soil level. High soil levels mean more water and longer agitation to tackle tough stains; low settings use less water for quick refreshes of lightly soiled items.
This feature not only helps customize each wash but also optimizes resource use for environmental sustainability. Always check garment labels and consider stain types before selecting a soil level to prevent damage and achieve optimal cleanliness with each cycle.
Water level and auto-sensing
Moving from soil level to water level control shows the importance of adjusting settings for efficient cleaning. Some washing machines feature auto-sensing, a technology that measures laundry load and adjusts water fill level.
This ensures the right amount of water is used, preventing waste and promoting effective cleaning. Auto-sensing stabilizes water usage based on the load capacity, making manual control an option rather than a necessity.
Understanding how to choose the correct water level helps save resources and guarantees clothes are cleaned properly. Machines with intelligent sensing technology provide an advantage by automatically determining the necessary amount of water for each cycle.
This function supports efficient use of water, essential for both small and large loads, ensuring your laundry is always thoroughly washed without excess consumption.
Steam clean
Steam clean uses the power of steam to tackle dirt and stains on clothes. This setting does more than just clean; it also reduces wrinkles, prevents shrinking, and helps get rid of odors.
Steam effectively sterilizes fabrics, making them free from allergens and germs. It’s a great choice for a deep clean without harsh chemicals.
LG highlights how steam can play a crucial role in maintaining the washer itself. The steam cycle helps keep the tub clean by minimizing residue, mold, mildew, and unpleasant smells that often build up over time.
This means your machine stays fresh and ready for every load without extra effort on your part.
Extra options
Extra options in your washing machine can make laundry day easier. The Extra Rinse setting helps get rid of detergent residue, especially from absorbent materials like towels. This feature is great for those with sensitive skin or anyone who wants to ensure their laundry is extra clean.
Exploring other laundry care options gives you more control over your washing. You can tailor each cycle to match the specific needs of your fabrics. These settings help maintain fabric quality and extend the life of your clothes by providing just the right kind of care they need during the wash.
Tips for Properly Using Washer Settings
Master your laundry by selecting the correct washer settings for fabric type, water temperature, and soil level to keep clothes looking great. Read more to become a laundry pro.
Using the appropriate cycle for different fabric types
Selecting the right wash cycle is crucial for fabric care. Different fabrics require specific cycles to maintain their quality and durability. Use a delicate or hand wash cycle for fragile items like silk or lace.
This gentle setting prevents damage and keeps these fabrics looking great. For sturdy materials like cotton or denim, choose a normal or heavy-duty cycle. These settings clean thoroughly without harming durable fabrics.
When washing bulky items such as towels or bedding, select the bulky or bedding and sheets cycle. This option provides extra water and movement to ensure large items get evenly cleaned.
Always read textile care instructions on clothing labels before choosing your washer settings. Properly using washer settings extends the life of your clothes by providing the right balance of cleanliness and fabric maintenance.
Choosing the right water temperature and soil level
After selecting the best cycle for your fabrics, it’s crucial to choose the right water temperature and soil level. Warm water temperatures, between 105°F and 120°F, work well for most cycles like normal and quick wash.
For heavily soiled clothes, hot water helps remove tough stains but use it carefully to avoid damage. Cold water is best for delicate fabrics and colors that bleed. Adjusting the soil level allows the machine to optimize agitation and time needed for cleaning.
Different loads require specific settings to ensure thorough cleaning without harming the fabric. Lightly soiled items can be washed with less water and a shorter cycle, saving energy.
Heavily soiled clothes might need more water and longer washing times. Using the correct settings not only cleans your clothes effectively but also extends their life by preventing wear from excessive heat or agitation.
Utilizing extra options such as steam clean
The steam clean option in washing machines offers a powerful way to tackle tough stains and dirt. This feature uses hot steam to penetrate deep into fabrics, loosening dirt more effectively than water alone.
It’s an ideal choice for heavily soiled items or for those who suffer from allergies, as it can also help remove allergens.
Choosing the steam clean setting can make clothes not only appear cleaner but feel fresher too. Manufacturers report that this option enhances cleaning, achieving a sanitary level hard to reach with traditional settings.
It even works on reducing wrinkles in clothing, simplifying your laundry routine by minimizing the need for ironing.
Conclusion
Choosing the right washing machine cycle for your laundry can greatly affect the care and life of your fabrics. Understanding each setting ensures that clothes come out clean, without damage.
Knowing when to use quick wash or heavy duty can save time and energy. Properly selecting water temperature and cycle options like steam clean maximizes cleaning power. Mastering these settings turns a chore into a simple task, making laundry day less of a guesswork affair.
FAQs
1. What does the “regular” cycle on a washing machine do?
The “regular” cycle cleans everyday clothes with a normal amount of dirt.
2. When should I use the “delicate” cycle?
Use the “delicate” cycle for washing items that are made from fragile fabrics or need gentle care.
3. Can I wash all my clothes on the “quick wash” setting?
The “quick wash” setting is best for lightly soiled items that need a fast clean, not for all types of laundry.
4. What’s the difference between hot and cold water settings?
Hot water cleans heavy soils better, while cold water is good for delicate fabrics and saving energy.
5. Why would I choose the “heavy duty” cycle?
Choose the “heavy duty” cycle for very dirty or bulky items that need extra cleaning power.