The Ultimate Guide: How To Use Tide Pods For Effective Laundry Cleaning
Are you struggling with lackluster laundry results, despite using those colorful Tide Pods? These tiny packets pack a three-in-one punch of detergent, stain remover, and color protector. This guide is your laundry lifesaver, showing you how to unleash the full power of Tide Pods for sparkling clothes every time. Let’s dive in for cleaner, brighter washes!
Key Takeaways
- Tide Pods are a 3-in-1 laundry solution containing detergent, stain remover, and color protector, designed to be used by tossing one directly into the washer drum before loading clothes.
- For best results with Tide Pods, use warm water cycles which aid in dissolving the pods more effectively; ensure correct dosing depending on load size and do not overload the washing machine to allow proper water flow and cleaning action.
- Always store Tide Pods in a dry area away from children and pets. Use them properly by placing at the bottom of your washing machine’s drum before adding laundry, and handle with dry hands to prevent premature dissolving.
- If you encounter problems like undissolved pods or remaining stains, try pretreating stains or using an additional rinse cycle with warmer water; also make sure your washer is pod-compatible and not overloaded for better dissolving.
- You can use Tide Pods across various types of fabrics and washers including both top-loaders and front-loaders. Adjust the number of pods based on laundry size: usually one pod for small to medium loads, two for larger loads, or three for heavy soil levels.
How Do Tide Pods Work?

Tide Pods pack a punch in a small package, harnessing a powerful mix of detergents, stain removers, and brighteners to tackle your laundry. Their innovative design ensures that each pod gets to work the moment it hits water, giving you an all-round cleaning without any guesswork.
3-in-1 Technology
Tide Pods pack a triple punch with their 3-in-1 technology. Each pod contains a super-concentrated detergent, stain remover, and color protector all rolled into one small packet. This powerful combination goes to work instantly in your wash, breaking down tough stains and keeping your clothes looking bright.
Just toss one of these pods into the drum of your washing machine before you start loading in dirty laundry. The outer film dissolves quickly in water, releasing the active ingredients that provide an effective laundry cleaning experience for all types of fabrics.
Whether it’s cotton shirts or denim jeans, each item comes out clean without any extra effort on your part.
Powerful Cleaning Capabilities
Building on their 3-in-1 technology, Tide Pods bring robust cleaning power to your laundry routine. Packed with concentrated detergent, these pods cut through dirt and stains effectively, leaving clothes spotless.
Their powerful formula is designed to work in harmony with your washing machine, maximizing the effectiveness of laundry pods no matter the fabric or level of soil.
The science behind laundry pods lies in their ability to combine multiple cleaning agents into one small package. Enzymes break down proteins and starches in food stains, while surfactants lift oils and grease effortlessly from your fabrics.
This multi-action approach ensures that even the toughest grime is removed during a wash cycle without harming your clothing’s fibers or vibrant colors. With Tide Pods, each load comes out cleaner and fresher than ever before!
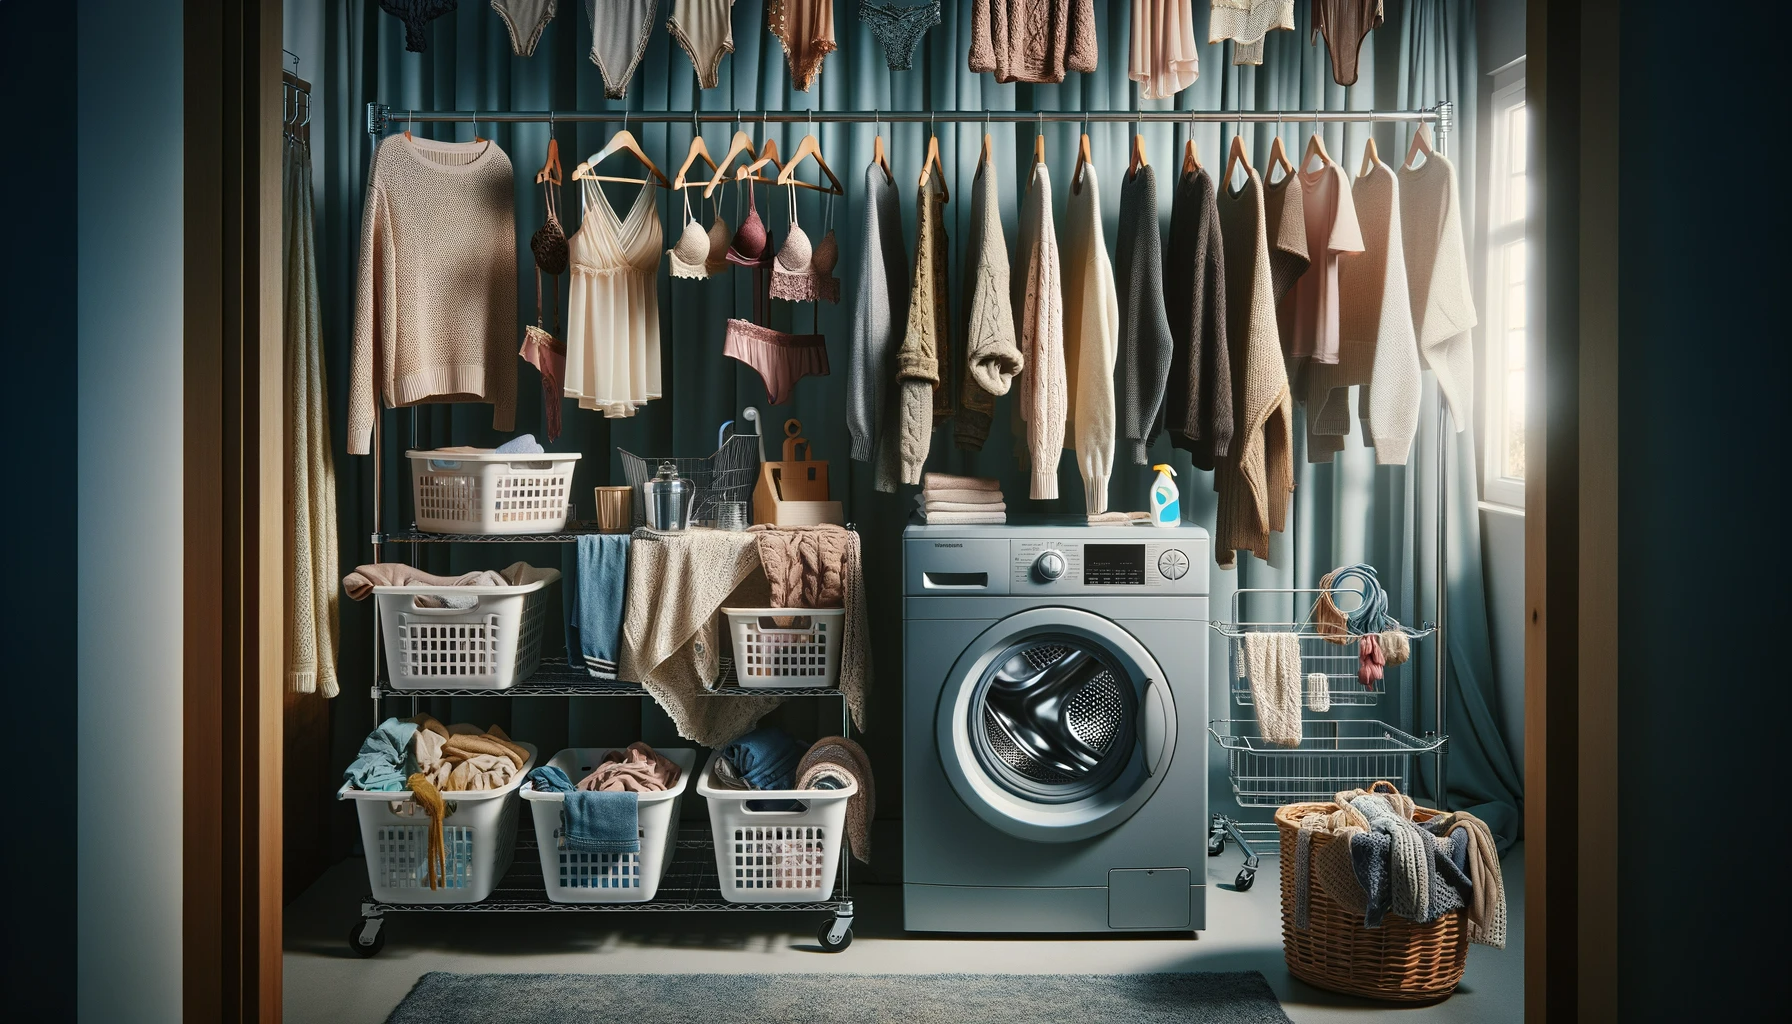
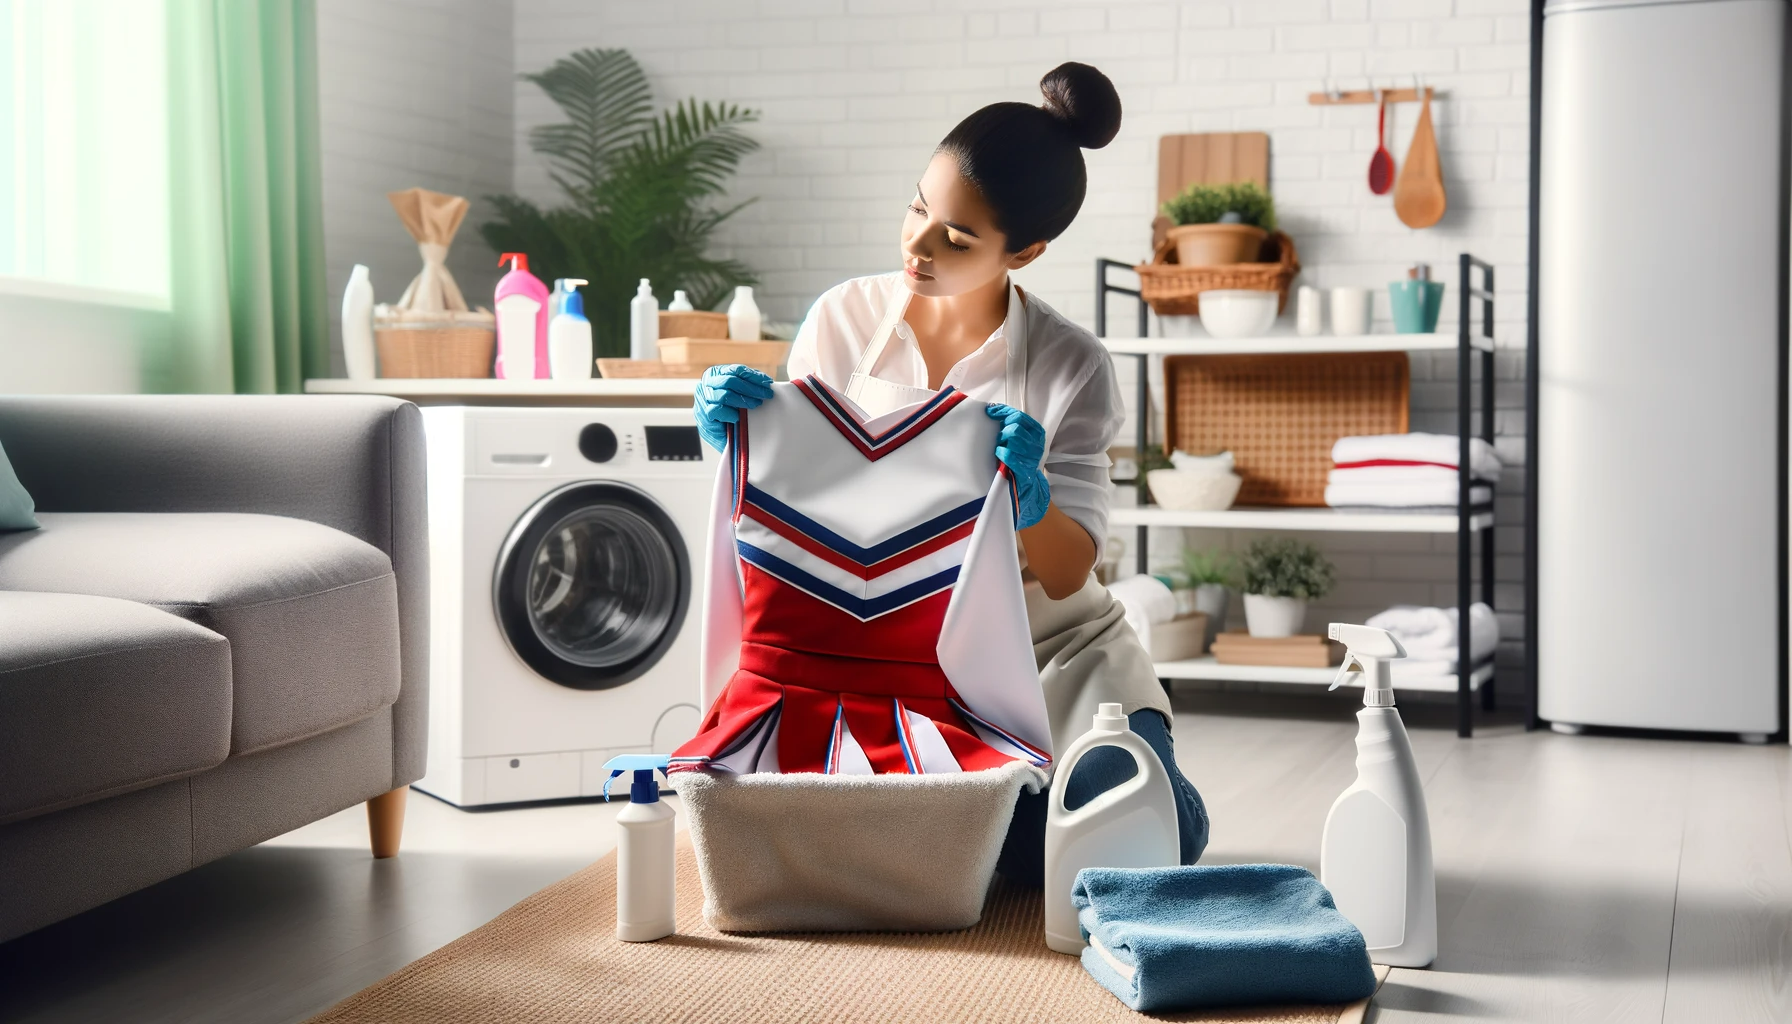
Suitable for a Variety of Laundry Combinations
Tide Pods adapt effortlessly to your varied laundry needs. Whether tossing in heavy denim, delicate lingerie, or a child’s colorful play clothes, these pods handle it all with precision.
Their unique formula ensures that whites stay bright and colors remain vibrant wash after wash. Enjoy the confidence of knowing your fabrics are getting thorough care without the hassle of measuring out powder or liquid detergents.
Even mismatched loads with towels and tees become simpler to manage. Just pop the right number of Tide Pods into your washing machine and let their multi-action cleaning power work its magic.
The pods cut through dirt and stains while protecting fabric integrity—leaving everything from sturdy jeans to soft knits looking fresh and clean. Moving on, let’s explore how different types of washers can influence the way you use Tide Pods for optimal results.
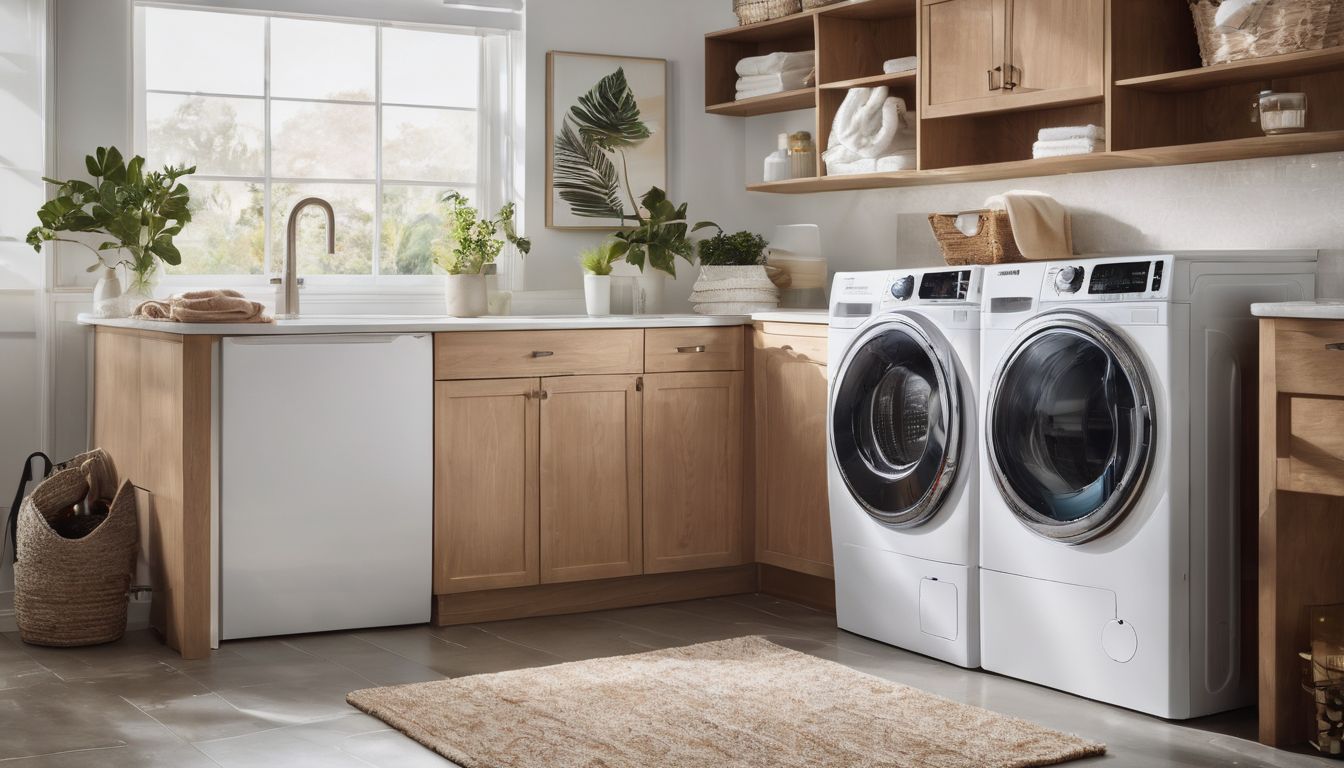
How to Use Tide Pods in Different Types of Washers

Navigating the world of laundry can be simpler than you think, especially when using Tide Pods in your washing routine. Whether you’ve got a trusty top-loader or a fancy front-loading machine, we’ll guide you through the process to ensure your clothing comes out spotless every time.
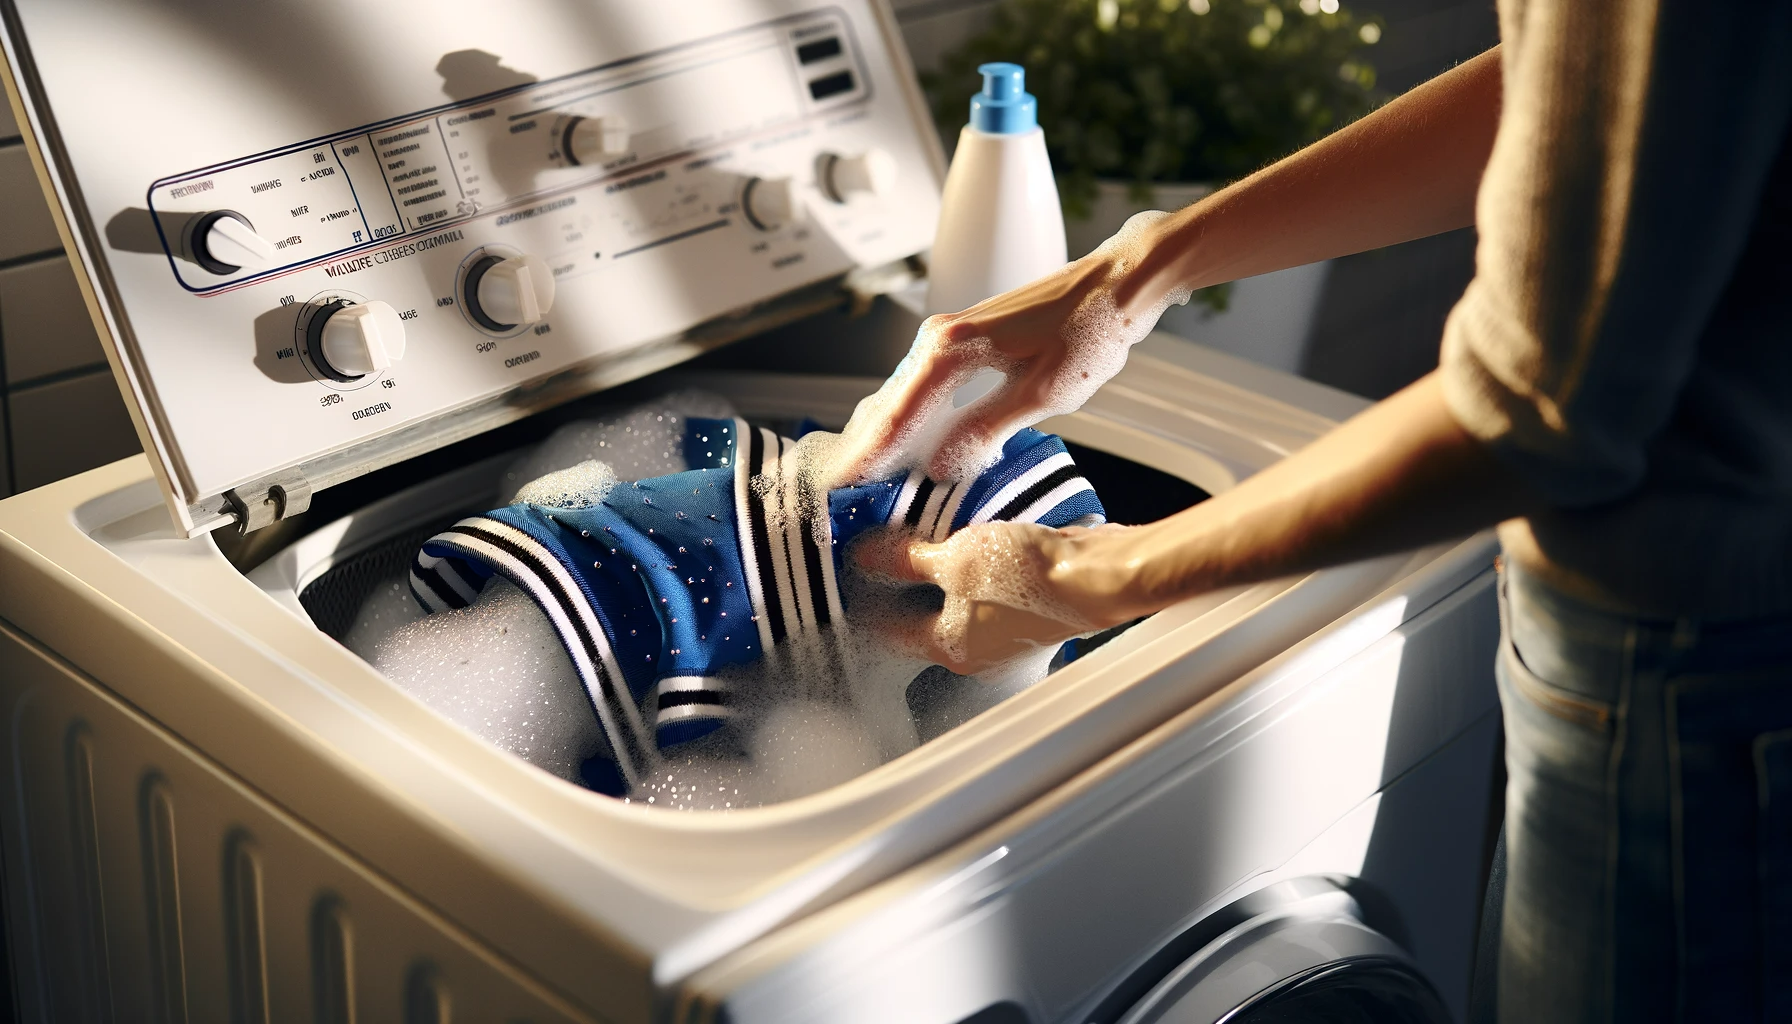
Top-load Washers
Top-load washers have a unique design that makes using laundry pods a bit different from front-loading models. To get the best results with laundry pods in these machines, follow these simple steps.
- Open the washer’s lid to expose the drum where you’ll place clothes and the detergent.
- Grab the recommended amount of Tide Pods for your load size; this ensures effective laundry cleaning without waste.
- Place the laundry pod directly into the washer drum before adding any clothes. This helps in maximizing pod-to-water contact and aids in dissolving.
- Start loading your dirty clothes, spreading them evenly around the drum to avoid unbalanced loads, which can impact washing performance.
- Select your desired wash cycle; warmer water settings can enhance the dissolving process of laundry pods.
- Close the lid, set your top – load washer running, and let those powerful cleaning capabilities do their work on your fabrics.
- Once finished, check to make sure that no pod residue remains on your clean clothes or in the drum.
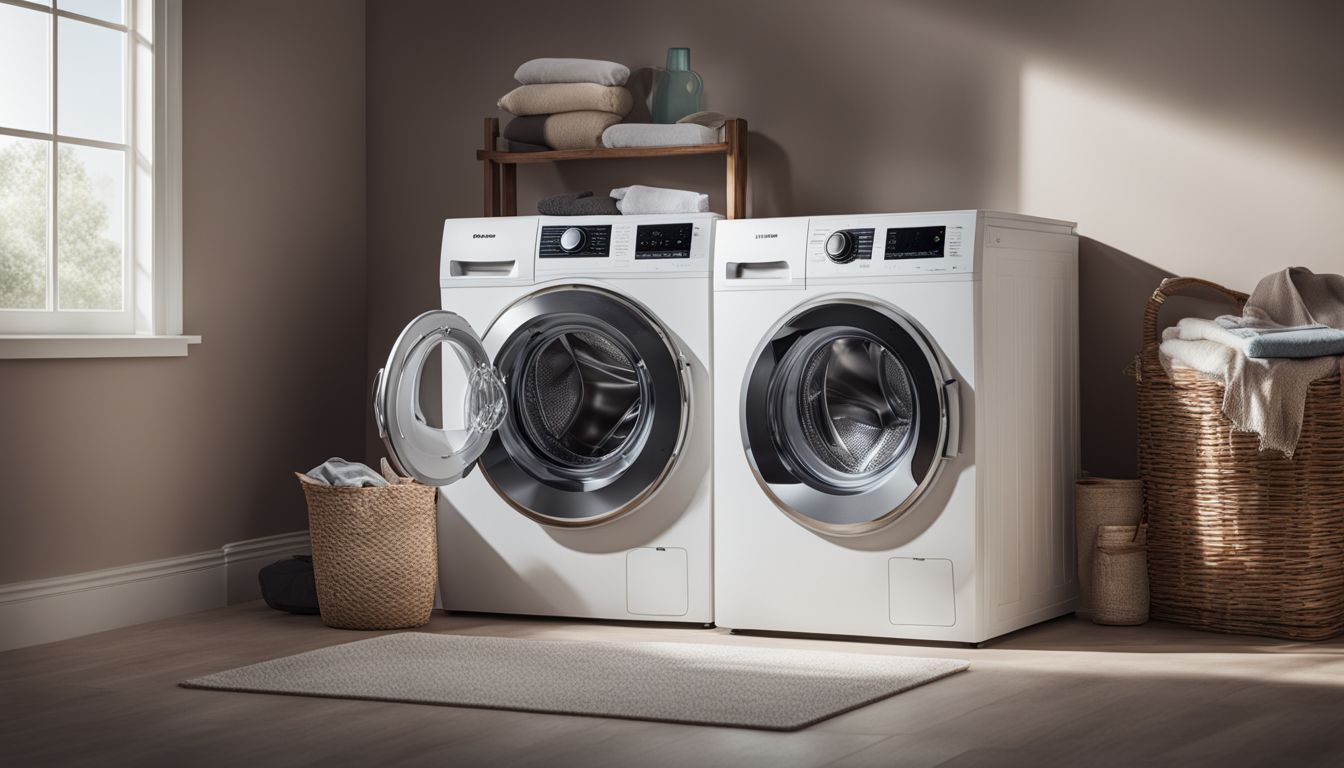
Front-load Washers
Front-load washers are popular for their efficiency and gentle laundry care. Using Tide Pods in these machines can be simple if you follow the right steps.
- Check your washer’s instruction manual to confirm it’s compatible with laundry pods.
- Open the washing machine door before you do anything else.
- Place the recommended amount of Tide Pods directly into the empty washer drum. Avoid overloading; one pod is usually enough for regular load sizes.
- Carefully add your laundry on top of the pod, ensuring even distribution of clothes for optimal cleaning.
- Select your preferred cycle settings, considering fabric type and soil level for effective laundry cleaning.
- Use warm water settings when possible as this helps pods dissolve thoroughly.
- Close the washer door securely to start the washing process.
- After completing a wash cycle, inspect your laundry to ensure that pods have fully dissolved. If not, an additional rinse cycle may help.
- Store Tide Pods in a dry place out of reach from children and pets, maintaining product effectiveness and safety.
Tips for Using Tide Pods Correctly
Unlock the power of flawless fabric care with Tide Pods by mastering their use—say goodbye to laundry guesswork and embrace a world where every load emerges impeccably clean. GenerationType perfect results, we’ll dive into smart pod practices that elevate your washing routine beyond mere simplicity.
Proper Dosing
Choosing the right number of Tide Pods can make a huge difference in your laundry’s cleanliness. Always check the package for recommended dosing, and don’t be tempted to toss in extra pods “just in case.” For small or medium loads, one pod should suffice, but larger loads may require two.
If you’re facing an exceptionally heavy or dirty load, three pods might be necessary. However, using too many can leave residue on clothes and is wasteful.
Make sure to place the pods at the bottom of the drum before adding your clothes on top. This ensures they dissolve fully during the wash cycle. Now that you’ve got dosing down, let’s dive into how temperature affects dissolving with tips for using warm water effectively with Tide Pods.
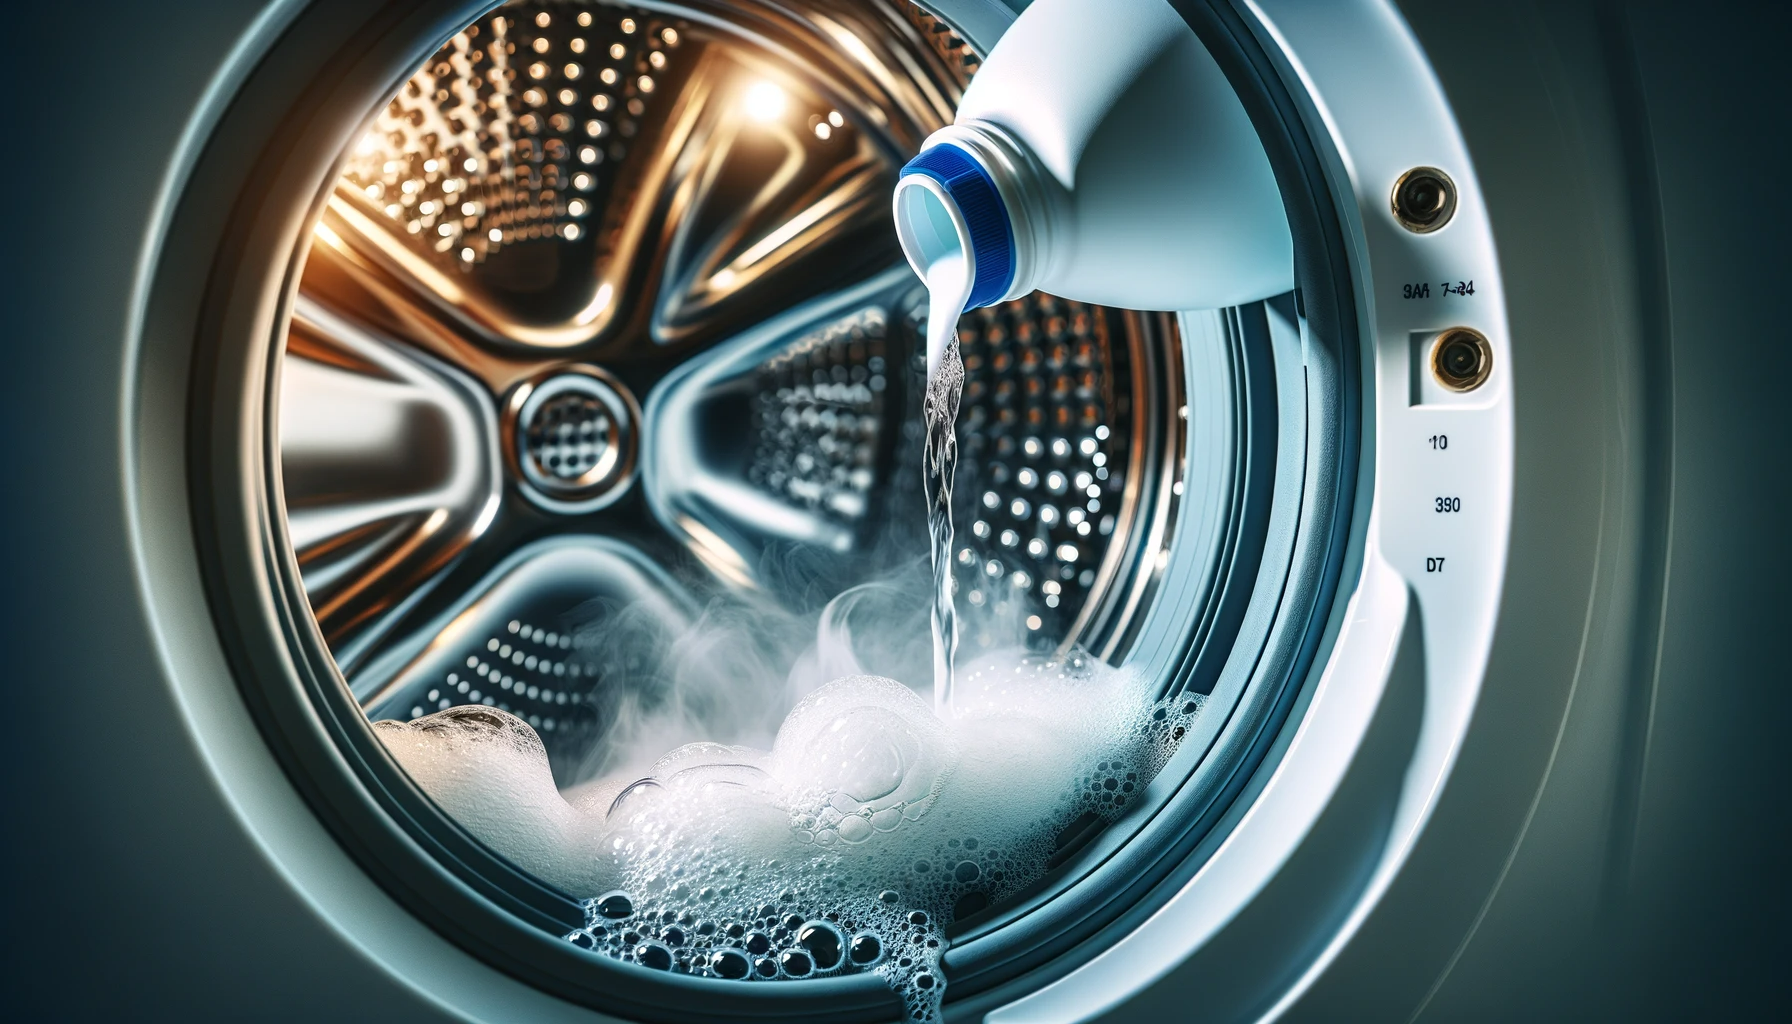
Dissolving in Warm Water
Using Tide Pods correctly means making sure they dissolve fully in your laundry. Warm water works best for this purpose. It helps the outer film of the pod melt away quickly and releases the powerful cleaning agents inside.
Start by setting your washing machine to a warm water cycle before adding the pods.
Place Tide Pods at the bottom of your washer drum before you load in clothes. This will give them direct contact with water, allowing them to start dissolving right away. Don’t toss pods on top of a pile of laundry; they might not get enough water to break down properly, resulting in residue on your fabrics.
Instead, ensure each pod is surrounded by water for maximum effectiveness during your laundry routine.
Adding to an Empty Washer Drum
Make sure to place Tide Pods at the bottom of the empty washer drum before loading your clothes. This is crucial because it allows the pod to begin dissolving as soon as the wash cycle starts, ensuring that all of its powerful cleaning agents are released and mix properly with water.
Drop one in, then pile your laundry on top, making certain not to overcrowd the drum; this helps maximize contact between fabric and detergent for effective laundry cleaning.
Loading your washing machine in this recommended manner can prevent pods from getting trapped in pockets or corners where they might not dissolve fully. Keep fabrics separated enough so that water swirls freely around them, allowing every thread to be reached by the detergent solution for a thorough clean.
Trust that following these simple steps will assist you in getting great results each time you use laundry pods with either front-load washers or top-load machines.
Troubleshooting and Common Problems
Discover how to navigate the occasional hiccup with Tide Pods, from stubborn stains to undissolved capsules, and ensure your laundry emerges spotless every time—keep reading for key insights on overcoming these challenges.
Stains Not Removed
Sometimes Tide Pods may leave a challenging stain untouched. This might happen if the pod doesn’t dissolve fully or if the stain is particularly tough. To tackle this, make sure you’re using the correct number of pods for your laundry’s size and soil level.
For heavy stains, pretreat by applying some detergent directly to the spot before throwing it into the wash.
Ensuring that your washer isn’t overloaded can also help in stain removal. Clothes need enough space to move freely so that water and detergent can reach every fiber. If stains persist, consider repeating the wash cycle with an extra pod or use a specialized stain remover as part of your laundry routine.
Laundry care is all about adjusting tactics until you find what works best for your clothes and lifestyle.
Pods Not Dissolving
If your Tide Pods are not dissolving properly, this could be due to using cold water. Laundry pods contain a concentrated detergent that requires warmer temperatures to break down effectively.
Ensure you’re selecting the appropriate wash cycle with warm enough water for the pods to dissolve completely. Another common issue might be overloading your washing machine, which prevents the pod from circulating and dissolving as it should.
Always give your laundry enough room to move around in the drum, allowing the detergent to spread out and do its job.
To tackle pods that won’t dissolve, place them at the bottom of your washer drum before adding clothes on top. This ensures they come into contact with water right away and start working immediately.
Check that you’re using laundry pods compatible with your type of washing machine; some pods are specifically designed for high-efficiency models and might not perform well in standard machines.
Keeping these tips in mind can help make sure every load comes out clean and fresh without any leftover pod residue.
Storage and Handling Tips
Keep Tide Pods in their original packaging to prevent exposure to moisture and humidity, which can cause the pods to stick together or dissolve prematurely. Store them high up or locked away if you have little ones at home; these colorful packets can be mistaken for candy by curious children.
Make sure your storage area is cool and dry, as heat can also damage the pods’ effectiveness.
Handle laundry pods with dry hands only. Even a bit of water on your fingers could start dissolving the pod before it’s in the washer. Do not puncture or cut open Tide Pods since they are designed to release their contents during the wash cycle.
After taking a pod out, seal the bag securely to keep other pods safe and ready for use. Always dispose of any loose wrapper material or damaged pods properly to avoid potential harm from accidental ingestion or misuse.
FAQs about Tide Pods
Are Tide Pods safe for all fabrics? Absolutely, you can use them on a wide range of materials. However, make sure to check each fabric’s care label first. Can I use multiple pods for larger loads? Yes, if you’re dealing with extra-dirty clothes or bigger loads, two pods might be necessary.
Just ensure they have enough space to dissolve properly.
What happens if a pod doesn’t fully dissolve? If this occurs, rewash the items in warm water. Always add Tide Pods to the bottom of your washing machine drum before loading your laundry on top for optimal dissolving.
Now let’s move on and tackle some common troubleshooting tips and how to handle any issues that arise during your laundry routine.
Conclusion
With this ultimate guide, mastering the use of Tide Pods for your laundry is a breeze. Unlock the full potential of every wash cycle by following these easy steps and tips. Enjoy pristine clothes that smell as fresh as they look, ensuring laundry day becomes less of a chore and more of a triumph.
Keep your fabrics in top-notch condition and make every load count with Tide Pods – where powerful cleaning meets convenience. Make them a staple in your laundry routine and witness the difference in each vibrant, clean garment you pull from the dryer.
FAQs
1. How many Tide Pods should I use for one load of laundry?
Use one Tide Pod for a regular-sized load and two pods for a large or heavily soiled load.
2. Can I put Tide Pods in the dispenser drawer?
No, place the Tide Pod directly into the washing machine drum before adding your clothes.
3. Do Tide Pods work in cold water?
Yes, Tide Pods are designed to dissolve and work effectively in both cold and hot water.
4. Are Tide Pods safe to use with all types of fabrics?
Tide Pods can be used with most fabric types but always check your clothing’s care label first.
5. What do I do if a Tide Pod doesn’t fully dissolve during the wash?
If this happens, rewash the affected clothes without adding additional detergent to ensure they get clean.