
Struggling to get that crisp, clean look on your freshly laundered clothes? Ironing is a skill that transforms wrinkled fabric into polished attire. This guide will take you step by step through everything from setting up your ironing station to handling different materials with ease.
Read on for the secrets of crease-free clothing—it’s simpler than you think!
Key Takeaways
- Use the correct temperature for each fabric, like high heat and steam for cotton and linen, but low heat without steam for delicate silks.
- Keep your ironing tools handy, including a sturdy board, adjustable iron, spray bottle, pressing cloth, timer or clock and distilled water.
- Iron clothes while they are slightly damp to make it easier to smooth out wrinkles; use a spray bottle to moisten dry garments if needed.
- Always move the iron constantly over the garment and hang items immediately after ironing to prevent new wrinkles from forming.
- Practice safe ironing by testing the iron’s temperature on a small area of the fabric first and using features such as automatic shut-off.
The Importance of Ironing Clothes
Ironing your clothes does more than just smooth out the wrinkles; it’s a vital step in garment care that enhances their overall look and feel. Neat, crease-free clothing boosts confidence and ensures you present yourself in the best possible light whether at work or social events.
Tackling those pesky folds with a hot iron not only improves fabric texture but also helps to preserve the structure of your outfits for an extended period.
A crisp shirt collar, precision-creased pants, and smoothly flowing skirts send a message of attention to detail and professionalism. Making use of an ironing board allows for effective crease removal, contributing to clothing maintenance that ultimately saves money by reducing the need for frequent replacements.
Regular ironing is crucial in clothing preservation because it aids in keeping fabrics fresh and extends their wearable life span while maintaining a wrinkle-free appearance that resonates with meticulous personal style.
Steps for Proper Ironing Technique
To achieve a crisp, professional look for your garments, mastering the art of ironing is essential. We’ll delve into techniques that ensure every press and glide of your iron results in smooth, wrinkle-free fabric without damage—transforming this household chore into an effective tool for clothing maintenance.
What you need for ironing
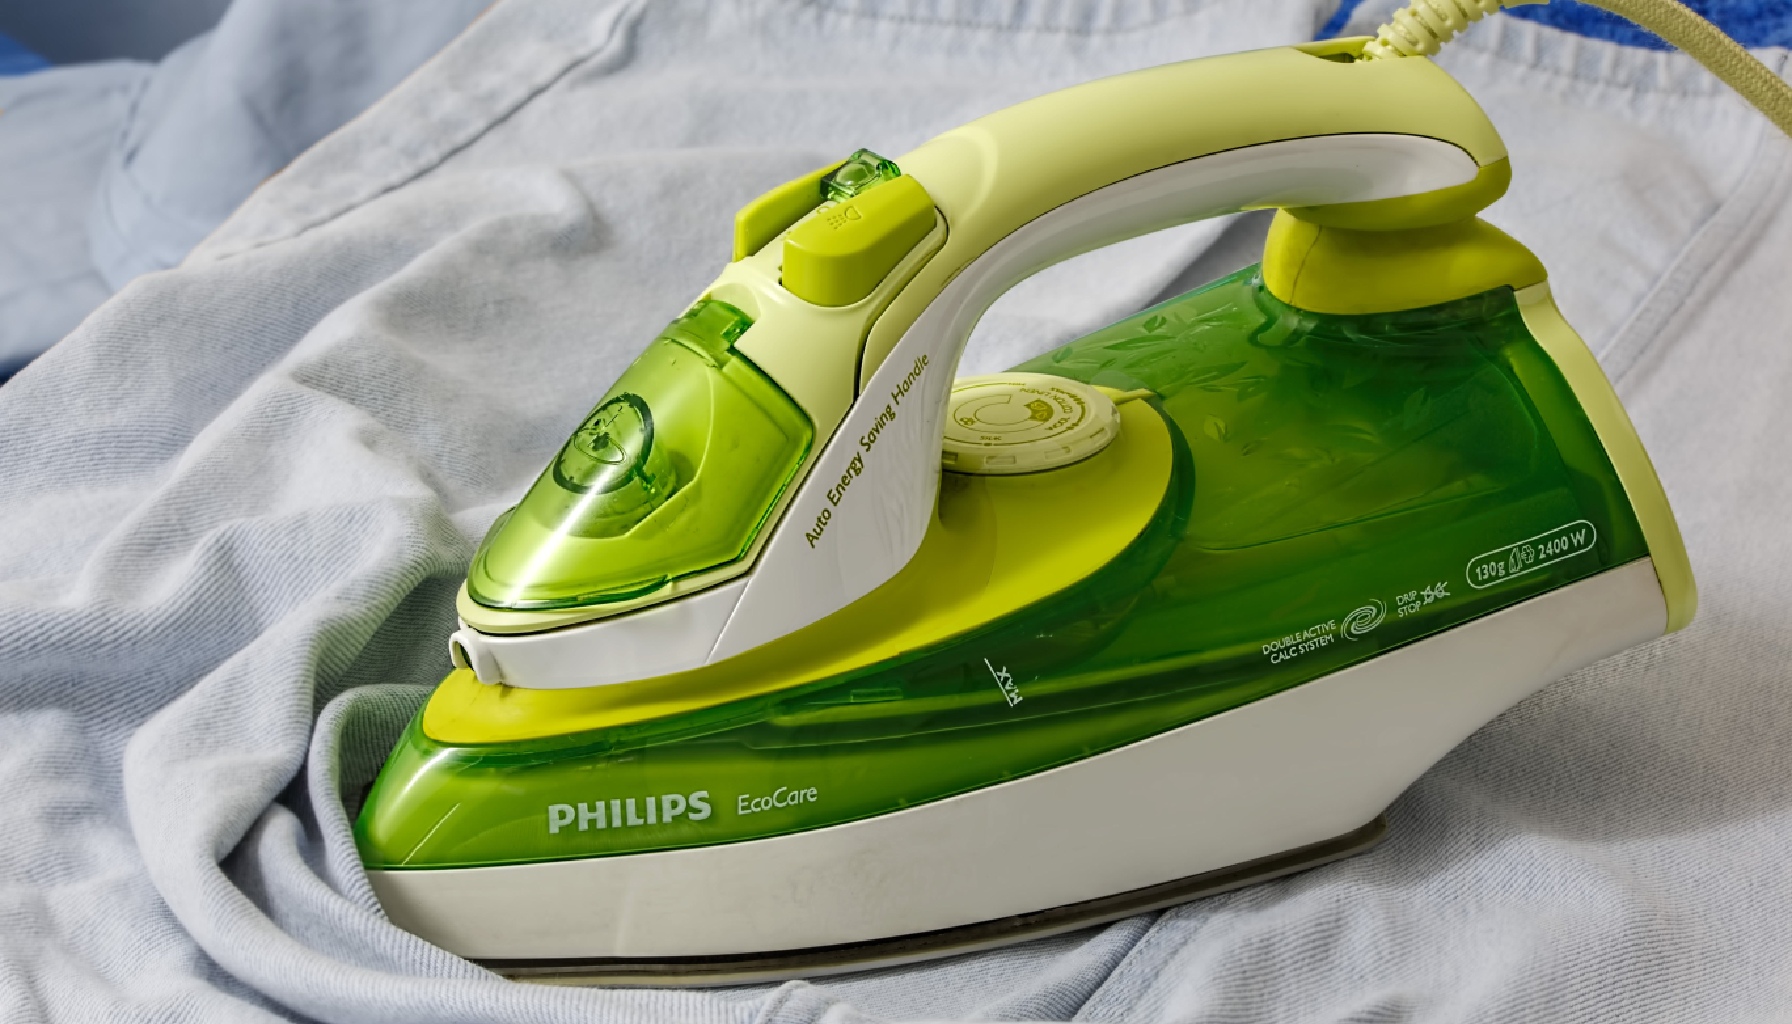
Ironing transforms wrinkled garments into polished attire. You’ll need the right tools to ensure your clothes come out smooth and crease-free.
- An iron: Select one with adjustable temperature settings and a steam function for versatile fabric care.
- Ironing board: A sturdy, flat surface covered with a heat-resistant pad promotes efficient ironing.
- Water spray bottle: Misting clothes lightly makes them easier to press.
- Pressing cloth: Use this to protect delicate fabrics from direct heat.
- Laundry starch: Spritz on shirts to achieve a crisp, professional finish.
- Iron cleaner or descaler: Regularly clean your iron’s plate and remove mineral buildup for optimal performance.
- Distilled water: This prevents mineral deposits in your iron that can stain clothing.
- Timer or clock: Keep track of ironing time to avoid scorch marks on garments.
- Hangers or clothing rack: Hang items immediately after ironing to prevent new wrinkles from forming.
Prepare your ironing space
Setting up the right environment for ironing can transform it from a chore into a smooth, swift process. Ensuring that you have all your tools and the space properly prepared will make a big difference in your garment care routine.
- Choose an ironing board that is sturdy and of a comfortable height to prevent back strain.
- Place the ironing board in a well – lit area to easily spot wrinkles and creases on your clothing.
- Always ensure your ironing surface is clean and free of any objects that could snag or stain fabrics.
- Use an iron with adjustable heat settings so you can cater to various fabric types without causing damage.
- Fill the iron’s steam function reservoir with water if you anticipate needing steam for wrinkle removal.
- Keep a pressing cloth handy, especially when working with delicate fabrics to protect them from direct heat.
- Consider using an ironing mat for quick touch-ups or if you lack space for a full-size board.
- Maintain a spray bottle filled with water or ironing spray nearby to help dampen clothes for easier wrinkle release.
- Organize your clothes by fabric type before starting, streamlining the process and reducing the need for constant temperature adjustments.
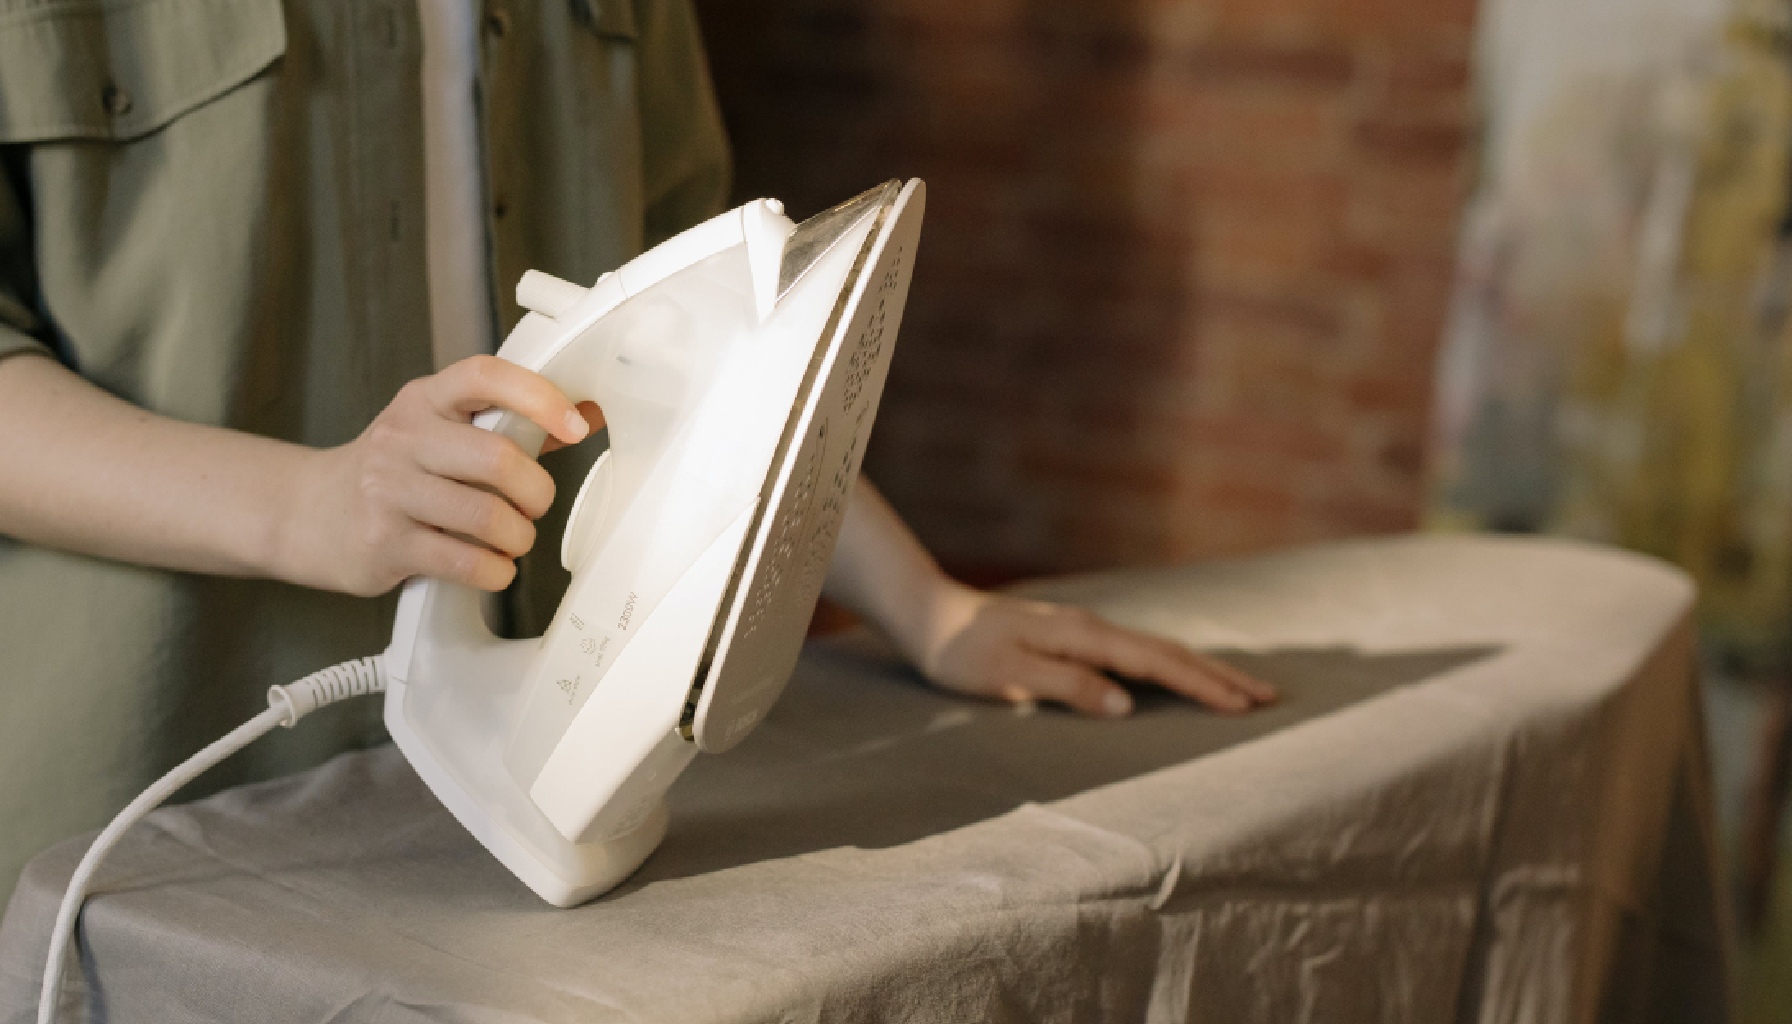
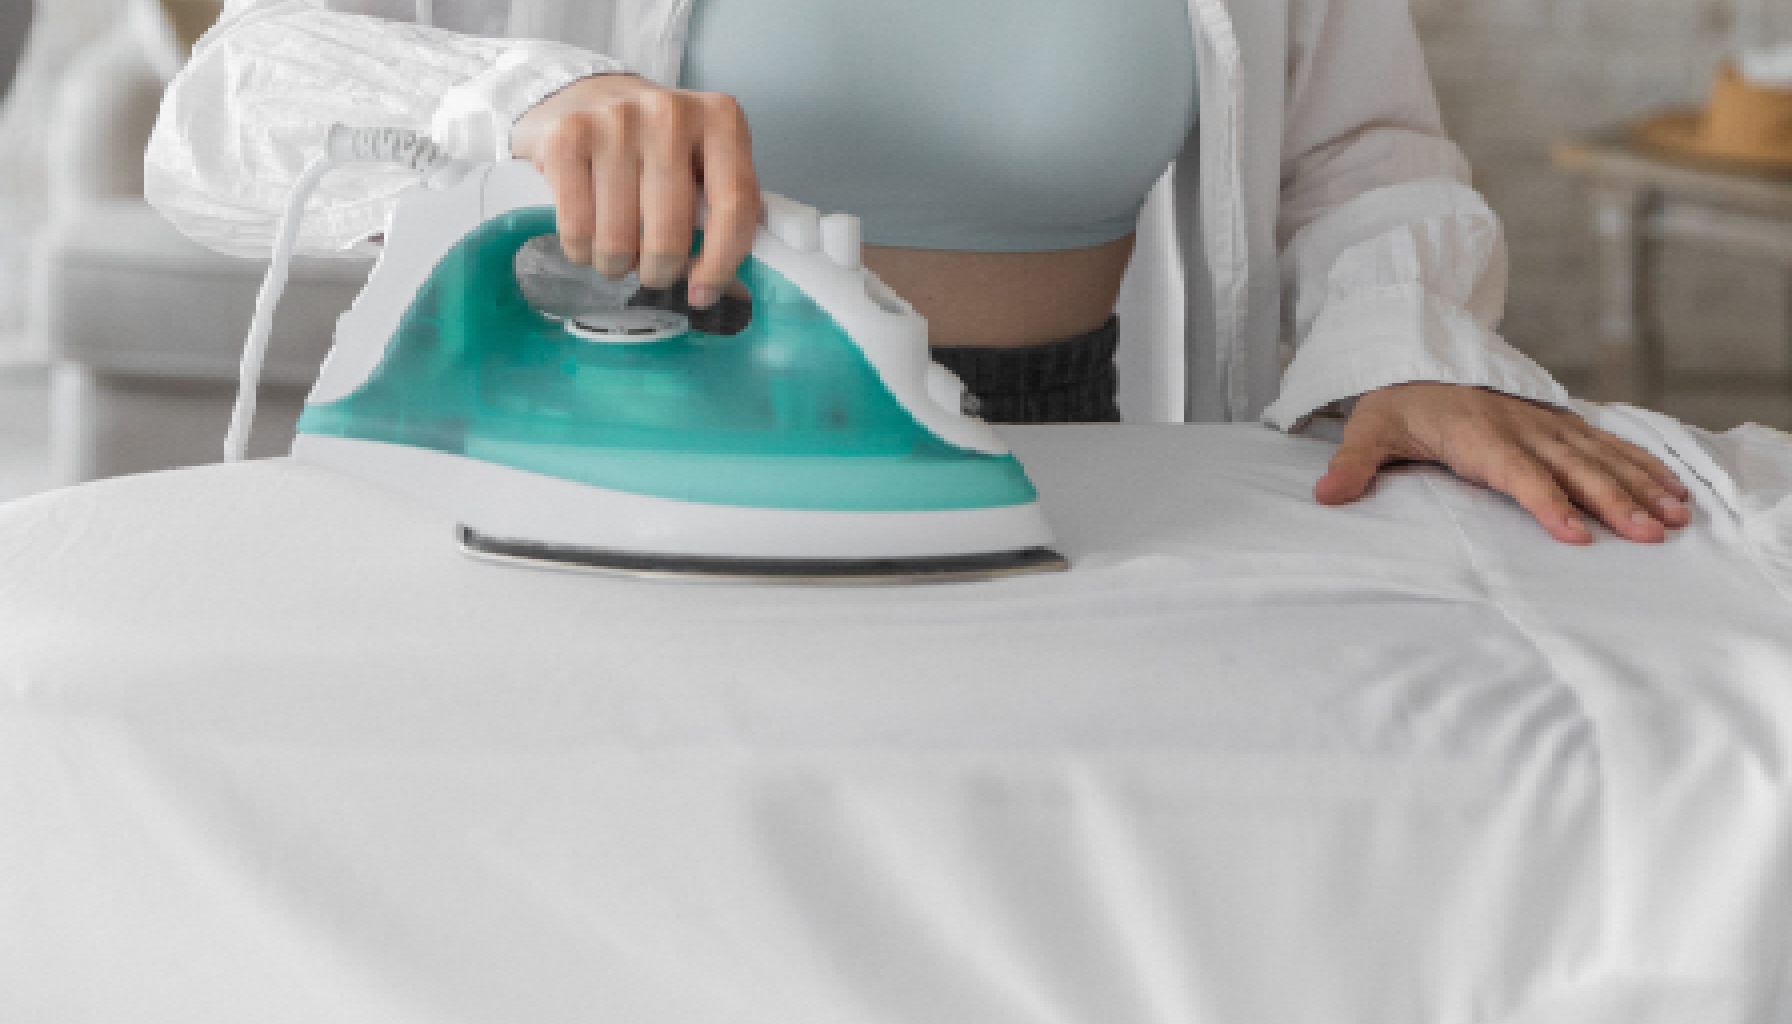
Iron while clothes are damp
Ironing clothes when they’re still slightly damp can make a huge difference in the ease of smoothing out wrinkles. For fabrics like cotton and linen, which are notorious for deep creases, this method allows the heat to more effectively soften the fibers.
A quick spritz from a water bottle can dampen dryer garments just enough. If you’re dealing with a linen shirt or cotton dress, it’s best to iron them while they retain some moisture; high temperatures during ironing will work wonders on these materials.
Keep your spray bottle handy for those drier items that require a little moisture. The slight dampness helps the iron glide over stubborn wrinkles and press the fabric into crisp perfection without scorch marks.
This technique not only enhances wrinkle reduction but also contributes significantly to proper garment care and longevity. Moving forward, we’ll delve into how to handle different types of clothing and their specific needs during ironing.
Ironing different categories of clothing
Ironing your clothes can transform them from wrinkled to polished, showcasing meticulous apparel care. Proper garment pressing techniques cater to different types of clothing, ensuring they look their best without damage.
- Gather your ironing essentials, including the iron, an ironing board, and distilled water for steam.
- Set up a comfortable space with good lighting and enough room to move around the ironing board.
- Tackle shirts starting with the collar, moving on to the cuffs and sleeves before laying the shirt flat to press the front and back.
- Press pants by aligning seams; begin with waistbands and pockets before moving down each leg.
- For skirts and dresses, start at the waist, iron in a circular motion around pleats or designs, and carefully work towards the hemline.
- Delicate fabrics like silk should be ironed from the inside out to prevent shiny marks.
- Use lower heat settings for synthetic materials such as polyester to avoid melting or distorting fibers.
- Heavier textiles like cotton and denim benefit from higher temperatures for sharp creases and smooth finishes.
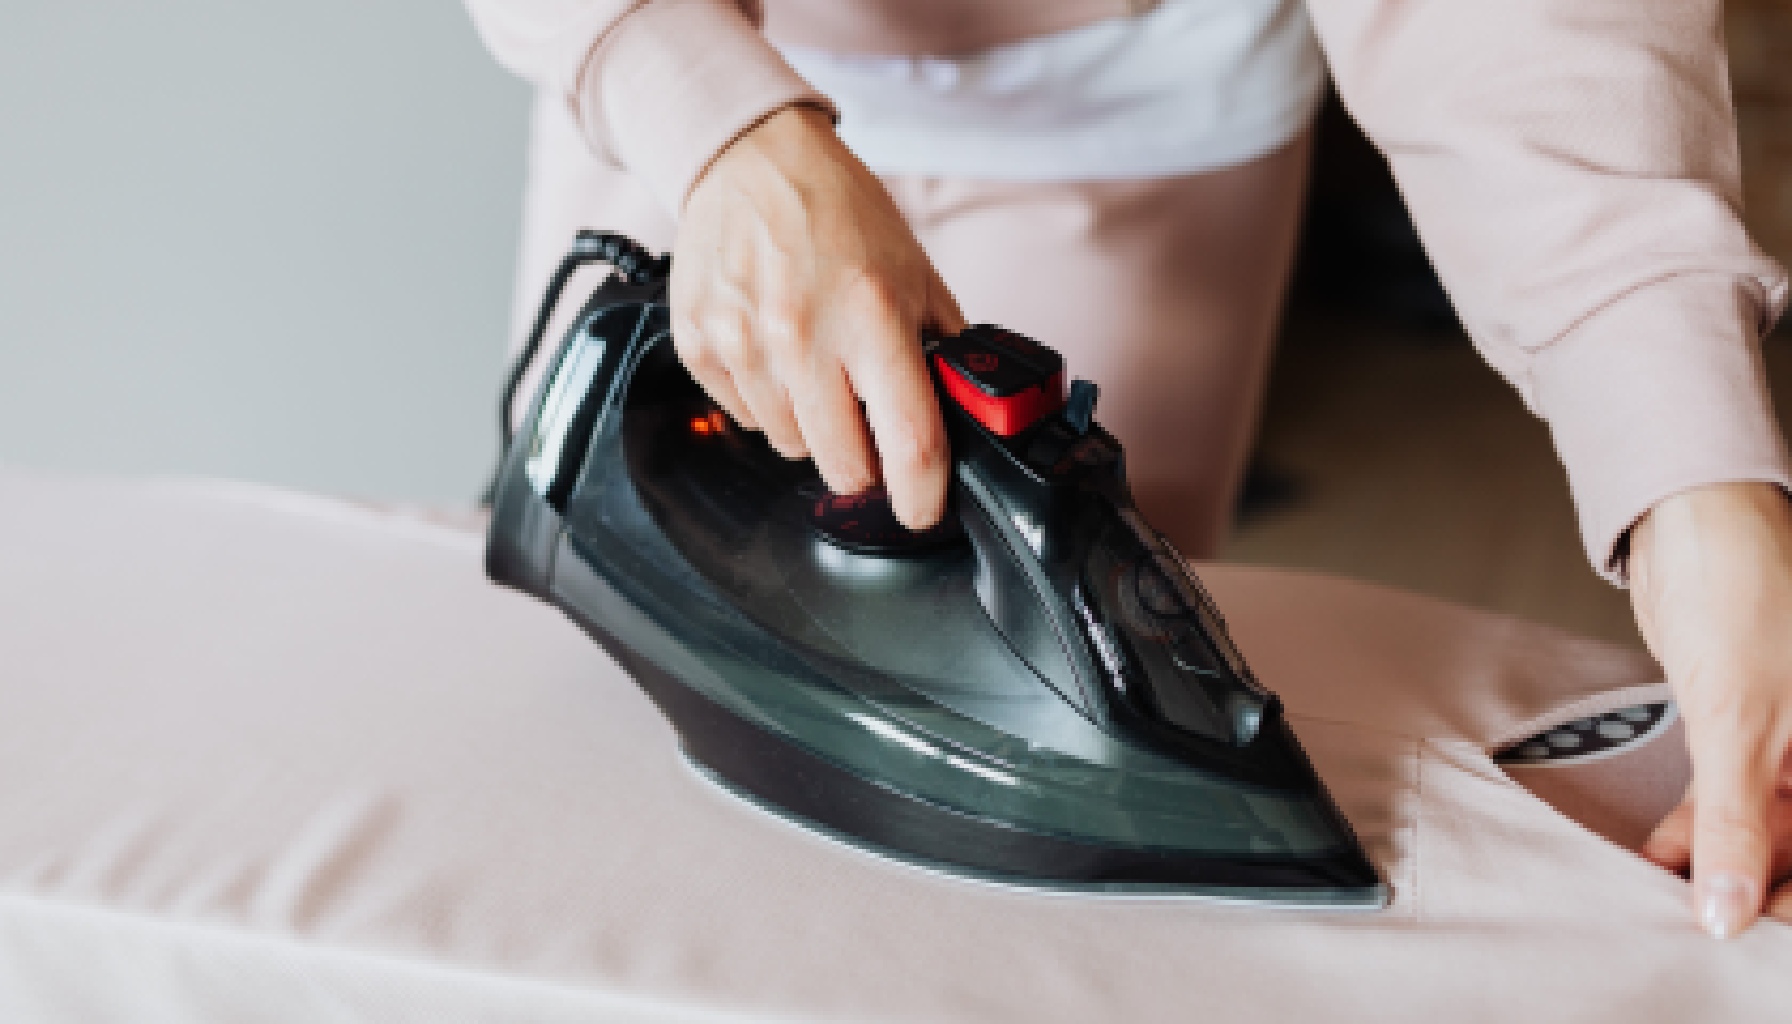
Using steam and avoiding scorch marks
Using steam while you iron can take your garment maintenance to the next level. It helps smooth out stubborn wrinkles and ensures that clothes look freshly pressed without damage.
- Gather all necessary items before starting, including a steam iron, water for the iron’s reservoir, and a pressing cloth.
- Fill up your iron’s steam function to its recommended level with distilled water to minimize buildup within the steam vents.
- Preheat the iron according to the type of fabric you’re working with; selecting the right setting prevents scorch marks.
- Lay out your clothing item on an ironing board, making sure the surface is clean and free of any debris that could transfer onto your fabric.
- Test the steam function on a small area or similar scrap piece of fabric to make sure it doesn’t leave wet spots or cause any discoloration.
- Begin with lighter fabrics like silks and synthetics that require lower heat, gradually progressing to sturdier materials like cottons and linens.
- Apply gentle pressure as you glide the iron over areas with wrinkles, allowing the steam to penetrate fibers and relax them.
- Use protective cloth barriers for extra delicate fabrics or garments prone to shiny marks; this method adds another layer of scorch protection.
- Keep the iron moving constantly, focusing on one section at a time; lingering too long in one spot can result in scorch marks or even burns.
- Implement vertical steaming for garments that are too delicate or cumbersome to lay flat; hold them upright and let the steam work its magic without direct contact.
Mastering the Technique of Ironing
Mastering the art of ironing isn’t just about removing wrinkles; it’s an essential skill that elevates your clothing’s appearance and showcases meticulous care. Unlock the secrets to flawless garments as you learn how to expertly navigate your iron across different textiles, transforming crumpled fabrics into crisply pressed masterpieces with ease.
Start with the collar or neckline
Getting that crisp, professional look for your shirts begins right at the top. The collar and neckline set the tone for your garment’s appearance, making them essential starting points in the ironing process.
- Lay the shirt flat on the ironing board with the collar or neckline spread out.
- Press down firmly with a hot iron to eliminate any creases, moving from one point of the collar to the other systematically.
- Flip over and repeat on the other side, ensuring both sides are equally smooth.
- For dress shirts with a stiff collar, use extra steam to shape it properly, but avoid soaking it.
- Gently smooth out any wrinkles along the seam where the fabric meets while maintaining firm pressure.
- Adjust your grip as needed to navigate around buttons and ensure they are not damaged by direct heat.
- Ensure consistent movement of the iron across every inch of fabric for an even finish without leaving any marks.
- Check your progress frequently to prevent overheating and potential scorch marks on delicate areas.
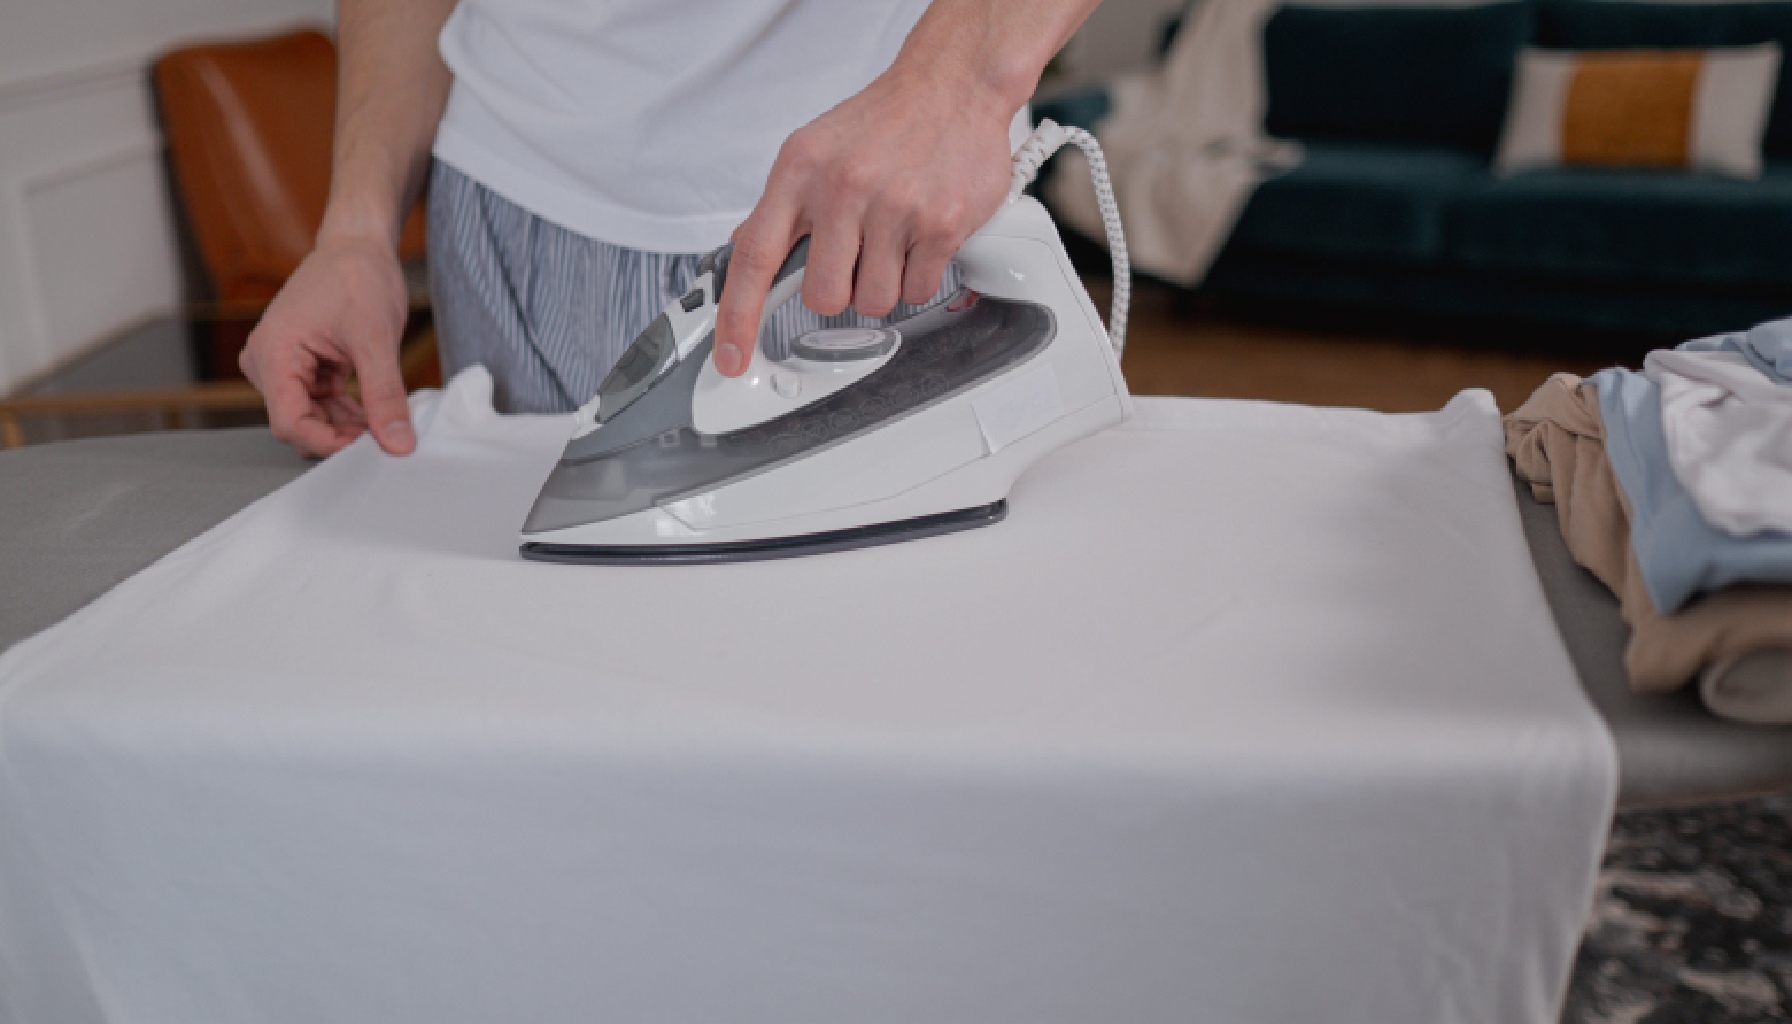
Work from top to bottom
Mastering the technique of ironing involves a strategic approach, like tackling clothes by working from top to bottom. This method ensures an organized process and prevents re-wrinkling areas you’ve already smoothed out.
- Lay the garment flat on your ironing board to start. Begin with the collar or neckline, making sure it’s unbuttoned if dealing with a shirt.
- Smooth out the fabric of the collar with your hands first, then press with the iron. Flip and repeat on the other side for an even look.
- Move down to the shoulders and yoke, sliding each section over the narrow end of your ironing board to keep everything flat.
- Press down firmly but gently as you go along each sleeve. Pay special attention to cuffs, where wrinkles often hide.
- Engage in garment care by ironing the front panels next, navigating around buttons or any embellishments carefully.
- Slide your iron smoothly across the back panel of shirts or blouses ensuring no new creases form in what you’ve already pressed.
- Finish up by pressing any remaining details such as pockets or pleats for that crisp, professional appearance.
Use steam and damp cloth
Transitioning from working your way from top to bottom, let’s tackle the significance of steam and a damp cloth in perfecting your ironing technique. Steam is the secret weapon that loosens fibers and eradicates wrinkles with ease.
- Select the appropriate setting on your steam iron for the fabric you’re working with. This ensures optimal temperature and steam output.
- Preheat your iron until it reaches the desired setting. A well – heated iron produces consistent steam.
- For stubborn wrinkles, use the iron’s burst-of-steam feature. Short, sharp bursts target deep creases, smoothing them quickly.
- Keep a spray bottle handy for fabrics that have dried out. Spritz water lightly to reintroduce moisture for easier wrinkle removal.
- Lay a damp cloth over delicate fabrics like wool before pressing. This provides an extra layer of protection against heat damage.
- Glide the iron gently; let the steam penetrate fibers without applying too much pressure.
- Re – moisten the cloth as necessary during lengthy ironing sessions to maintain adequate dampness.
- After steaming, allow clothes to dry completely before wearing or storing them. This prevents new wrinkles from forming immediately.
Ironing Safety Measures
5. Ironing Safety Measures: Discover how to shield your favorite garments and yourself from heat mishaps with essential ironing safety tips that promise a burn-free experience—stay tuned for expert guidance on secure pressing practices.
Tips for ironing safely
Ironing safely is essential for protecting both your clothes and yourself. Following these guidelines will help you iron without accidents or damage to your garments.
- Always test the iron’s temperature on a small, hidden part of the garment to ensure it won’t burn the fabric.
- Keep your ironing board stable and secure to prevent it from collapsing while you’re using it.
- Ensure good ventilation in your ironing area to keep fabric fumes at bay and breathe easily.
- Use an iron with automatic shut – off features to reduce the risk of fire if left unattended.
- Never leave a hot iron face down on any surface; always rest it on its heel or in its stand.
- Keep cords untangled and away from the edges of the ironing board where they can be pulled.
- Avoid water drips by draining leftover water from your steam iron after every use to prevent calcium buildup.
- Stay mindful of hot surfaces, including the soleplate of the iron, which can cause serious burns upon contact.
- Store irons out of children’s reach, making sure they cool down completely before putting them away.
Understanding iron temperature settings
Getting to know your iron’s temperature settings is key to achieving perfectly smooth clothes without damage. Different fabrics require specific heat levels; for example, cotton sheets can handle high temperatures but are best ironed while slightly damp for outstanding results.
Always begin with a lower setting and increase the heat gradually as you gauge how the fabric responds. This approach ensures that delicate materials aren’t subjected to excessive heat right away, which could ruin them.
Familiarizing yourself with the symbols on clothing labels will guide you in selecting the correct temperature. These symbols provide essential information about textile temperature tolerance and help prevent mishaps like scorching or melting fibers.
Mastering these settings translates into professional-quality care for your garments, extending their life and keeping them looking their best longer. It’s a straightforward step toward becoming proficient at proper clothing maintenance and wrinkle removal without resorting to guesswork or risking harm to your wardrobe favorites.
How to remove scorch marks
If you accidentally leave your iron on clothes for too long and end up with scorch marks, don’t worry; there are several household remedies to tackle this common ironing mishap. Start by mixing a solution of water and lemon juice, which is often effective in reducing the discoloration caused by burnt fabric stains.
Apply this mixture gently to the affected area then rinse with clean water. This simple yet effective method can help restore your clothing without harsh chemicals.
For tougher scorch marks that don’t respond to lemon water, hydrogen peroxide can be a fabric-safe option. Soak a cloth in hydrogen peroxide and dab at the stain until it begins to lift from the textile—be sure not to rub forcefully as it might damage delicate fibers.
In cases where your iron itself has been left with scorch marks, applying white toothpaste (the plain variety, not gel) can aid in cleaning off those stubborn burns without harming the iron’s surface.
Keep in mind that gentle handling is essential during these processes for successful stain removal and fabric maintenance.
Tips for Ironing Different Fabrics
Navigating the nuances of fabric care is critical in ironing; each material demands a unique approach to heat and technique. We’ll delve into how to effectively press a range of fabrics, from sturdy cottons to delicate silks, ensuring your garments look impeccably smooth without causing damage.
Ironing by fabric type
Understanding how to iron by fabric type is crucial for garment care. Different textiles require unique approaches to avoid damage and ensure a crisp appearance.
- Cotton and Linen:
- Wool:
- Polyester and Synthetic Blends:
- Silk:
- Denim and Heavy Fabrics:
- Satin:
- Delicate Fabrics:
Choosing the right temperature for each fabric
Choosing the right temperature for each fabric is crucial for both wrinkle removal and fabric care. Irons come equipped with a variety of settings to cater to the heat tolerance of different textiles.
- Start by sorting your laundry into groups based on their ironing needs, ensuring delicate fabrics aren’t exposed to excessive heat.
- For synthetics like acetate, set your iron at 290°F to smooth out wrinkles without causing damage.
- When working with acrylic or nylon, a slightly lower temperature of around 275°F is sufficient to effectively press these materials.
- Cotton garments, known for heavier wrinkles, require a hotter setting near 400°F for a crisp finish.
- Linen, highly resistant to heat, can be ironed at the highest setting of about 445°F for best results.
- Polyester and silk blend items should be pressed within their specified ranges with caution to avoid melting or burning.
- If you’re ironing wool pieces, adjust the temperature between 275 – 300°F; this range is warm enough to tackle creases while being gentle on fibers.
- With silk’s delicate nature in mind, dial down the heat to between 280 – 300°F for a smooth touch without shine or scorching.
- Handle rayon attentively by selecting a moderate heat setting around 325-375°F so that it becomes wrinkle-free without losing its shape.
Tips for stubborn wrinkles
Tackling stubborn wrinkles can feel like a battle, but with the right ironing technique, it’s one you can win. Use your steam iron effectively by holding it just above the fabric and pressing the steam button; this blasts hot moisture into the fibers.
The combination of heat and moisture relaxes them, making it easier for your next move. Follow up by placing a thin cloth over these pesky areas and press down firmly with your hot, dry iron in straight motions.
This provides an extra layer of heat that helps flatten even the most persistent creases.
For those exceptionally tenacious wrinkles that don’t seem to budge, repeat ironing over them multiple times if needed—but always apply gentle pressure to avoid damaging the fabric.
Remember that garment smoothing takes patience; let your iron work its magic slowly across each wrinkled zone without rushing. If direct contact is too much for delicate fabrics, hovering just above them while steaming offers a safer alternative—allowing you to smooth out wrinkles without compromising on care for your clothing items.
Keep gliding your device across each section until every wrinkle has been defeated, leaving behind nothing but crisp, well-pressed garments ready for wear or storage.
Ironing delicate fabrics
Ironing delicate fabrics demands a gentle hand and keen attention to detail. Separate these fine materials from more robust clothing to prevent any harm. For best results, iron them in smaller sections, which helps maintain their shape and integrity.
Be especially careful with fabrics like lace or chiffon that can easily snag or stretch.
When dealing with satin, always turn the item inside out before you start ironing. Make sure it’s damp but avoid using steam as it can leave watermarks or cause damage. Iron silk with the lowest temperature setting and consider placing a pressing cloth between the fabric and iron to add an extra layer of protection.
These careful steps ensure your delicate garments stay pristine and wrinkle-free without any unwanted shine or pressing marks.
Cotton, polyester, silk, wool, and more
Transitioning from ironing delicate fabrics, it’s essential to understand how different materials like cotton, polyester, silk, and wool each demand unique care and attention during the ironing process.
- Each type of fabric has its own set of rules for ironing. Here’s how to handle a variety of common textiles:
- Set your iron at a high temperature; cotton can tolerate more heat.
- Use steam liberally to remove wrinkles easily.
- Don’t let the iron sit in one spot for too long to prevent scorch marks.
- Keep the iron’s setting on low to medium heat because polyester is heat – sensitive.
- Press down lightly and avoid pulling or stretching the garment.
- Quick passes with the iron are best to smooth out wrinkles without damage.
- Use a lower temperature setting to safeguard this delicate material.
- Always place a damp cloth between the silk and the iron to prevent direct contact.
- Avoid spraying water directly on silk as it may leave permanent water spots.
- Use a medium heat setting on your iron.
- A pressing cloth between your wool garment and the iron helps preserve its texture and prevents shiny marks.
- Steam helps wool fibers relax, so light steam can be beneficial.
- Research specific guidelines for any unusual or mixed fabrics before you start.
- Test your iron on an inconspicuous part of the garment first if unsure about temperature settings or fabric resistance.
- Remember that embellished or textured items might need additional protection, such as using a pressing pad or avoiding direct contact altogether.
Conclusion
Ironing doesn’t have to be a chore you dread. With the right tools and techniques, you’ll glide through those wrinkles with ease. Remember, practice makes perfect and soon you’ll press your clothes like a pro.
Keep these tips handy for every laundry day — smooth, crisp garments are just an iron away. Your wardrobe will thank you, looking sharp has never been simpler!
FAQs
1. What is the first step to ironing clothes properly?
Start by setting up your ironing board and preheating the iron to the appropriate temperature for your fabric.
2. Can I iron clothes that are completely dry?
For best results, clothes should be slightly damp or you can use a spray bottle with water to moisten them before ironing.
3. How do I prevent my clothes from getting shiny marks when ironing?
To avoid shiny marks, do not press too hard and consider using a pressing cloth between the iron and garment.
4. Is starch necessary when ironing garments?
Starch is not required but it can be used to add crispness and help certain items like shirts maintain their shape longer.
5. What’s an effective way to remove wrinkles from delicate fabrics?
Use a steam function on your iron or hang the garment in a bathroom during a shower for gentle wrinkle removal without direct heat contact.