How To Get Ink Out Of Clothes- Complete Stain Removal Guide
Ink on your favorite shirt can feel like a disaster. Did you know a single pen leak could ruin an entire laundry load? This guide will show you step-by-step how to banish ink stains from your clothes, giving them new life.
Keep reading – it’s simpler than you think!
Key Takeaways
- Act quickly when you discover an ink stain; fast action increases the chance of complete removal. Blot excess ink gently with a clean cloth or paper towel to prevent the stain from spreading.
- Identify whether the ink is water-based or oil-based, as this will dictate your cleaning approach. Use soap and warm water for water-based inks, while rubbing alcohol or hand sanitizer work best on oil-based stains.
- Always test your chosen cleaning solution on a hidden area of the garment first to make sure it won’t damage the fabric.
- Different fabrics need different care: use glycerin for wool, alcohol for cotton and jeans, mild soap solutions for leather, and gentle blotting with lukewarm soapy water for velvet.
- For stubborn stains that don’t respond to home treatments, consider using milk or vinegar mixed with cornstarch paste. If these methods fail, professional cleaning services can offer more powerful solutions tailored to specific fabrics and types of ink.
Understanding Different Types of Ink Stains
Different ink stains present unique challenges, whether they’re water-based doodles or stubborn oil-based marks. Knowing the nature of the ink is the first step in choosing the right battle plan to save your favorite garments from permanent blots.
Water-based vs. Oil-based
Water-based ink stains are usually easier to tackle because the ink dissolves in water. This makes them less challenging when removing ink from clothing, as you can often lift the stain with just soap and warm water.
Ink stain removal methods for these types of stains typically involve gentle treatments that won’t damage delicate fabrics.
Oil-based inks, on the other hand, require a bit more effort due to their chemical composition. They don’t mix with water and tend to cling stubbornly to fibers in your clothes. Removing ballpoint ink from clothes often means dealing with oil-based stains; using hand sanitizer or rubbing alcohol is effective because they break down the oils, making it simpler to clean away the mark without leaving a trace.
Ballpoint Pen, Felt-tip Pen, Permanent Marker
Moving from the general types of ink, let’s zero in on common culprits like ballpoint pen, felt-tip pen, and permanent marker stains. Each has unique properties that can challenge your stain removal skills.
Ballpoint ink tends to be oil-based, making it particularly stubborn on clothes. It often requires a solvent like rubbing alcohol or nail polish remover to break down the oils and release the color from your garments.
Felt-tip pens and permanent markers bring their own set of issues. The pigments in felt-tips are usually water-soluble but may contain other compounds that cling to fibers. Rubbing alcohol is also effective here but sometimes combined with vinegar for added potency against the dye substances these pens leave behind.
Meanwhile, permanent marker lives up to its name by bonding strongly with fabric due to its resilient solvents and resins. Home remedies like aerosol hairspray or hand sanitizer containing alcohol can disrupt this bond, allowing you to lift away much of the mark before laundering thoroughly removes any leftover traces.
General Tips for Removing Ink Stains
When tackling ink stains, quick action is pivotal; start by gently blotting the excess ink to prevent it from spreading further. Opt for cleaning agents specifically designed for the type of ink you’re dealing with—each stain has its nemesis when it comes to removal.
Blotting Excess Ink
Begin by gently pressing a clean cloth or paper towel onto the ink stain. Don’t rub; this can spread the ink and make the stain worse. Keep dabbing with fresh sections of your towel to soak up as much ink as possible from the clothing.
It’s important to act quickly, since allowing the ink to set will make removal more challenging.
Change out your blotting material often, moving to a clean area each time to avoid re-depositing ink back onto the fabric. If there are large amounts of excess liquid, you may want to place a layer beneath the garment to protect other surfaces or layers of fabric.
This step lays a solid foundation for effective stain treatment later in your cleaning process.
Using Appropriate Cleaning Agents
Choosing the right cleaning agents is key in removing ink stains from clothing effectively. For water-based inks, a simple mixture of liquid dish soap and warm water often does the trick.
Gently rub this solution onto the stain with a soft cloth or sponge before rinsing thoroughly. When dealing with oil-based inks, reach for an alcohol-based product like hairspray or hand sanitizer.
Apply it directly to the stain and let it sit for a few minutes to break down the ink.
Always test your chosen cleaner on a small, inconspicuous area first to ensure that it won’t cause any damage or discoloration to the fabric. After treating with cleaning agents, launder clothes as usual, using laundry detergent that’s suitable for your garment’s material.
If you’re working with delicate fabrics or vibrant colors, opt for detergents marked “gentle” or “color-safe” to protect your clothing while fighting stains.
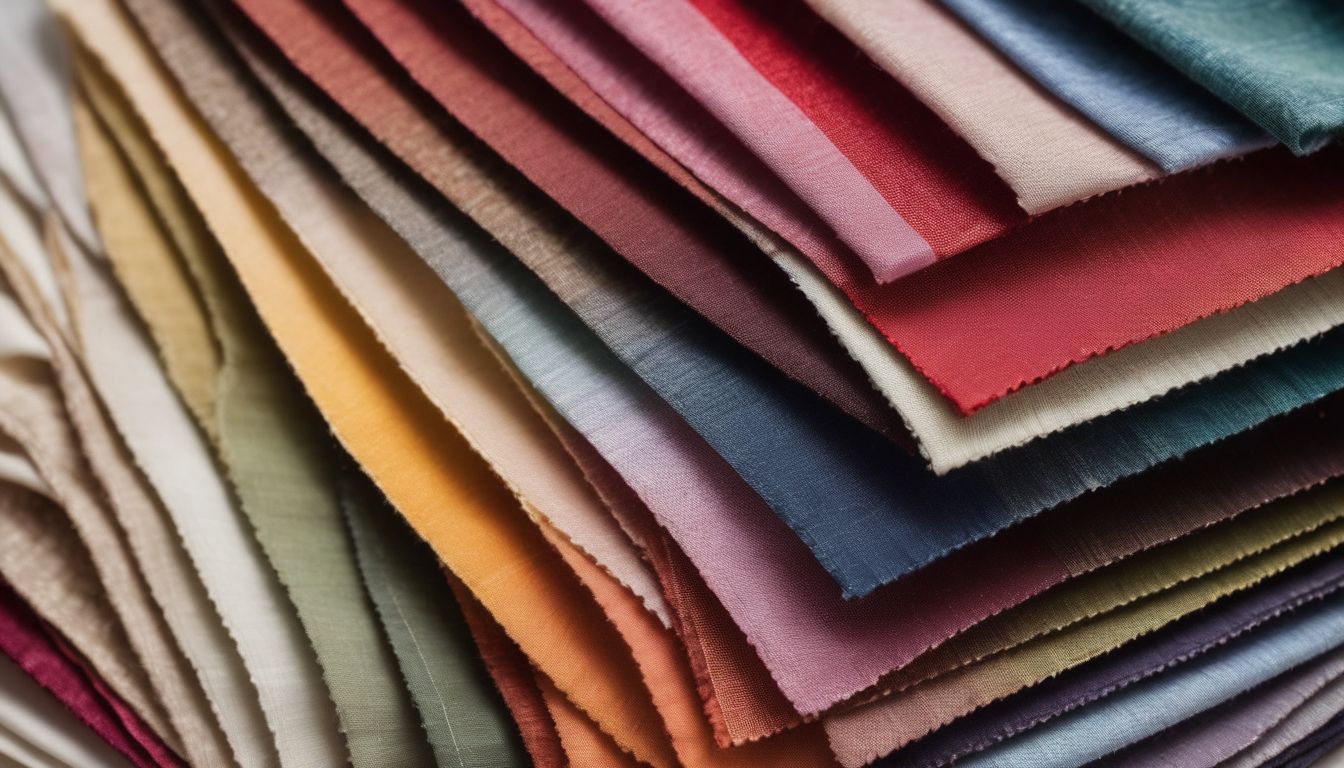
How to Remove Ink Stains from Different Types of Fabric
Tackling ink stains on clothes requires a tailored approach depending on the fabric. Uncover effective methods for liberating your garments from pesky ink, whether they’re the cozy cotton tees or those cherished leather jackets.
Cotton
Cotton is a common fabric, and ink stains can be a frustration for anyone. Whether it’s a mishap with a ballpoint pen or an encounter with a marker, removing ink from cotton requires immediate action.
- Act fast and gently dab the stained area with a clean cloth to soak up excess ink.
- Lay the garment on a flat surface with the stain facing down on a paper towel.
- Apply rubbing alcohol or hand sanitizer to the backside of the stain, allowing it to pass through to the paper towel.
- Gradually move to clean areas of the paper towel as the ink transfers from your cotton item.
- Rinse the affected area thoroughly with cold water once no more ink comes off onto the paper towel.
- If traces of ink persist, create a paste using equal parts lemon juice and cream of tartar. Spread this on the remaining stain and let it sit for 30 minutes before rinsing again.
- Launder your cotton item as usual using detergent, but avoid putting it in the dryer until you are sure that the stain is entirely gone.
Jeans
Jeans are a staple in many wardrobes, but they are not immune to the dreaded ink stain. Here’s how to tackle ink on your denim:
- Act quickly to deal with ink stains on jeans. The faster you address the stain, the better your chances of removing it.
- Lay the stained jeans on a flat surface with a clean white cloth underneath the affected area. This will prevent the ink from spreading to other parts of the fabric.
- Blot any excess ink carefully using a paper towel. Avoid rubbing as this can make the stain worse.
- Apply rubbing alcohol or hand sanitizer directly onto the stain. These solvents break down oil – based inks effectively.
- Gently rub the solution into the stain using an old toothbrush or cotton swab. Do this in a circular motion starting from the outside and working inward.
- Rinse the spot with cold water to help lift more of the ink out of your jeans.
- Make a paste using two parts vinegar and three parts cornstarch if some stain remains. Spread this mixture over the area and let it sit for a few hours before washing.
- Wash your jeans alone in cold water using laundry detergent. Cold water helps avoid setting any remaining ink into fabric fibers.
- Check your pants after washing, and before drying them. If any stain persists, repeat treatment — heat from drying may set it permanently.
Wool
Wool fabrics require special care when tackling ink stains. The fibers can easily be damaged if handled roughly or exposed to harsh chemicals.
- Act quickly to address the ink stain, as wool is absorbent and can hold onto the ink.
- Gently blot the stained area with a clean, dry cloth to lift away excess ink; avoid rubbing as this can spread the stain.
- Apply a small amount of glycerin to the stain and let it sit for several minutes to soften the ink.
- Rinse the glycerin off with cold water; avoid using hot water as it may set the stain further into the wool fibers.
- Mix a solution of mild liquid detergent and cool water. Dab this mixture onto the ink spot using a soft cloth or sponge.
- Blot continuously until you see no more ink transferring to your cloth or sponge.
- If the stain persists, try applying a small amount of rubbing alcohol directly onto it. Rubbing alcohol can break down oil-based inks on wool without causing damage.
- Rinse out all cleaning solutions thoroughly with cool water to remove any residue from the fabric.
- Lay the garment flat on a towel and roll it up to gently squeeze out extra moisture without wringing, which could warp wool’s shape.
- Allow it to air dry naturally away from direct heat or sunlight, which could shrink or fade your wool item.
Leather
Leather requires special attention during ink stain removal due to its delicate nature and porous surface. Quick action is essential to prevent the ink from setting into the leather.
- Gently blot the stained area with a clean, dry cloth to absorb as much ink as possible. Avoid rubbing, as this can cause the ink to spread.
- Apply a small amount of rubbing alcohol or non – acetone nail polish remover onto a cotton ball. Test it on an inconspicuous part of the leather to check for any damage.
- Dab the affected area gently with the cotton ball, working from the outside in, to lift off the ink. Replace with fresh alcohol-soaked cotton balls as needed.
- If there’s any residue left, mix mild liquid soap with water and lightly apply it using a soft cloth or sponge. Rinse this area by wiping it with another damp cloth without fully soaking the leather.
- Use a clean towel to pat down any wet spots until they are slightly damp. Allow it to air dry naturally without using direct heat sources or sunlight which can damage leather.
- After drying, condition your leather with a suitable leather conditioner to restore moisture and protect it against future stains.
Velvet
Transitioning from the durable material of leather to the delicate texture of velvet, ink stain removal requires a gentle touch. Velvet’s plush surface can pose a challenge, but with careful handling, you can restore its original beauty.
- Immediately address any ink stains on velvet by lightly dabbing the area with a clean, dry cloth. This helps soak up excess ink without spreading it.
- Test your chosen cleaning solution on a small, hidden part of the fabric first to ensure that it won’t damage the color or texture.
- Mix a solution of lukewarm water and mild liquid soap. Stir gently to combine without creating too many suds.
- Dip a soft sponge into the soapy water, wring it out well so that it’s not too wet, and then gently blot the stain. Heavy rubbing can ruin velvet’s nap.
- Once you’ve blotted with soapy water, use a new dry cloth to absorb any remaining moisture from the fabric.
- If soapy water doesn’t do the trick, try using a small amount of white vinegar. Apply it carefully using a cotton swab.
- Let the treated area air dry completely before using or wearing. Avoid applying heat as this can crush velvet’s pile.
- If the stain persists after drying, consider taking your velvet item to professional cleaners who specialize in delicate fabrics.
Additional Tips for Stubborn Ink Stains
Sometimes, ink stains are particularly relentless and refuse to budge with initial efforts. When faced with these stubborn marks, there are a few additional tricks you can try that may just do the trick in lifting those persistent blots from your favorite garments.
Using Rubbing Alcohol
Using rubbing alcohol is a powerful method for ink stain removal, especially from cotton and jeans. Pour a small amount directly onto the stain and gently dab with a clean cloth to break down the ink.
Avoid rubbing too hard as this can spread the stain or damage delicate fabrics. Allow it to sit for several minutes so the alcohol can penetrate deeply into the fibers.
After treating with rubbing alcohol, throw your clothing into the wash with detergent as you normally would. This helps lift any remaining residue of both ink and alcohol from your garment.
It’s best done soon after applying the alcohol, ensuring optimal results in getting that stubborn ink out of clothes efficiently.
Milk or Vinegar and Cornstarch Paste
Tackling stubborn ink stains on your favorite shirt can be frustrating, but there’s a surprising solution right in your kitchen. Grab some milk or vinegar and mix it with cornstarch to create a thick paste.
Gently apply this mixture onto the stained area of your clothing and let it sit for a few hours. The proteins in the milk or the acetic acid in vinegar work to break down the ink, while the cornstarch lifts it away from the fabric.
Once you’ve given enough time for the paste to do its magic, brush off any residue before tossing the garment into your washing machine. Wash as usual with detergent recommended for ink stain removal, and voilà! You might just see that annoying blotch fade away, leaving your outfit ready for another day of wear without any signs of an accident.
Keep this trick up your sleeve next time pen leaks havoc on clothes—it could save them from becoming mere rags.
Seeking Professional Cleaning Services if Necessary
If homemade mixtures like milk, vinegar, and cornstarch aren’t cutting it, sometimes the best action is to call in the experts. Professional cleaning services have the right tools and solutions to tackle persistent ink stains that won’t budge with your at-home attempts.
They understand how to handle different fabrics sensitively without causing damage—important for materials like velvet or silk where ink stain removal can be particularly challenging.
Don’t hesitate to seek help for those tricky stains; professionals are trained in removing ink from clothing of all types, ensuring your garments return to you looking as good as new.
Opting for a professional service can also save you time and prevent costly mistakes. If you’ve tried every laundry trick in the book without success, it might be time to trust someone who specializes in stain removal.
Experts use advanced techniques and commercial-grade products designed specifically for tough jobs like removing ballpoint ink from clothes or getting rid of stubborn marks on whites or colored clothing items.
Conclusion
Getting ink out of your favorite clothes no longer has to bring on a headache. With the right tools and techniques, you can tackle any ink mishap that comes your way. Whether it’s fresh or dried, from a ballpoint pen or permanent marker, there’s a solution for every fabric type.
Remember to stay patient and persistent, as some stains may require multiple treatments. Embrace these methods and make removing ink stains part of your laundry mastery!
FAQs
1. What’s the first step to take when I get ink on my clothes?
As soon as you notice the ink stain, blot it gently with a clean cloth or paper towel without rubbing it into the fabric.
2. Can hairspray help remove an ink stain from clothes?
Yes, hairspray with high alcohol content can be used to help break down the ink before washing.
3. Is it possible to get old ink stains out of clothes?
It can be tougher, but pre-treating old stains with specialized stain removers and then laundering may still work.
4. Will rubbing alcohol damage my clothes if I use it to remove an ink stain?
Rubbing alcohol shouldn’t damage most fabrics, but always test on a small inconspicuous area first.
5. Can all types of fabric handle the same methods for removing ink stains?
No, delicate fabrics like silk or wool need special care; follow specific instructions for these materials when removing stains.