How To Properly Clean A Wool Coat: A Step-by-Step Guide
Dry Cleaning , Fabricare Center Blog
Wool coats are a winter staple but they can be tricky to clean and maintain. Did you know that improper cleaning can actually damage the wool fibers and ruin your favorite coat? This article will provide a comprehensive, easy-to-follow guide on how to properly wash and care for your wool coat.
Ready to breathe new life into your beloved outerwear? Let’s dive in!
Key Takeaways
- Check the label on your wool coat for specific washing instructions to avoid damaging it.
- Gather necessary materials such as a basin, mild detergent, clean cloth, and lukewarm water before starting the cleaning process.
- Brush your wool coat before washing to remove dirt and debris from the surface.
- Pretreat stains using warm water and gentle detergent before hand-washing or machine-washing your wool coat.
Preparing to Wash Your Wool Coat
Before you begin washing your wool coat, it’s important to check the label for any specific instructions and gather all the necessary materials.
Checking the label for washing instructions
Always check the label for washing instructions on your wool coat. This simple step can prevent damage during cleaning. The label provides essential care guidelines, such as whether hand or machine washing is appropriate, recommended temperature settings, and specific detergent recommendations.
Misinterpreting or neglecting these care instructions could lead to issues like color fading, shrinking, or stretching. If the tag specifies ‘dry clean only,’ heed this advice to maintain your coat’s quality and extend its lifespan.
Gathering necessary materials
Proper preparation for washing your wool coat involves gathering the necessary materials. Here’s what you need to get started:
- A large bowl or basin: Ideal for soaking and washing your wool in.
- Mild detergent: This should be either a special wool wash or any mild soap.
- A clean white cloth: For blotting stains or soiled spots on your coat.
- A soft clothes brush: This is essential for brushing off loose soil before and after cleaning.
- Clean, lukewarm water: To wash and rinse the coat effectively without causing damage.
Brushing the coat
Brushing your wool coat is the first step towards a thorough cleaning. Begin by laying the coat on a flat surface for convenience and to prevent it from twisting during brushing.
Utilize a fabric comb or fabric shaver, ensuring that you move it in a single direction rather than back and forth, as this can damage delicate fibers. This process helps remove accumulated dirt, debris, lint balls, and loose threads from the garment’s surface, preventing them from embedding deeper during washing.
For persistent pillings or lingering lint balls after this initial procedure, consider using a high-quality lint roller or a pilling removal tool specifically designed for wool materials. Before proceeding with the cleaning routine, be sure to detach any washable parts, such as faux fur linings and hoods, as these components often come with separate care instructions due to their different material composition.
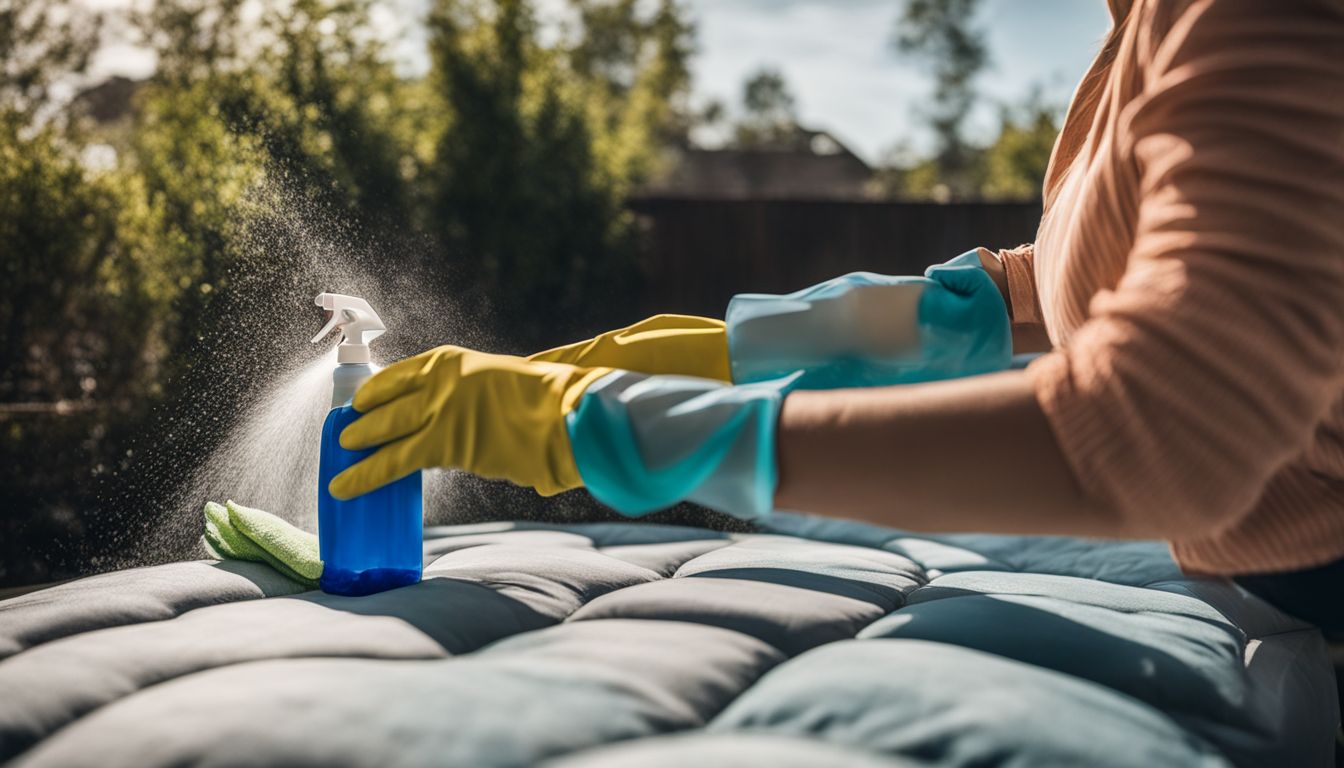
Pretreating stains
To properly clean a wool coat, it is important to pretreat any stains before washing. Here are some steps to follow:
- Check the label for washing instructions.
- Gather the necessary materials, including warm water and a gentle detergent like Castile soap or Woolite.
- Use a clean cloth or sponge to gently dab the affected area with the warm water and detergent mixture.
- Avoid rubbing or scrubbing vigorously, as this could damage the wool fabric.
- Spot – treat visible stains before washing by applying the warm water and detergent mixture directly to the stain.
- Allow the pretreatment solution to sit on the stain for a few minutes to help remove dirt and grime.
- After pretreating, proceed with hand-washing or machine-washing your wool coat according to the appropriate method.
- Check label for washing instructions
- Gather necessary materials (warm water, gentle detergent)
- Dab affected area with warm water and detergent mixture
- Avoid rubbing or scrubbing vigorously
- Spot – treat visible stains with warm water and detergent mixture
- Allow pretreatment solution to sit on stain for a few minutes
- Proceed with hand-washing or machine-washing according to method
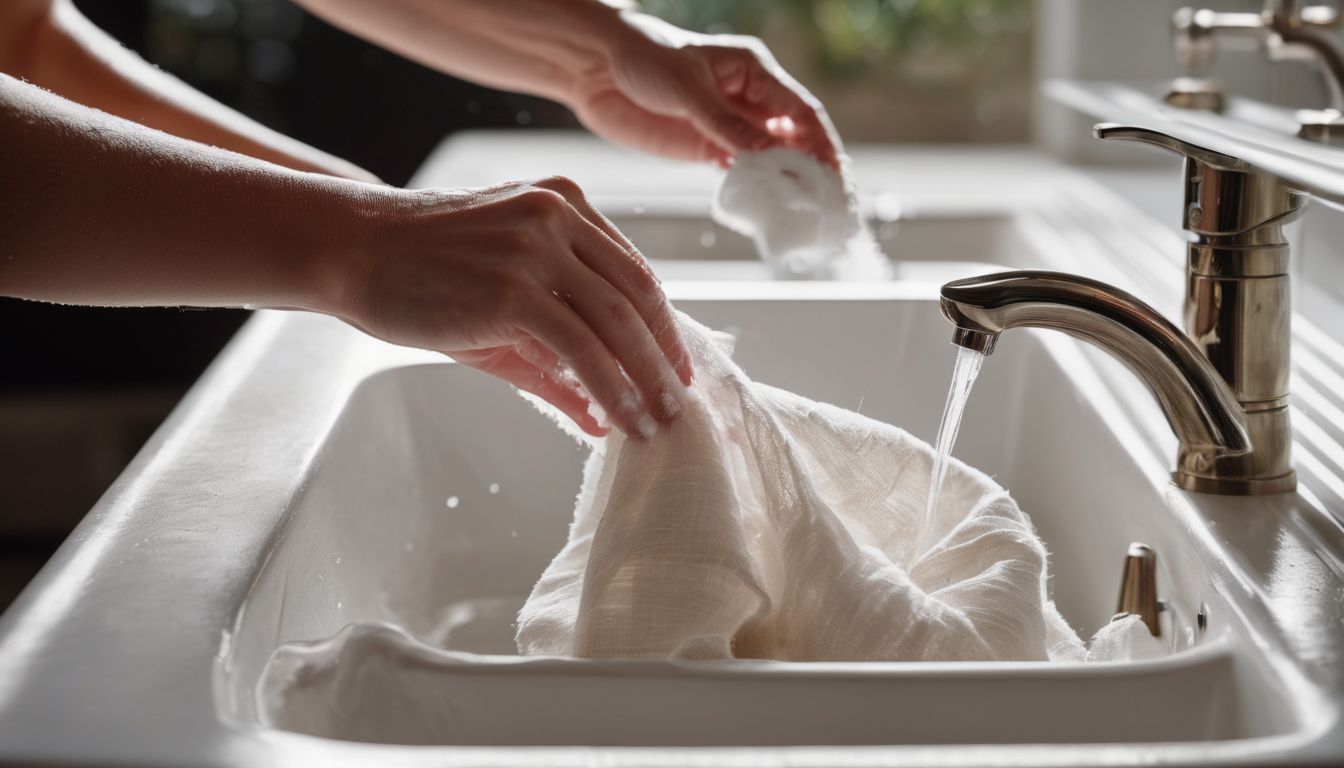
Hand-Washing a Wool Coat
To hand-wash a wool coat, start by removing any loose soil and then soaking the coat in lukewarm water with a wool-friendly detergent. Agitate the coat gently before rinsing thoroughly and air-drying properly.
Read on to learn more about how to properly clean your wool coat at home.
Removing loose soil
To initiate the hand-washing process for a wool coat, it’s important to eliminate any loose soil or dirt. This can be achieved by gently brushing the coat with a lint remover or clothes brush.
Using short strokes in the direction of the fabric’s grain, you can effectively remove dust, hair, and debris that may have accumulated on the coat. Ensuring that your wool coat is free from any loose particles is essential before proceeding to the next step.
Maintaining your wool coat free from loose soil will help preserve its overall appearance and prevent further damage during the washing process.
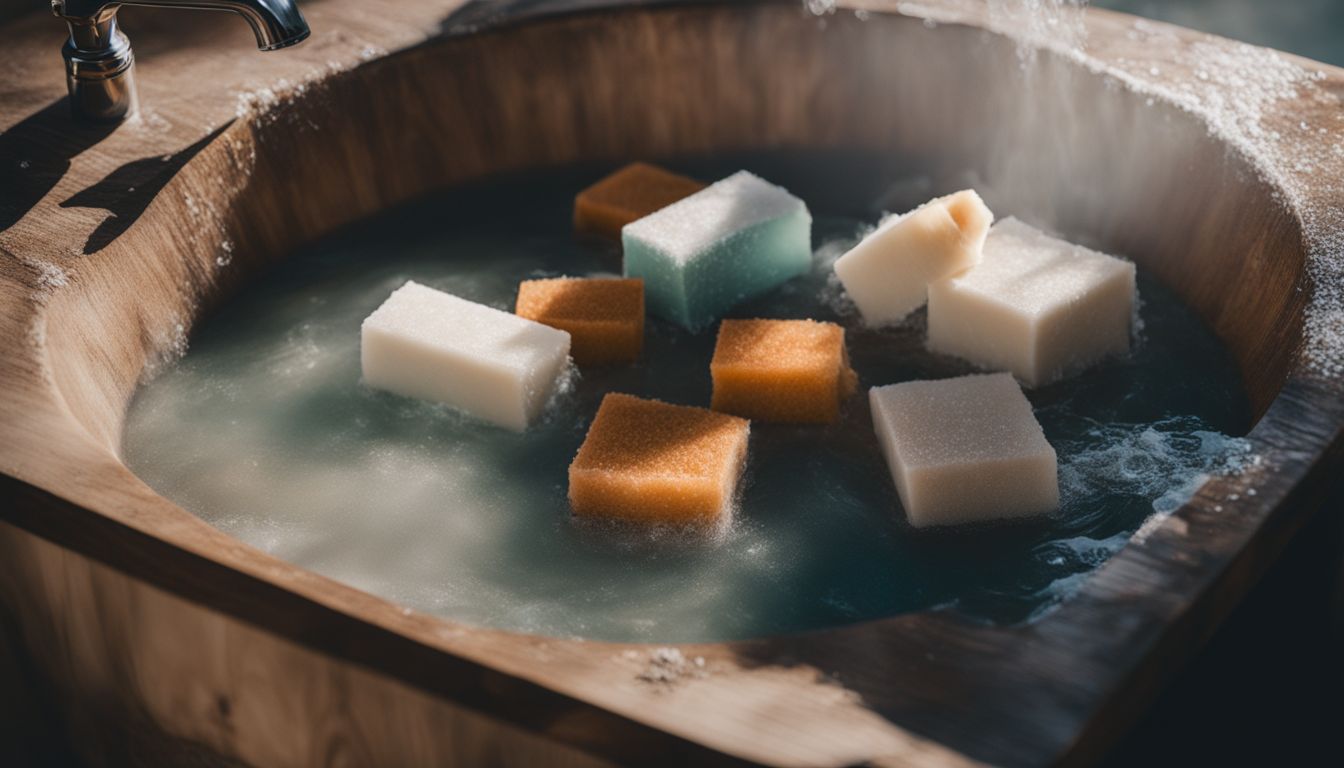
Soaking and agitating the coat
To properly clean a wool coat, soaking and agitating the coat is an essential step. Here’s how to do it:
- Fill a basin or sink with lukewarm water.
- Add a small amount of wool – friendly detergent to the water and mix well.
- Immerse the wool coat completely in the soapy water, making sure it is fully submerged.
- Allow the coat to soak for at least 30 minutes to loosen dirt and debris.
- Gently agitate the coat with your hands, moving it back and forth in the water.
- Avoid rubbing or twisting the coat, as this can cause damage to the fibers.
- Continue agitating for a few minutes to ensure all areas of the coat are cleaned.
- After soaking and agitating, remove the coat from the water and proceed to rinse thoroughly.
Rinsing and removing excess moisture
To ensure your wool coat is properly cleaned, it’s important to effectively rinse and remove excess moisture. Here are the steps to follow:
- Gently squeeze sections of the wool coat to agitate the fabric during rinsing.
- Use clean hands to press out the water, removing excess moisture from the fabric.
- Avoid wringing or twisting the coat, as this can damage the delicate wool fibers.
- Continue pressing until you’ve removed as much water as possible.
- For best results, lay the coat flat on a clean towel and reshape it to its original form.
- Allow the coat to air dry completely before storing or wearing it again.
Air-drying properly
To properly air-dry a wool coat, simply lay it flat on a clean surface, such as a towel or drying rack. Gently reshape the coat to its original form and make sure it is evenly spread out.
Avoid hanging the coat to dry as this can result in stretching and misshaping of the garment. Allow the coat to slowly air dry, away from direct sunlight or heat sources, which can cause fading or damage to the fabric.
This method helps preserve the shape and quality of your wool coat while preventing any potential shrinking that may occur with machine drying. Following these proper drying techniques will ensure that your wool coat stays in excellent condition for years to come.
Machine-Washing a Wool Coat
To machine-wash a wool coat, start by brushing and pretreating any stains on the garment. Set your washing machine to a gentle cycle and cool temperature. Load the wool coat into a mesh wash bag to protect it during the wash.
Afterward, air-dry the coat properly to maintain its shape and quality.
Brushing and pretreating the coat
Before machine-washing your wool coat, it’s crucial to take a few steps to prepare it. Start by gently brushing the coat with a soft-bristle brush or a lint roller to remove any loose dirt, dust, or debris.
This will help prevent these particles from becoming trapped in the fabric during the washing process. After brushing, inspect the coat for any stains or spots that need pretreating.
Use a mild detergent mixed with water and lightly dab the affected areas before proceeding with washing. By thoroughly brushing and pretreating your wool coat beforehand, you’ll enhance its overall cleanliness and ensure a more effective wash.
Setting the washer cycle and temperature
To properly machine-wash a wool coat, follow these steps:
- Select the appropriate setting on your washing machine: wool, delicate, or hand-wash.
- Choose a low water temperature to prevent shrinking and damage to the wool fibers.
- If your washing machine has a wool setting, use it. Otherwise, opt for the delicate or gentle cycle.
- For machines without a wool cycle, select a cold water wash to maintain the integrity of the wool.
- Use a gentle, pH neutral detergent specifically designed for washing wool garments.
- Ensure that the washer temperature is set to lukewarm to avoid any potential negative effects on the coat.
Loading the coat into the machine
To machine-wash your wool coat, start by brushing it with a garment brush to remove any dirt or debris. Next, pretreat any stains using a stain remover suitable for wool fabrics. Set your washing machine to the wool cycle if available, which is typically a gentle action at 40°C.
If your machine doesn’t have a specific wool cycle, use the cold water wash setting instead. Finally, carefully load the coat into the machine and allow it to go through its cycle.
Remember to air-dry your coat properly afterward to maintain its shape and avoid shrinkage.
Properly air-drying the coat
Ensuring the proper air-drying of your wool coat is essential for maintaining its shape and texture. After machine-washing, gently squeeze out excess water from the coat without wringing it. Lay a clean towel flat on a surface and place the coat on top, carefully reshaping it to its original form.
Avoid hanging the coat, as this can cause stretching or deformities in the fabric. Instead, allow it to dry naturally in a well-ventilated area away from direct sunlight or heat sources.
Remember to periodically check the drying process and turn the coat over for even drying.
Preserving the shape of your wool coat during air-drying is crucial for maintaining its appearance and longevity. By following these simple steps, you can ensure that your wool coat dries properly without losing its structure or softness.
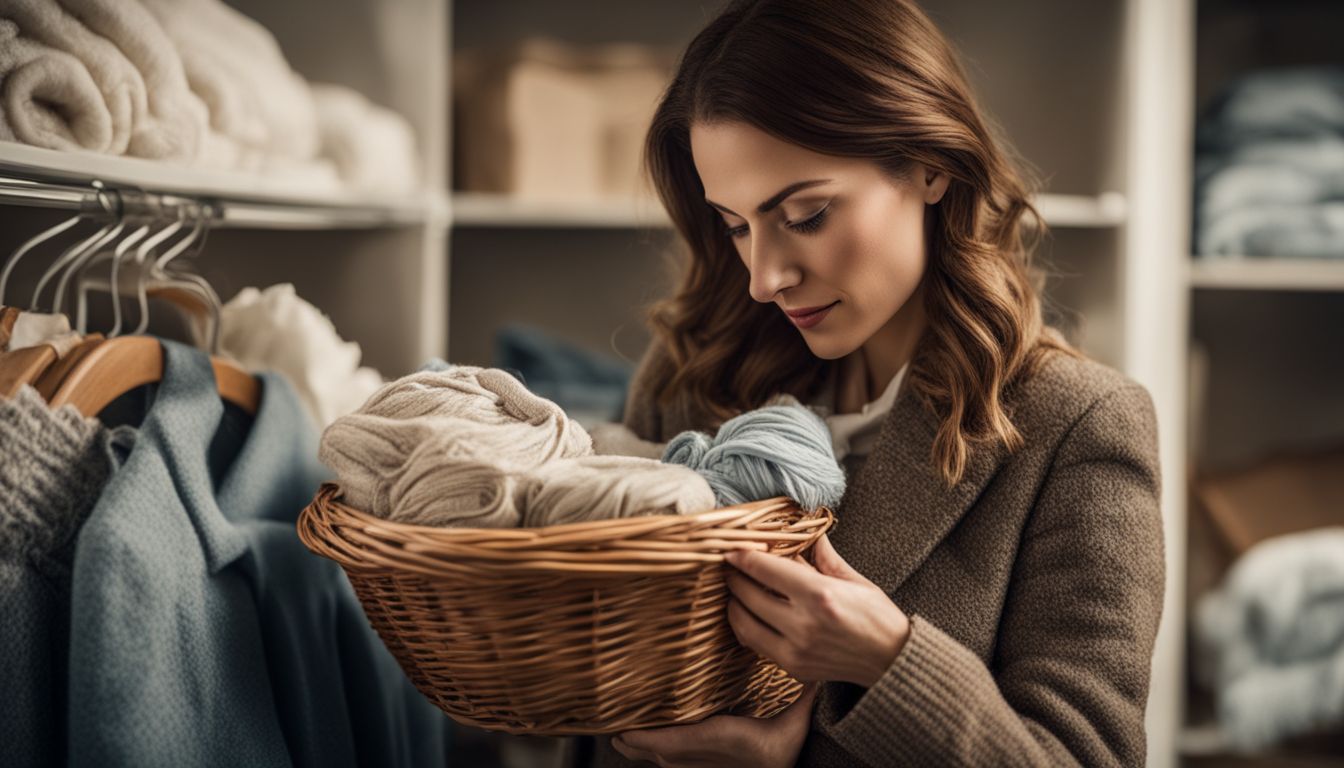
Tips for Maintaining & Caring for Your Wool Coat
To keep your wool coat looking its best, follow these tips for maintenance and care.
How often to wash a wool coat
Wool coats require less frequent washing compared to other garments. Generally, it is recommended to wash a wool coat once or twice a season, depending on how often you wear it and the climate you live in.
However, if your coat becomes soiled or stained, it’s important to address the issue promptly. Spot cleaning with a damp cloth or sponge can help maintain its cleanliness between washes.
Remember to always follow the care label instructions for specific guidance on washing your wool coat. By properly maintaining and caring for your wool coat, you can ensure that it stays fresh and looking its best for many seasons to come.
Treating stains on wool coats
To treat stains on wool coats, follow these steps:
- Blot the stain gently with a clean cloth or paper towel to remove any excess liquid or debris.
- Mix a small amount of mild detergent with warm water to create a soapy solution.
- Dip a clean cloth into the soapy solution and gently blot the stained area, being careful not to rub or scrub too hard.
- Continue blotting until the stain starts to lift, then rinse the area with cool water to remove any soap residue.
- If the stain persists, repeat the process or try using a specialized wool stain remover.
- After treating the stain, allow the coat to air dry completely before wearing or storing it.
Wool coat care and repair
To keep your wool coat looking its best, it’s important to properly care for and repair it. Here are some tips to ensure the longevity of your wool coat:
- Brush your wool coat regularly with a soft brush to remove any dust or debris.
- Spot treat stains on your wool coat as soon as they occur to prevent them from setting.
- If your wool coat becomes wrinkled, use a cool iron and cover it with a press cloth before ironing.
- Store your wool coat in a cool, dry place away from direct sunlight to prevent fading and damage.
- If you notice any loose threads or small holes in your wool coat, repair them promptly to avoid further damage.
Ironing and storing wool coats.
Ironing wool coats is a key step in maintaining their appearance and removing wrinkles. Follow these tips to properly iron and store your wool coat:
- Pressing wool coats: Apply gentle pressure with the iron to smooth out any creases or wrinkles.
- Removing creases from wool coats: Start from the inside of the garment and work towards the outer surface to avoid damaging the fabric.
- Spritzing with water before ironing wool coats: Lightly dampen the fabric with water using a spray bottle before applying heat from the iron.
- Using the steaming function while ironing wool coats: If your iron has a steaming function, use it to help relax and freshen up the fibers of the coat.
- Correct storage of wool coats: Hang your coat on a padded hanger or lay it flat in a clean, dry place to maintain its shape and prevent wrinkling.
- Preventing moth damage to wool coats: Store your coat in a breathable garment bag or cover it with acid-free tissue paper to protect it from moths and other pests.
- Cleaning and freshening wool coats: Regularly spot clean any stains or odors on your coat, as well as professionally dry clean it when necessary.
- Longevity of wool coats: Taking proper care of your wool coat can extend its lifespan, allowing you to enjoy it for many years.
- Preserving the quality of wool coats: By following these maintenance tips, you can preserve the original quality and appearance of your wool coat.
Professional Cleaning Options
When it comes to professional cleaning options for your wool coat, dry cleaning is the most common choice. Many wool fabrics are delicate and require gentle care, making dry cleaning a safe option.
Dry cleaners have the expertise to handle tailored clothing like coats and can ensure they are cleaned without causing any damage. Another professional cleaning option for wool coats is a no-rinse cleaning method.
This method employs special solutions or powders that do not require rinsing after application, making it convenient for busy individuals. If you have a structured coat with stains, it is highly recommended to take it to a professional cleaner who specializes in stain removal on wool fabrics.
In conclusion, if you are unsure about how to clean your wool coat yourself or if the care instructions advise against washing at home, opting for professional cleaning is a wise decision. Dry cleaners have the necessary equipment and knowledge to handle delicate fabrics like wool and can help maintain your coat’s quality for years to come.
Conclusion
In conclusion, knowing how to properly clean a wool coat is essential for maintaining its quality and appearance. By following the step-by-step guide outlined in this article, you can safely hand-wash or machine-wash your wool coat at home.
Remember to always check the label for specific washing instructions and take necessary precautions to ensure that your wool coat stays in top condition for years to come.
FAQs
1. Can I machine wash a wool coat?
No, it is not recommended to machine wash a wool coat as it can shrink or lose its shape. Hand washing or dry cleaning is the preferred method.
2. How do I spot clean a stain on my wool coat?
To spot clean a stain on your wool coat, dab the area with a mild detergent solution and a clean cloth. Gently blot the stain until it is lifted without rubbing or scrubbing.
3. Can I use bleach to remove stains from my wool coat?
No, bleach should never be used on wool as it can damage the fibers and cause discoloration. Stick to gentle cleaners specifically designed for delicate fabrics.
4. What’s the best way to dry my wool coat after cleaning?
After cleaning your wool coat, lay it flat on a clean towel in its natural shape and allow it to air dry away from direct sunlight or heat sources. Avoid hanging as this can stretch out the garment.
5. How often should I clean my wool coat?
The frequency of cleaning will depend on how often you wear your wool coat and whether there are visible stains or odors present. Generally, once or twice per season should suffice for regular maintenance.