How To Hand Wash Clothes: A Comprehensive Guide For Effective Cleaning
Fabricare Center Blog , Household , Laundry
Are you tired of your delicate clothes getting damaged in the washing machine? Fact is, some fabrics just can’t withstand the rough and tumble. This comprehensive guide reveals how to hand wash clothes effectively, preserving their quality while saving energy.
Let’s dive into a world where cleaning meets care; every garment deserves it!
Key Takeaways
- Hand washing clothes preserves delicate fabrics and extends the life of your garments.
- It significantly reduces energy and water consumption compared to using a washing machine.
- The step-by-step process includes reading the care label, pre-treating stains, creating a washing solution, soaking and swishing, rinsing and repeating, squeezing out excess water, laying flat on a towel, and letting air dry.
Why Hand Washing Clothes is Important
Hand washing clothes is important to preserve delicate fabrics, reduce energy and water consumption, and avoid damaging certain items.

Preserve delicate fabrics
Hand washing clothes is essential to preserve delicate fabrics. This gentle cleaning method minimizes the risk of fabric damage, preserving the quality and longevity of your garments.
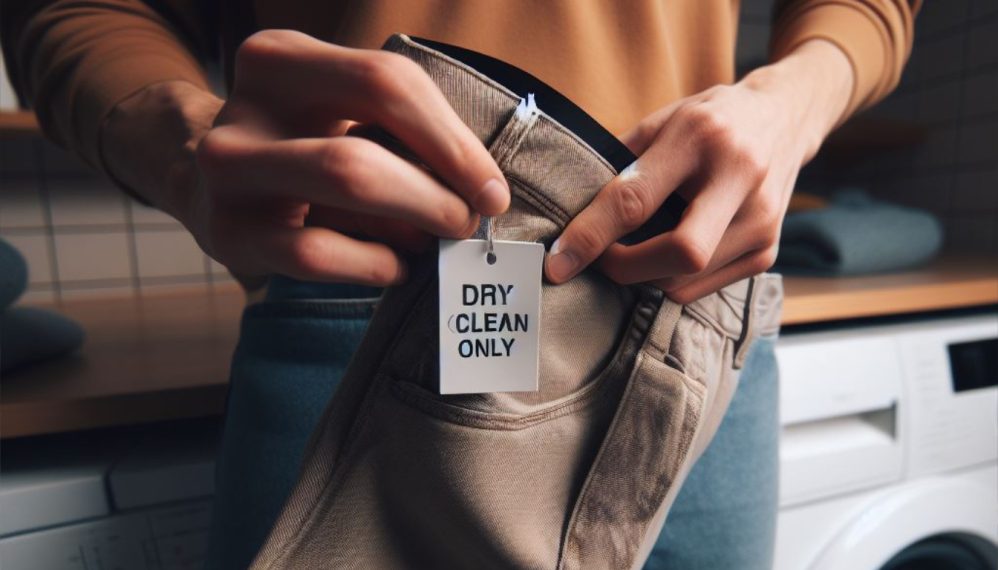
Delicate items such as lingerie or reusable grocery bags that can harbor pathogens benefit especially from hand washing. Even clothing labelled “dry clean only” is often safe for a careful hand wash at home.
Using this eco-friendly cleaning method not only protects your delicate belongings, but it also aids in reducing water and energy consumption, making it an excellent choice for both fabric care and environmental conservation.
To ensure optimal results with minimal strain on the fabric, garments should soak in a proper detergent solution for between 15 to 60 minutes before gently handling them further in the process.
Reduce energy and water consumption
Washing clothes by hand significantly saves water and electricity. Traditional washing machines consume ample amounts of water in each cycle, leading to excessive consumption over time.
Hand washing uses just a fraction of the amount, proving it as a resourceful method of laundry.
Choosing to wash clothes by hand also reduces energy waste, making it an eco-friendly option for any household. Traditional washing machines require high amounts of electricity – every cycle contributes to substantial power usage throughout the year.
In comparison, hand washing consumes zero electrical units as it primarily relies on personal effort rather than machine operation. This combination makes handwashing a responsible choice both financially and environmentally while adhering to sustainable living practices.
Avoid damaging certain items
Hand washing clothes involves a delicate process of fabric care that helps to preserve the life and form of your garments. The gentle swishing action in a basin filled with water and accessible detergent can prevent damage to items that are too fine or watersensitive for machine washes.
Harsh agitation from these machines often results in stretch, tear, or disfigurement of fabrics such as lace, silk, wool and others marked “Dry Clean Only”. Using handwashing techniques not only preserves clothing but also its vibrant colors making it look newer for longer periods.
Materials and Tools You’ll Need
To effectively hand wash your clothes, gather the necessary materials and tools including proper detergent, a sink or tub, and a drying rack or towel.
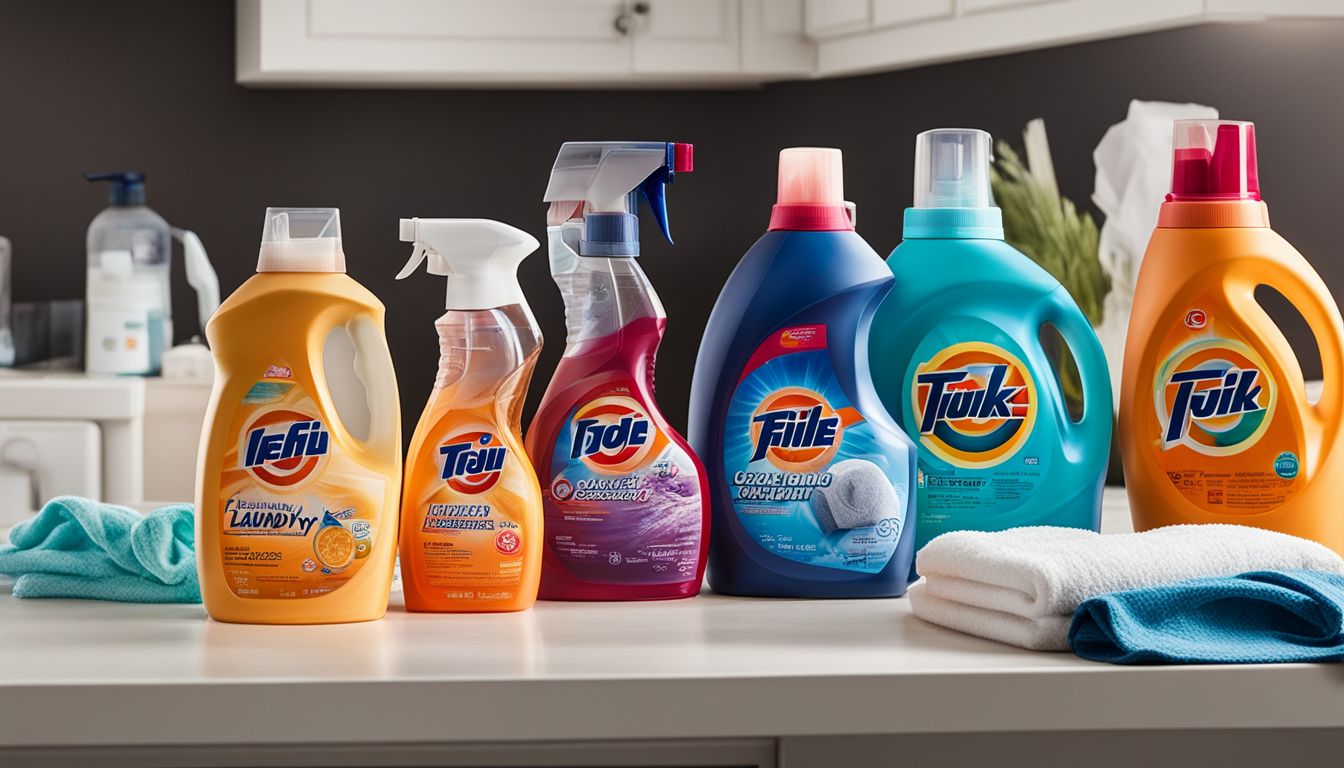
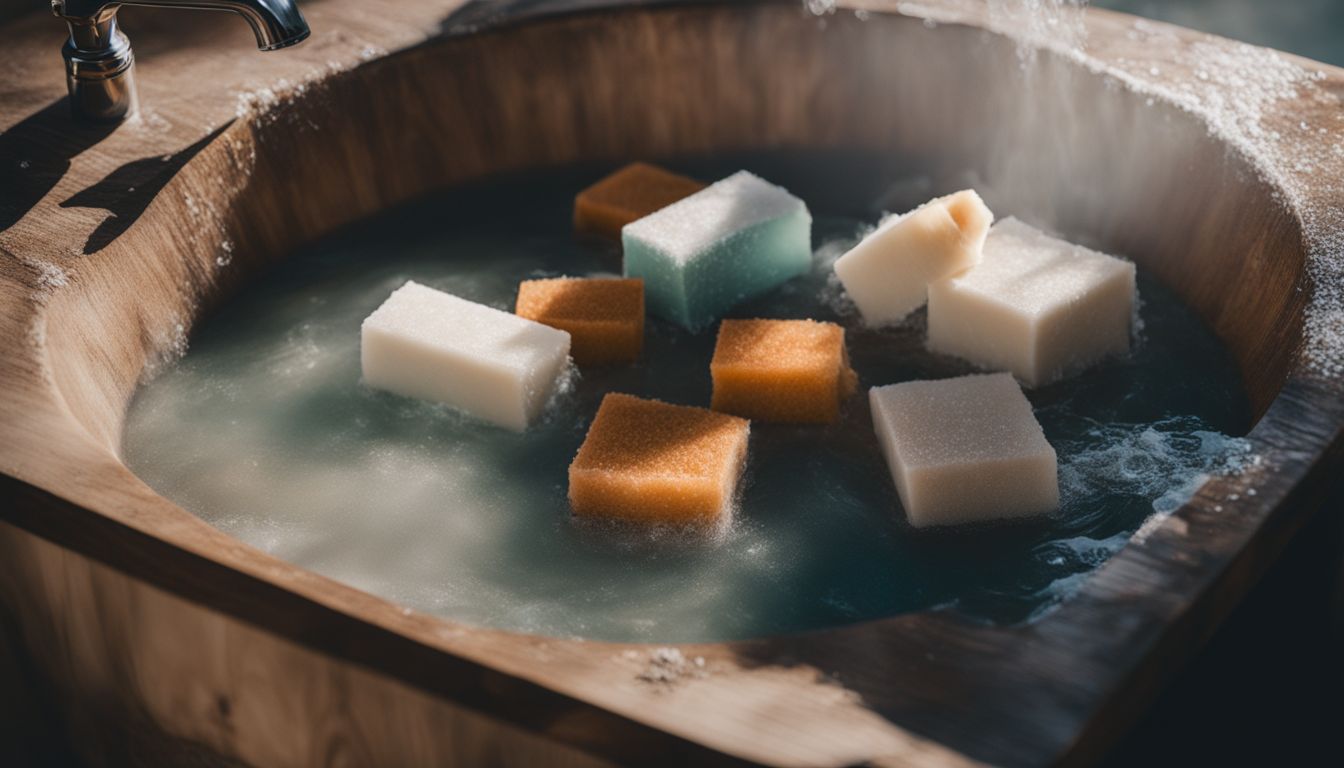
Proper detergent
Using the right detergent is a crucial step in hand washing clothes. It is recommended to use a laundry detergent specifically formulated for hand-washing, such as The Laundress Delicate Wash.
This detergent is designed to be gentle on delicate fabrics while still providing effective cleaning. If you don’t have a specialized hand-washing detergent, Tide can also work well for other delicate items and can be used for hand washing in the sink.
By using the proper detergent, you can ensure that your clothes are thoroughly cleaned without causing any damage or fading to the fabric.
A sink or tub
A sink or tub is an essential tool for hand-washing clothes effectively. It provides a designated space where you can carefully clean and rinse your garments without any difficulty.
Before starting the washing process, make sure to clean the sink or tub thoroughly to remove any potential residue that could bleach or damage your fabrics. Fill the sink or small tub with water at the recommended temperature, ensuring it is neither too hot nor too cold for your clothes.
This will help maintain the quality of your fabrics while allowing them to get properly cleaned during the hand-washing process. Remember, if there is no care label available, opt for cool to lukewarm water as a general rule when hand-washing clothes.
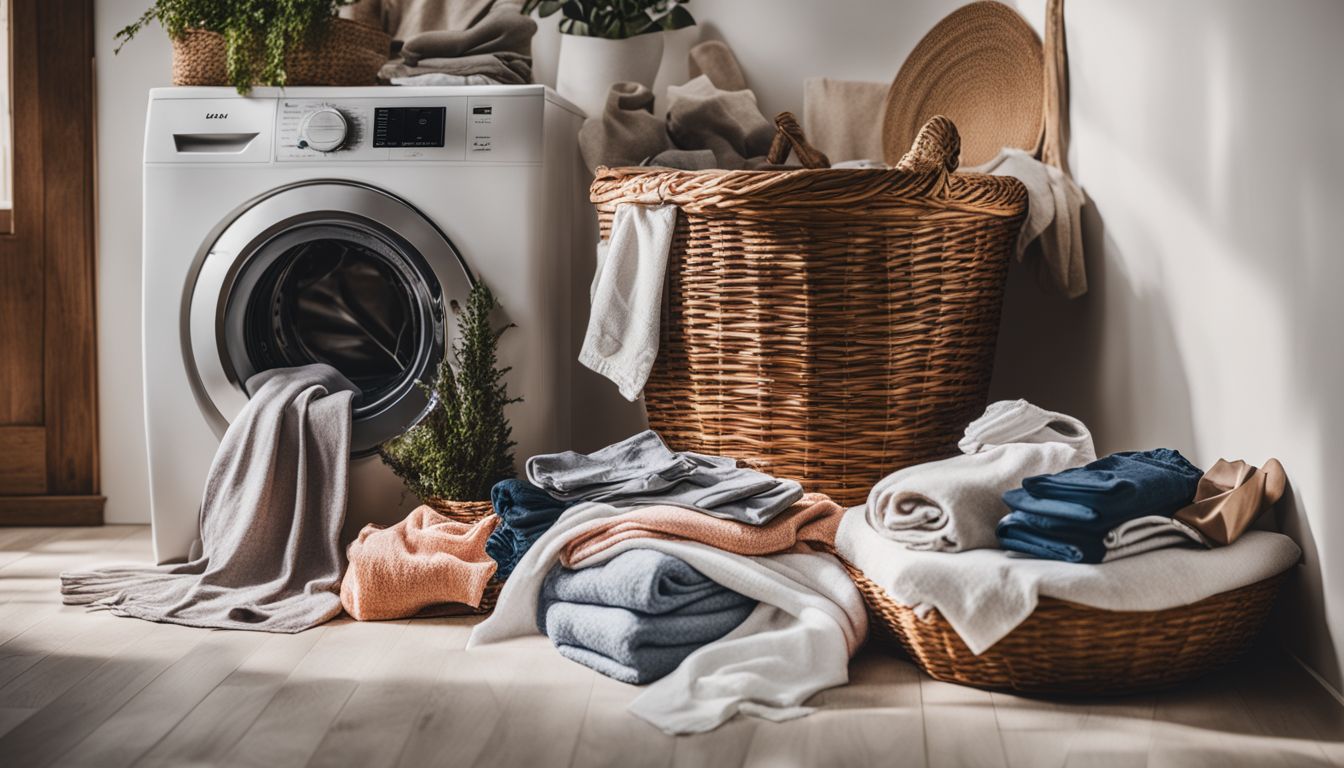
A drying rack or towel
A drying rack or towel is essential for properly air drying hand-washed clothes. Instead of placing damp garments on a hanger or over the back of a chair, which can cause them to lose their shape, using a drying rack or towel provides gentle support and allows for even air circulation.
Delicate fabrics like silk and wool should be laid flat on a clean towel, while other clothes can be hung up on a rack with clothespins. This method helps to prevent wrinkles and ensures that your hand-washed items dry thoroughly without any damage.
The Step-by-Step Process
Read the tag, pre-treat stains, create a washing solution, soak and swish, rinse and repeat, squeeze out excess water, lay flat on a towel, let air dry. Learn how to effectively hand wash clothes for optimal cleanliness.
Read the tag
Before you start hand washing your clothes, it’s important to read the tag. The care label provides valuable information about how to clean the garment properly. Some items may require special attention or specific detergent.
By checking the tag, you can ensure that you’re following the correct instructions for effective cleaning. Additionally, certain fabrics may require extra care or caution when hand washing.
So take a moment to read the tag before you begin, and you’ll be on your way to gentle and effective cleaning for your delicate items.
Pre-treating stains
Pre-treating stains is a crucial step in the hand-washing process for clothes. By addressing stains before washing, you increase the chances of effectively removing them during the cleaning process.
The American Cleaning Institute (ACI) offers a helpful stain removal guide for different types of stains. It is recommended to use a color-safe stain remover to pre-treat visible stains and heavily-soiled areas before hand-washing your clothes.
This helps break down the stain and loosen its grip on the fabric, making it easier to remove during the washing process with laundry detergent or an enzyme-based cleaner. So, don’t skip this important step and ensure your clothes come out looking fresh and clean after hand-washing!
Creating a washing solution
To create a washing solution for hand washing clothes, start by filling a sink or bowl with water. Add liquid laundry soap to the water and mix it well until it becomes sudsy. Make sure to use the recommended amount of detergent specified on the packaging.
The soapy solution will help break down dirt and remove stains from your garments effectively. This step is crucial in ensuring that your clothes come out clean and fresh after hand washing them.
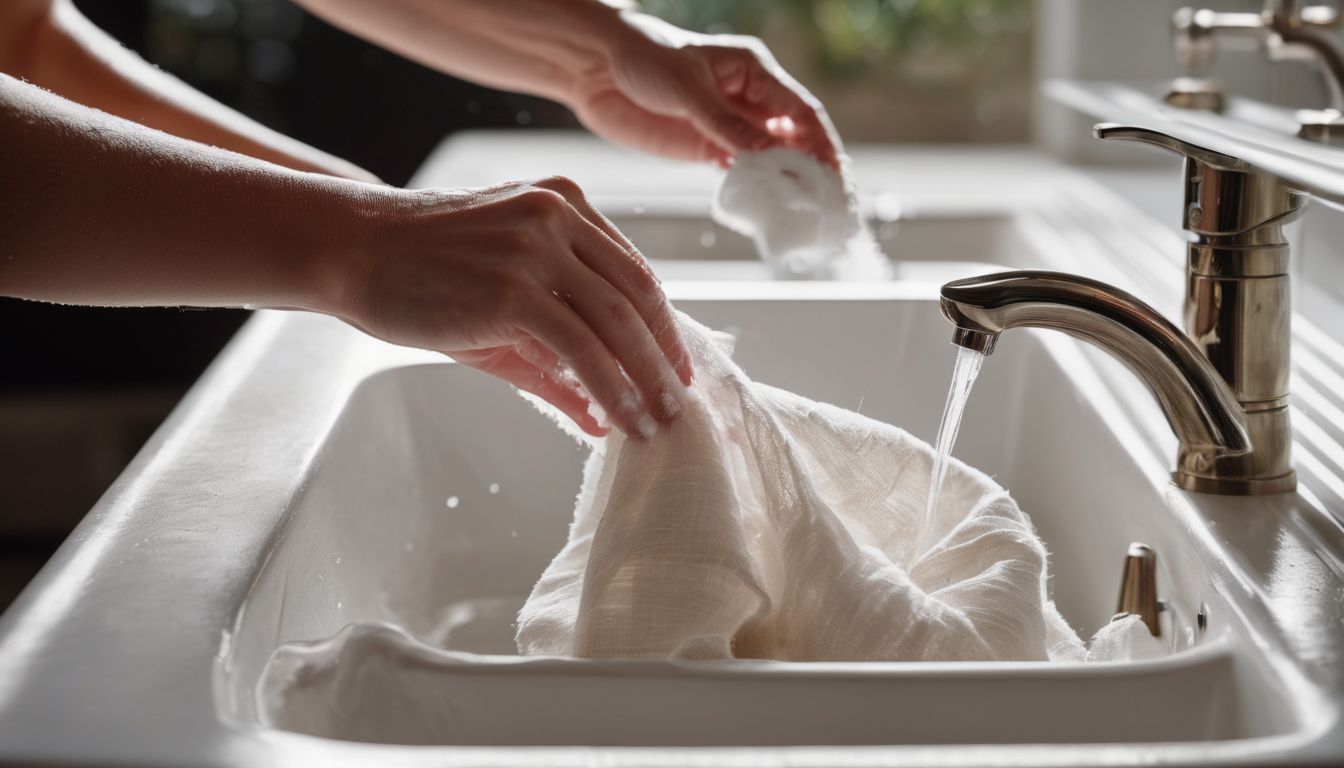
Soaking and swishing
Soaking and swishing is a crucial step in the hand-washing process to ensure effective cleaning of your clothes. To start, gently immerse the item in lukewarm water mixed with a mild detergent.
Use delicate movements to swish the garment through the sudsy water, avoiding any scrubbing or twisting that could potentially damage the fabric. This motion helps activate the detergent and allows it to penetrate deep into the fibers for a thorough and efficient clean.
It is recommended to soak your clothing for up to 30 minutes to achieve optimal cleaning results. Remember not to wring or scrub the garment during this process as it can cause unnecessary wear and tear.
Rinse and repeat
The step-by-step process of hand washing clothes involves rinsing and repeating. After soaking and swishing your garments in the washing solution, it is important to thoroughly rinse them with clean water.
This helps to remove all traces of detergent and leftover dirt, ensuring that your clothes are clean and fresh. If you choose to use fabric softener during the rinsing process, make sure to repeat the rinsing cycle until the water runs clear without any suds or residue.
Rinsing well ensures that your clothes are properly cleaned and ready for drying.
Squeeze out excess water
Squeezing out excess water is a crucial step in the hand-washing process. After rinsing your clothes thoroughly, gently squeeze them to remove as much water as possible. This helps to speed up the drying time and prevents dripping when you lay them flat to dry.
Remember not to twist or wring the clothes, especially delicate fabrics, as it can stretch or damage them. By squeezing out excess water instead of wringing, you’ll preserve the shape and quality of your garments while ensuring they dry faster.
To avoid any water buildup or residue on your freshly washed clothes, pressing down firmly with both hands along the length of each garment can help extract surplus moisture effectively.
Lay flat on a towel
Laying hand-washed clothes flat on a clean, dry white bath towel is an effective way to dry them. After gently squeezing out excess water, placing the garments on the towel allows moisture to be absorbed while keeping their shape intact.
To further expedite drying, you can roll the clothing into the towel to help remove even more moisture. This method works well for most fabrics, including delicate ones like wool and silk, as it helps to prevent stretching or misshaping while promoting thorough air drying.
Just remember not to place clothes near heat sources during this process!
Let air dry
After hand washing your clothes, it is important to let them air dry. This natural drying method helps to preserve the fabric and prevent any damage that could occur in a machine dryer.
When air drying, make sure to carefully read the garment’s label instructions for specific guidance on how to best dry the item. You can lay flat your hand-washed clothes on a towel or use a drying rack to allow proper airflow and even drying.
By letting your clothes air dry, you are ensuring that they maintain their shape and quality while also reducing energy consumption.
Tips and Tricks for Hand Washing Different Fabrics
From hand washing bras and delicate lingerie to caring for wool and silk, discover the best techniques for cleaning various fabrics. Don’t miss out on these essential tips!
Hand washing bras and lingerie
To hand wash bras and lingerie effectively, follow these tips and tricks:
- Use a mild detergent specifically designed for delicate fabrics.
- Fill a sink or basin with lukewarm water.
- Immerse the bras and lingerie in the water, gently swishing them around to ensure even cleaning.
- For extra protection, place the bras in a mesh lingerie bag before submerging them in water.
- Allow the garments to soak for about 15 minutes, ensuring that all areas are submerged.
- Gently agitate the items by squeezing them lightly to help remove dirt and stains.
- Rinse the bras and lingerie thoroughly with cold water until no soap residue remains.
- Avoid wringing or twisting the items to prevent stretching or damaging the fabric.
- Squeeze out excess water by pressing gently against the side of the sink or tub.
- Lay each garment flat on a towel, roll up the towel tightly to absorb moisture, then unroll and reshape them if necessary.
- Finally, lay the bras and lingerie flat on a drying rack or clean towel to air dry completely.
Hand washing sweaters and delicate garments
- Gently swish sweaters and delicate garments in sudsy water
- Avoid scrubbing or twisting actions to prevent stretching or damage
- Submerge the garments in water mixed with detergent for hand washing
- Hand wash and soak the garments for up to 30 minutes
- Swish detergent in the water before placing the garment and gently pressing it down
- Rinse by pressing the garments against the sink or bowl instead of scrubbing or twisting
- Consider using alternative options like gentle shampoo for hand washing clothes
Hand washing jeans and gym clothes
Properly hand washing jeans and gym clothes is essential for gentle cleaning and maintaining the quality and longevity of these garments. To effectively hand wash jeans and gym clothes, you will need a few supplies: laundry detergent, a clean towel, and a space large enough to fully submerge the garments. By following the detailed washing instructions provided in this article, you can ensure that your jeans and gym clothes are properly cleaned while preserving their fabric integrity.
Special considerations for wool and silk
To properly hand wash wool and silk garments, there are a few special considerations to keep in mind. First, it’s important to note that washing poor-quality silk can damage the fabric, but most silk garments can be safely washed.
However, both wool and silk can shrink or be ruined by heat, perspiration, and oils. So when hand washing delicate items made from these fabrics, it’s crucial to use gentle movements and avoid scrubbing or twisting actions.
By following these guidelines, you can ensure the longevity of your wool and silk clothing while keeping them clean and fresh.
Conclusion
In conclusion, hand washing clothes is an effective method for preserving delicate fabrics and reducing energy and water consumption. By following the step-by-step process outlined in this comprehensive guide, you can ensure that your clothes are cleaned thoroughly without any damage.
With a little time and effort, hand washing can extend the life of your garments and keep them looking fresh.
FAQs
1. What materials do I need to hand wash clothes effectively?
To hand wash clothes effectively, you will need a basin or sink, mild laundry detergent, water at the right temperature, and a drying rack or clean towels for drying.
2. How long should I soak my clothes before washing them by hand?
It is recommended to soak your clothes in soapy water for about 10-15 minutes before washing them by hand.
3. Can I use regular bar soap to wash my clothes by hand?
Yes, you can use regular bar soap as an alternative to laundry detergent when washing your clothes by hand.
4. Should I scrub or agitate the clothes while washing them by hand?
Gently agitate the clothes with your hands to remove dirt and stains without causing damage to the fabric.
5. How long does it take for hand-washed clothes to dry completely?
The drying time for hand-washed clothes varies depending on factors such as humidity and fabric thickness, but it usually takes around 24-48 hours for them to dry completely indoors.